In January last year I started a proof of concept for terrain tiles. I was more than happy with the results Part One Part Two and I have used them in a few solo games that that have featured on these pages. But as pleasing as the results were there were a few problems with the design. The size of 1200mm x 600mm (4ft x 2ft) that I initially liked because it reduced the number of joins proved to be main problem. First it was quite heavy and awkward to lay accurately on the table. Second storage was going to be a problem. So I needed a rethink.
Storage needed to be the decision driver. For storage I want to use a flat pack cupboard available at most hardware stores that will fit nicely in the garage. I can get a suitable one with a 450mm depth so 400 mm square was an option, but the widest I could get had an internal measurement of 750mm so only one tile could fit on a level which would leave a lot of wasted storage space. In the other hand if I went to 300mm square I could fit two tiles across the width and make better use of the cabinet. So size was decided - 300 x 300 although 300 x 600 was still a practical option. Next was getting the weight down which was going to mean using some sort of foam. It would have been quite a simple solution to simply use a block of polystyrene, but I have this obsession with damage to the edges - one of my pet hates is to see terrain tiles where the edge has been damaged and exposes the white polystyrene - and I want to give some sort of rigidity to protect the edges. I also want to lock these together and solution for this is to use rare earth magnets. So another proof of the concept is required.
To hold the magnets and to give that rigidity and edge protection I need some sort of frame and for the magnets to line up those frames were going to need some precision construction. Now I can do a bit of carpentry, but lack the skills and workshop for precision manufacturing. What I am good at is graphic design and it only took a few minutes to knock up a design a frame that could be precision laser cut and I could accurately position magnets. I then sent the design off to a laser cutter who turned the job around in a day, providing me with four sets.
 |
| The raw cut pieces for four frames. |
 |
| The frame assembled |
With that done I moved onto the surface covering which was always going to be the same felt that I used on my earlier trial. I did consider using a flocking gun, but it can be a messy process. I get away with a lot with what I make at home, but I think fine flock fibres finding their way around the house would be seen as a step too far by her indoors.
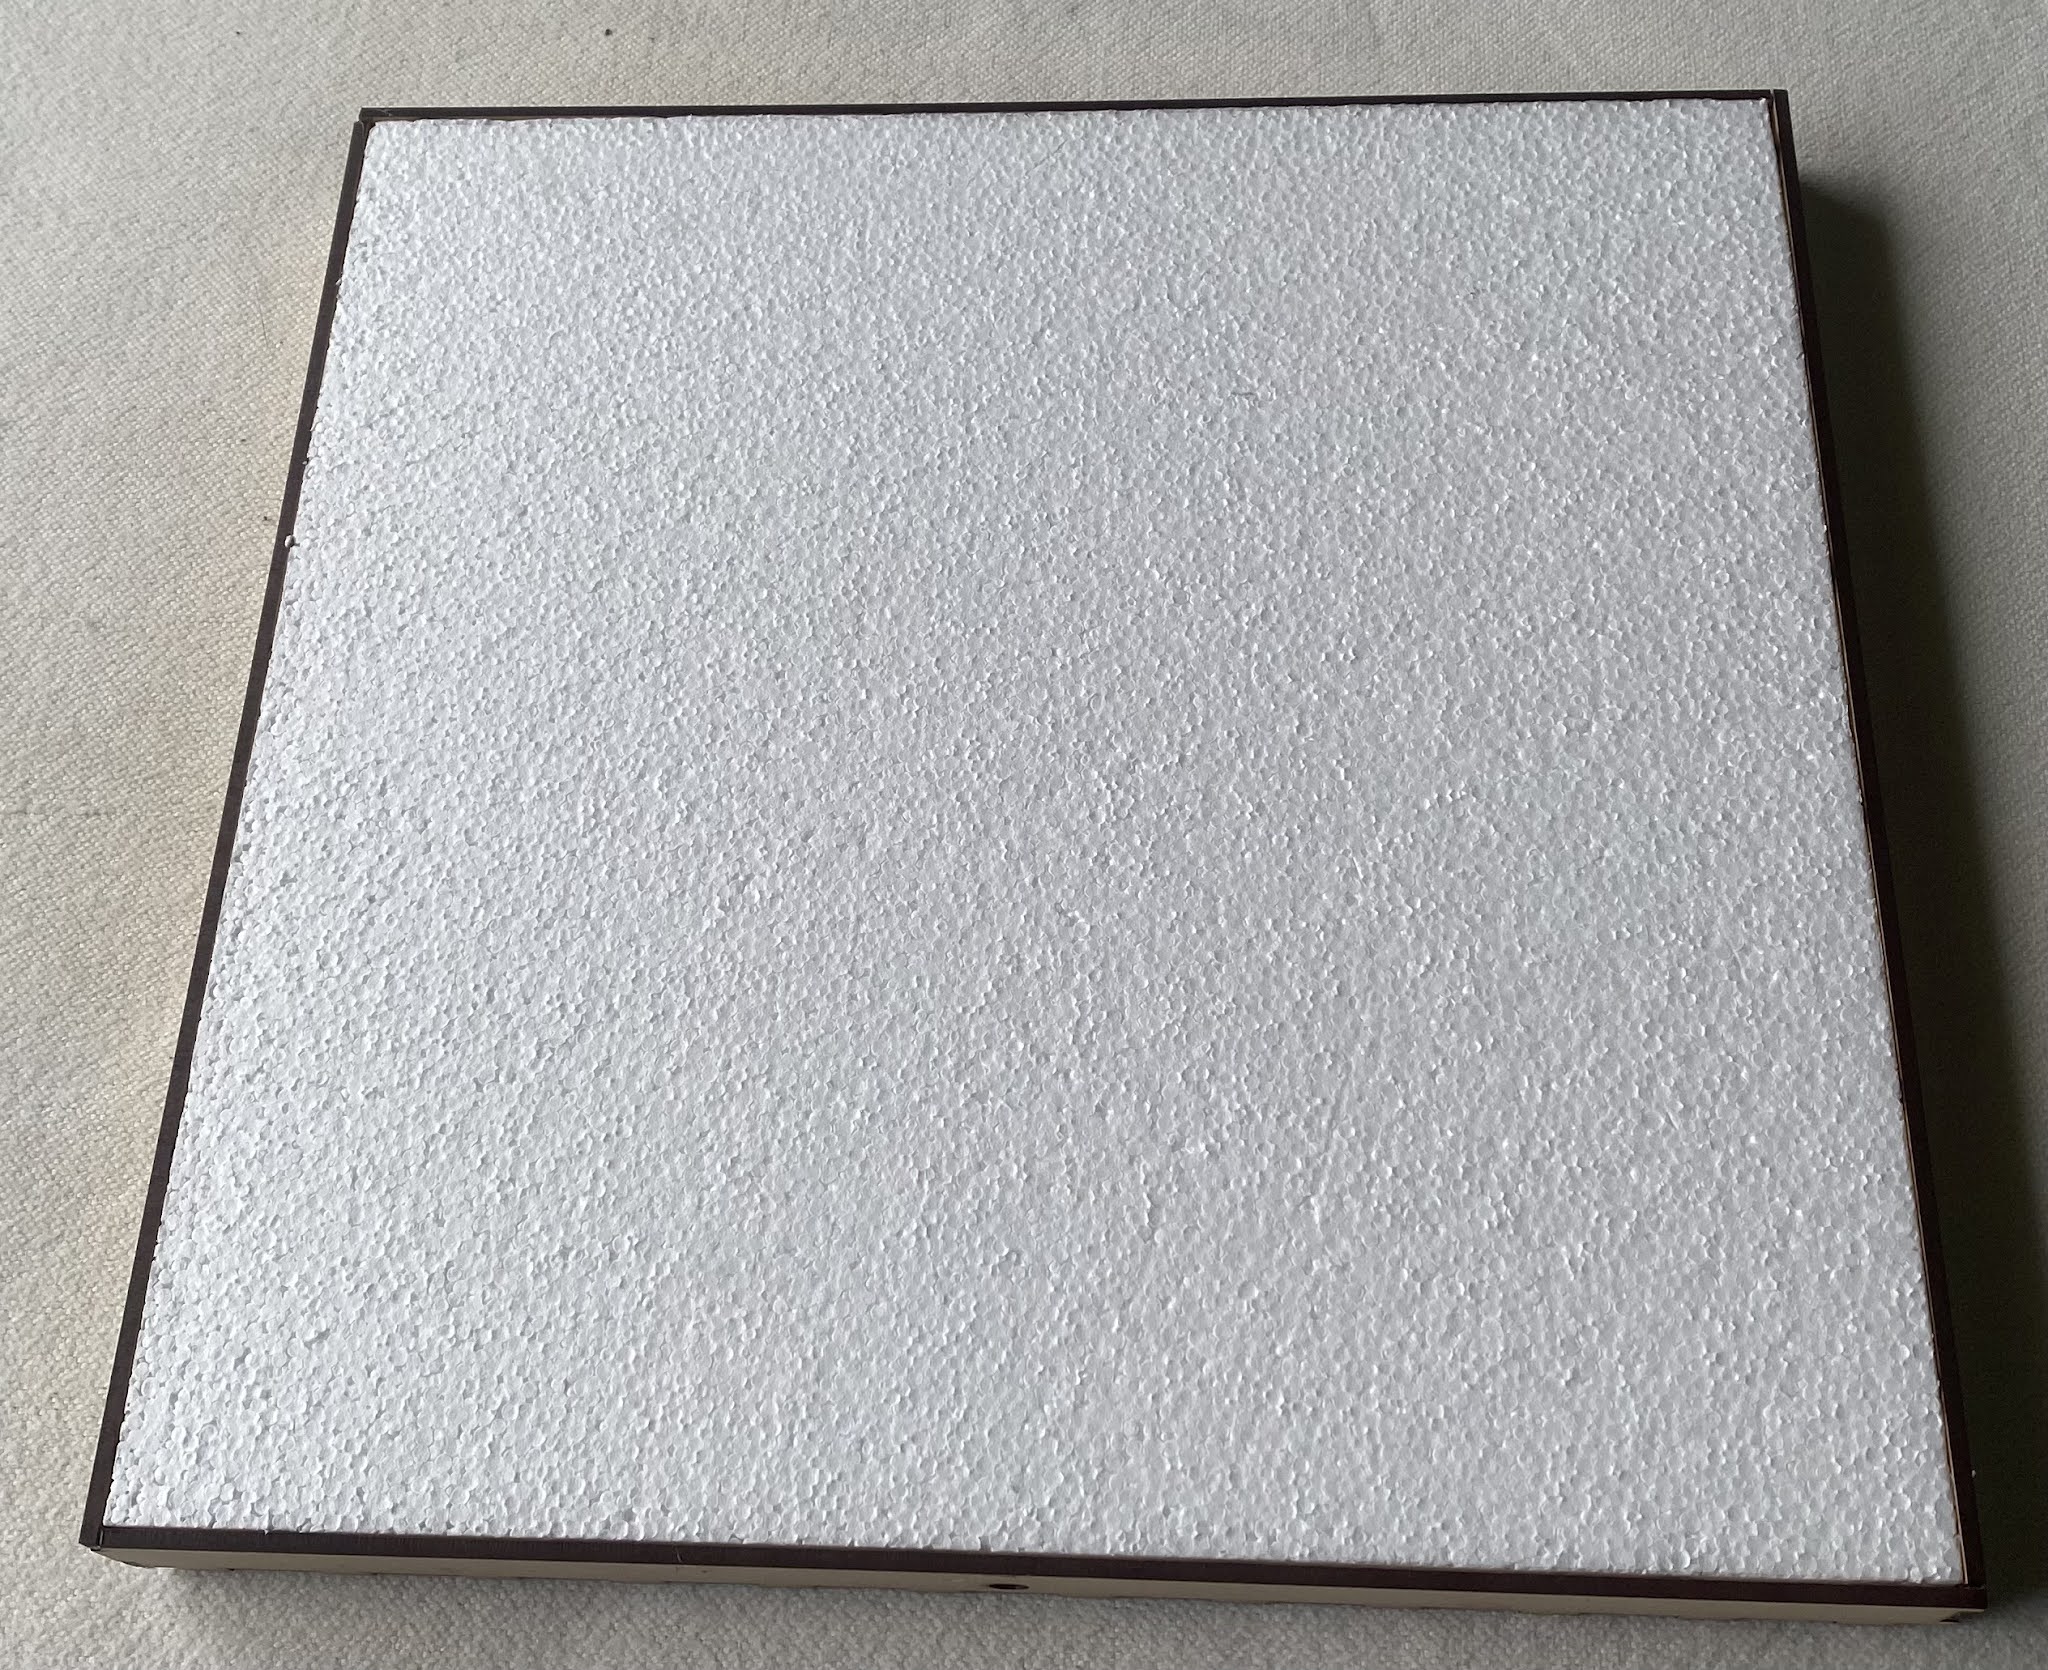
For my proof of concept I made one plain board and three with roads - one straight across the board, one diagonally across and a slightly sunken junction. In the shot below the plain board has had its edges trimmed.

For the base of the roads in glued a mixture of fine and medium grain sand. Oddly in the image below the road seems to bulge above the surface, but it is a total illusion because the area around the junction is actually recessed.

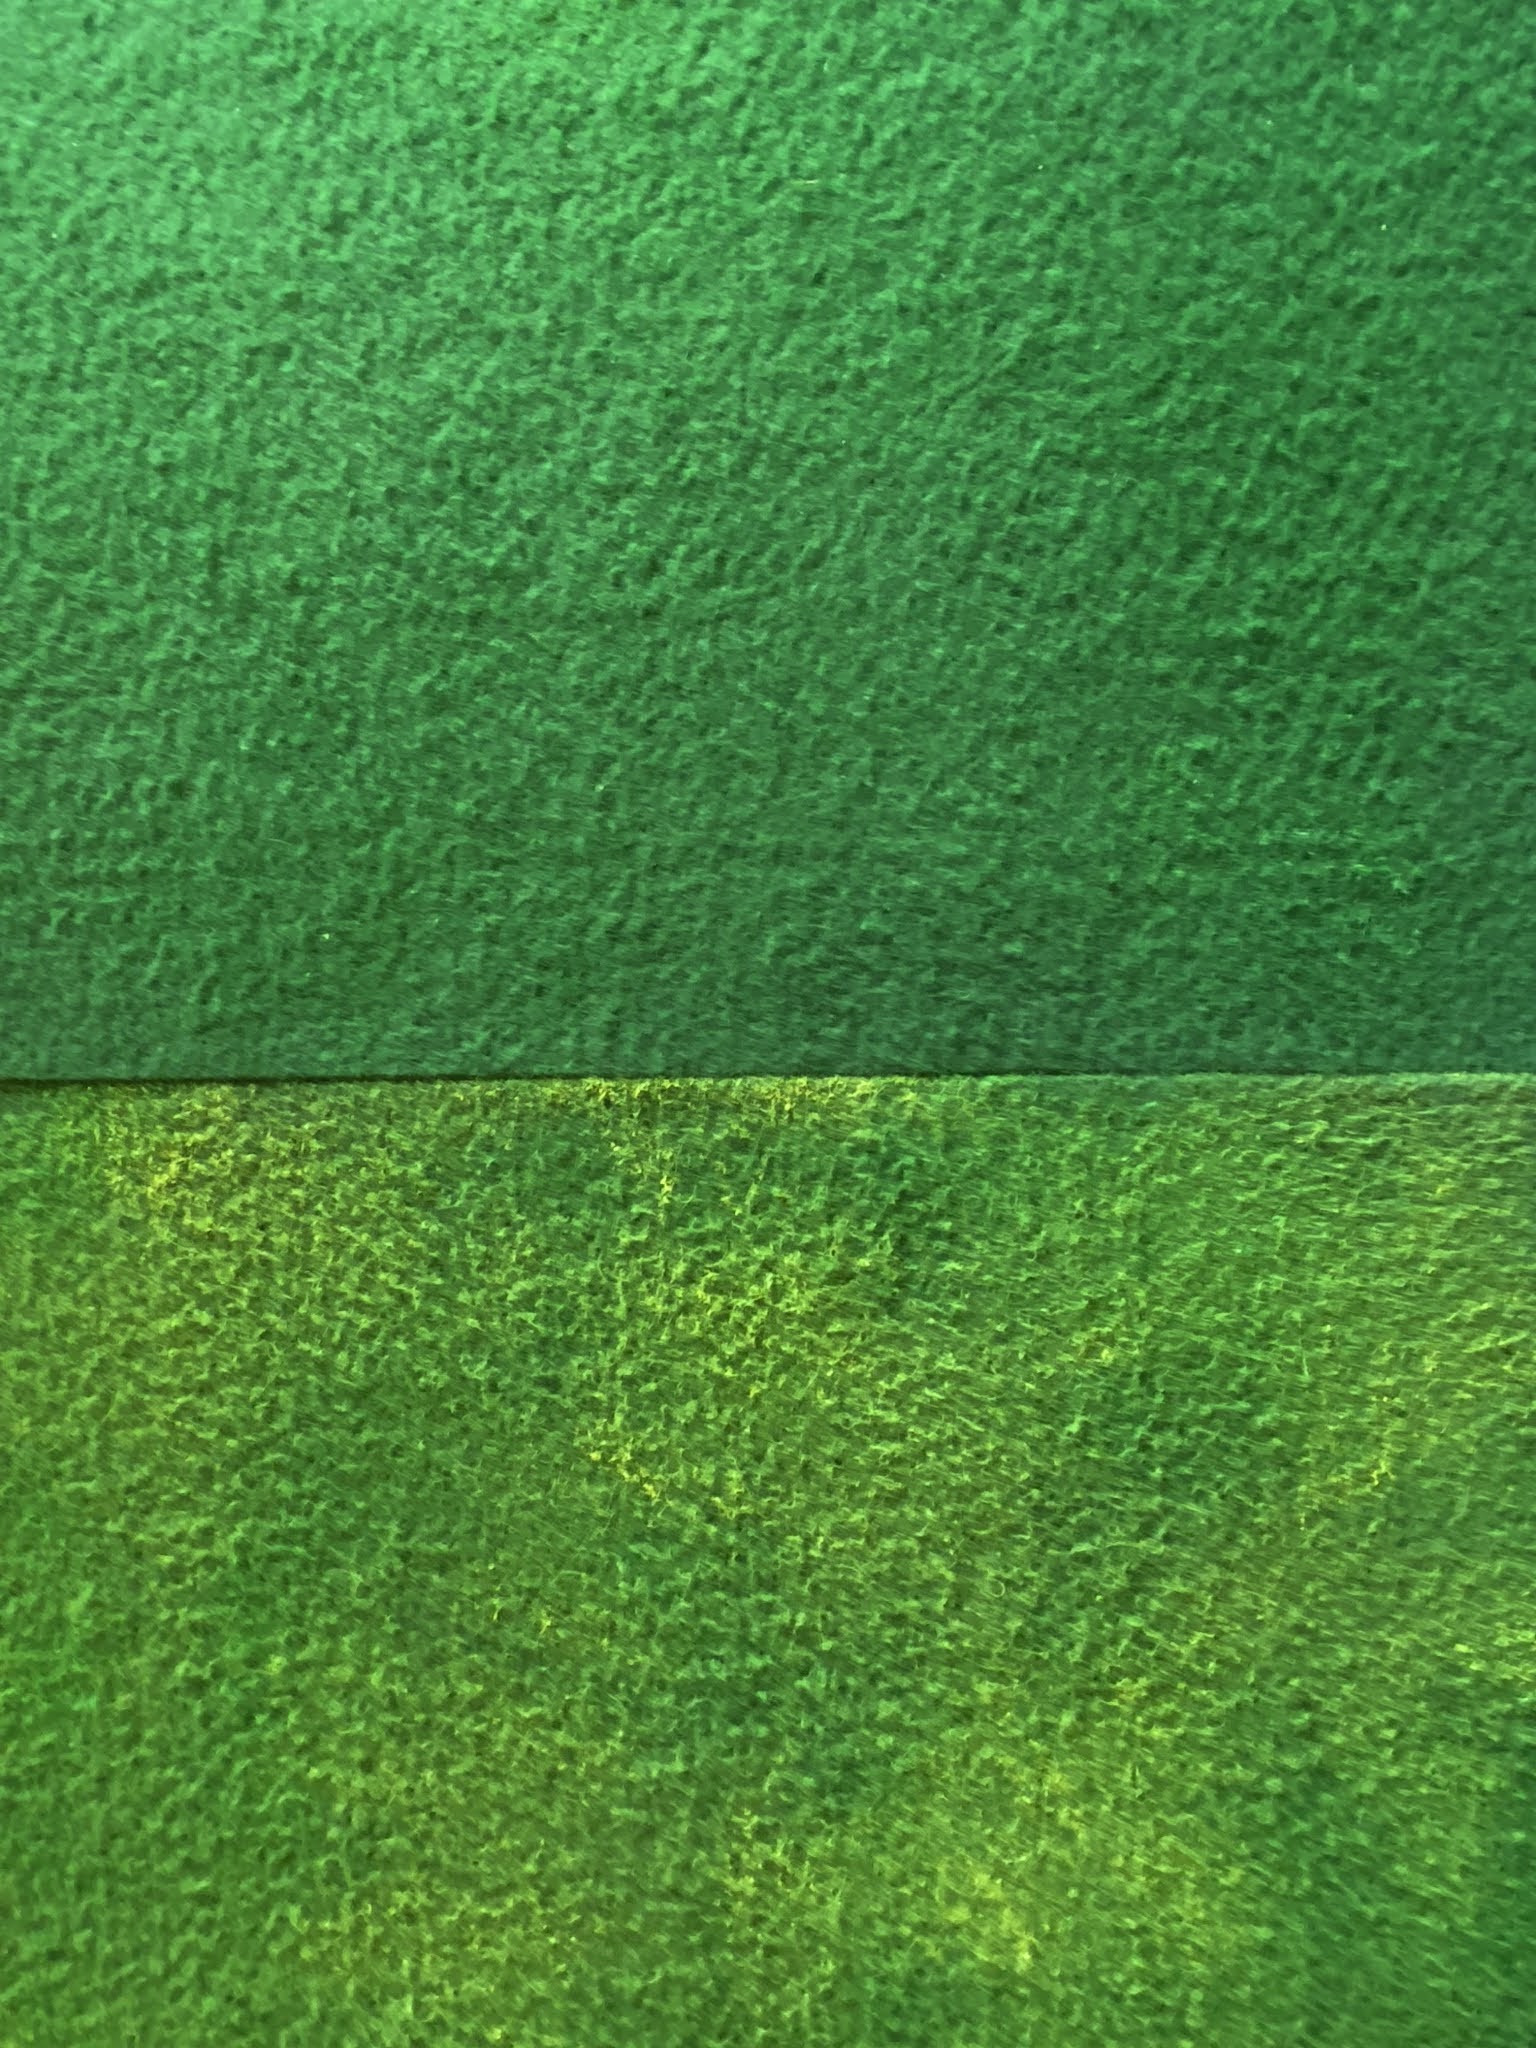
The next step was to tone down the green of the felt. In the past I have done this by spraying the cloth with first a bright green and then a yellow coat. But I need to spray in the open air to maintain domestic bliss and successful spraying requires dry and windless weather, two things that an Auckland winter lacks. So this time I dry-brushed the colours, first a bright green then yellow. I actually prefer the dry-brushed finish. Below you can see the difference between the first green coat (top) and then the yellow (bottom) applied over the top.
The roads were then undercoated in black ready for final colouring.


You can also see how two tiles could be joined to create a 300x600mm tile, something I may do to create some variation for say a river or stream section.
And all four pieces of the proof of concept.
 |
| Placed edge to edge |
 |
| Stacked atop each other |
I still need to install the magnets that are still enroute from China, but I am happy with the results and will pursue further.
A real work of art Mark. The things that have put me off terrain tiles in the past are frayed or curled edges, and consequent gaps on the table. It looks like you have cured all these potential issues in a well-thought design.
ReplyDeleteThe frames give that ability to maintain a perfect straight edge so that they fight tighter. I have used the magnets in another project, that will be revealed in due course. I have looked at making frames before, but I am no cabinetmaker…more of a bush carpenter…so the level of precision offered by this solution is the deciding advantage. I have always been wary of the checkerboard effect but I plan to minimise this by using surface terrain that can sit astride some of those gaps to minimise that effect.
DeleteVery interesting Mark, I will follow this with interest. Sally Forth (I think) do a similar thing with pre-formed MDF kits to make up frames.
ReplyDeleteThanks Norm. I think this has some real potential. The idea originally came from a completely different angle - after chasing some dice that had rolled off the table and lodged in the most awkward of places I was thinking about making some dice trays when the thought occurred that they would make perfect terrain frames.
DeleteThese look great Mark and I agree with you, the dry brush technique comes up very well indeed!
ReplyDeleteAnd I find the dry-brushing easier to control the blending too. The magnets arrived today so I will get them fitted on Saturday.
Delete