Showing posts with label WWII. Show all posts

Sunday, 29 June 2025

The Railway Station

The last planned item in the winter Russian set is a railway station.

Research for this model was restricted to a series of internet searches under titles "Russian rural railway stations", "Russian rural railway stations 1940s" and "Russian rural railway stations 19th century". This turned up several thousand images, many of which were repeats, that had a common theme: they were all substantial and well maintained buildings, often with odd tower like features and were more often than not pained green. At first I thought the towers night have been signal boxes, but many did not have windows so that shot that idea down.

I worked through quite a few design sketches and settled on a structure that is 180mm wide, 80mm deep and 90mm high, with a structure that sits atop the building, in the centre, that rises another 50mm to the overall height of 130mm. The building would have a weatherboard cladding and a corrugated iron roof...to use up a sheet of plasticard that had been lying around since I made the buildings for  WWI in East Africa.

The weatherboards and doors were made using 4mm strips of 0.6mm balsa wood. Since balsa is soft and prone to damage, when it was finished I painted it with a thinned down coat of PVA, allowing it to soak into the wood. Then I painted two full strength coats of PVA to further harden the surface and to strengthen the bond between weatherboard layers.


The roof structure was more complex than I had originally planned thanks to the raised central section and as a result I chose not to make this with a removable roof.


Finally a stone base with steps on the street side entrance and on the ends of the platform were added. The whole model was painted and added some signage (I wasn't game to try writing a station name in Cyrillic so I'll leave that to its owner). 

I have to admit when I first painted it, it didn't come out the way I wanted...something just didn't look right. I had done the window frames with an off white because I didn't want them to be too stark against the green, but it looked off. A highlight of a whiter tone gave the lift to where I wanted them to be.


Next it was based...


...and then it snowed.


So that concludes the scheduled work on the winter buildings for now, although a few ruins structures may be done at some point.

Some more FPW Bavarians are set to join the lead / plastic pile in the next week or so and they will probably take centre stage for a while.

Friday, 27 June 2025

Scratchbuilt Winter Buildings Number Four and Five

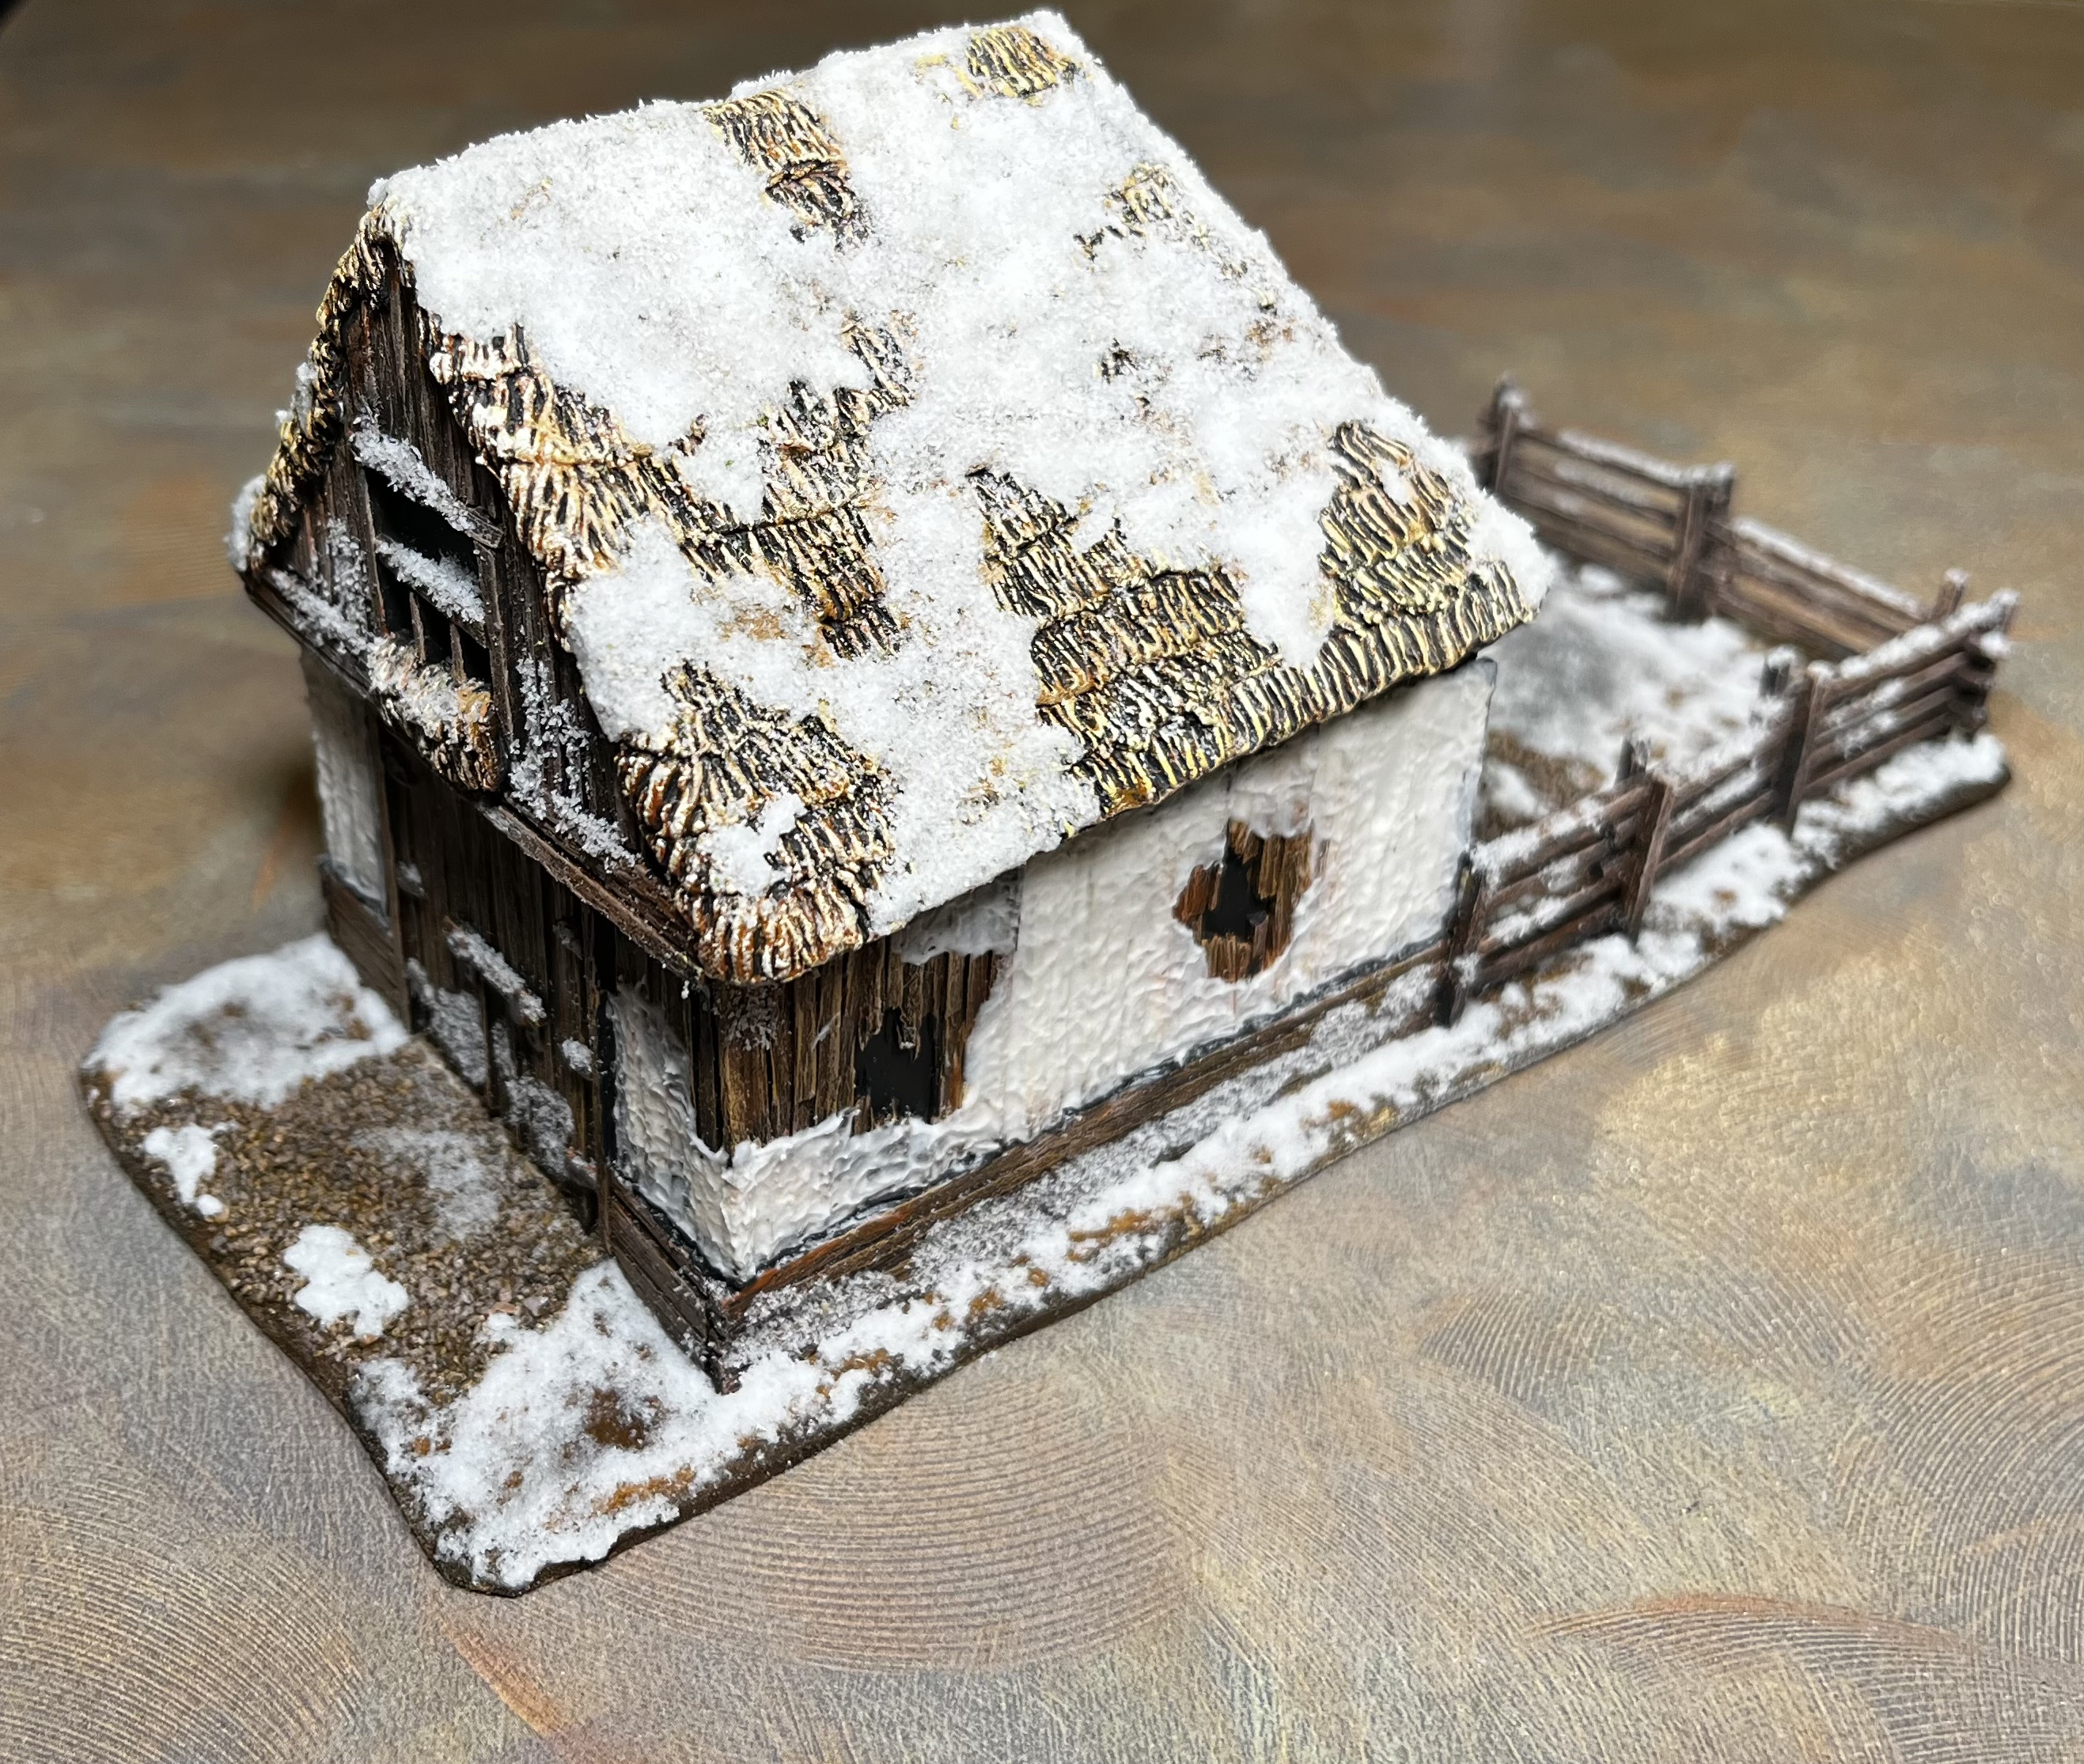
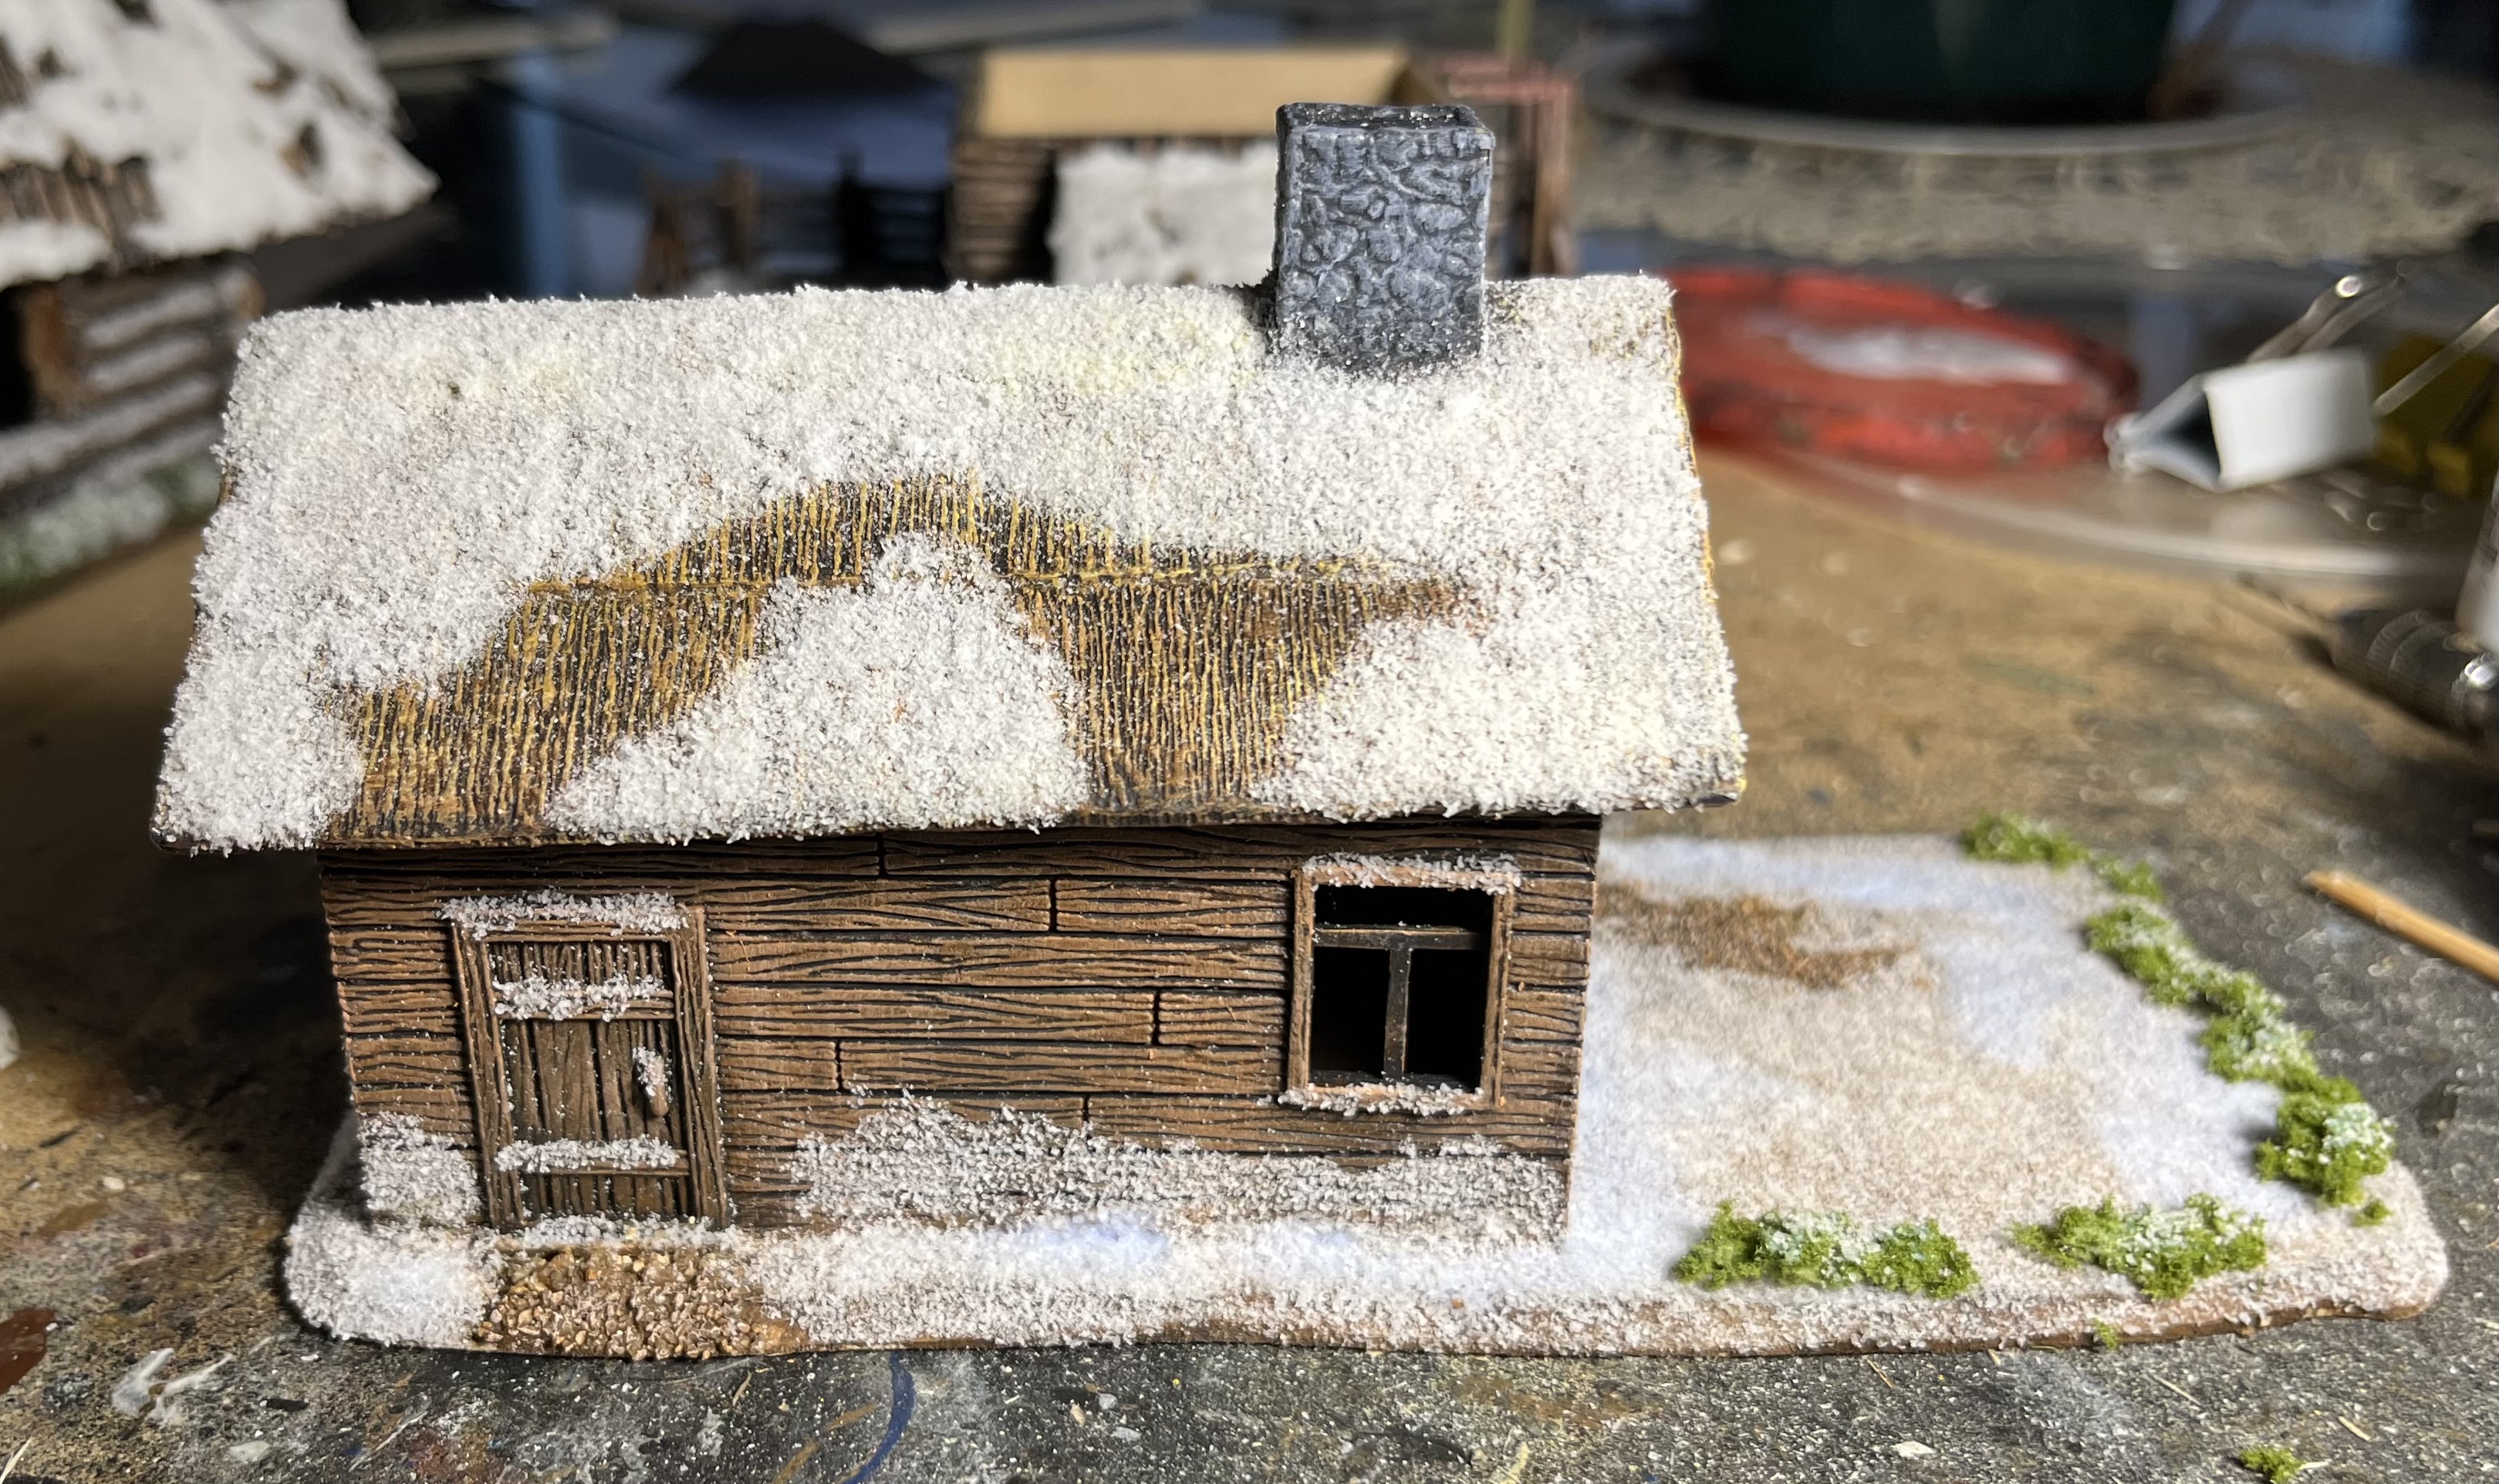
Having been delayed three weeks by the arrival of a stock of epoxy putty, I have finally been able to complete the work on the thatched roofs and completed the basing on Winter Buildings Four and Five.

Building Four: the house...


...with its alternate roof option from Building One.


Building Five: the barn...


...with its alternate roof option from Building Two.


Still to come with this batch of buildings is a railway station which is a more complex build, but progressing well and should be completed over the weekend.

Tuesday, 17 June 2025

More Winter Buildings

I have three scratch built Russian buildings in construction, but I am waiting on a stock of my preferred epoxy putty to arrive to complete them.

In the interim I have assembled and painted two Sarrissa MDF kits. Since they represent a more upmarket rural structure than I have done so far (maybe they are the homes of the local Party officials) they have a bit more colour to them.


They get the snow treatment all the same...


Saturday, 31 May 2025

Winter Building Number Four...

Well the days after our return from Singapore have been rather pedestrian. Partly because of some mixed weather, but more because I have been under the weather with that bloody awful cold that I brought back with me.

But I've never been one to sit around doing nothing I have launched back into the winter buildings. This is another peasant house and the basic structure again was to be wooden. A common practice was to coat the timber with clay not as a decorative feature but  as additional insulation. It wasn't like a stucco surface found in the Mediterranean countries that completely conceals the bricks, the clay was just slapped on and the outline of the wooden walls was visible, as in this image...


I also like that chunks of the clay could break off, exposing the timber beneath, like this model...


I like the idea of some walls being clay finished and some not.

I also want to get away from the rectangular shape so this building will have a small covered porch to the right of the front face, while an extension will be on the opposite face. Around the base of the building will be a narrow band of stone.

The roof will be thatched, BUT because the rectangular core is the same size as Building Number One, the roofs between the two buildings can be interchanged. 

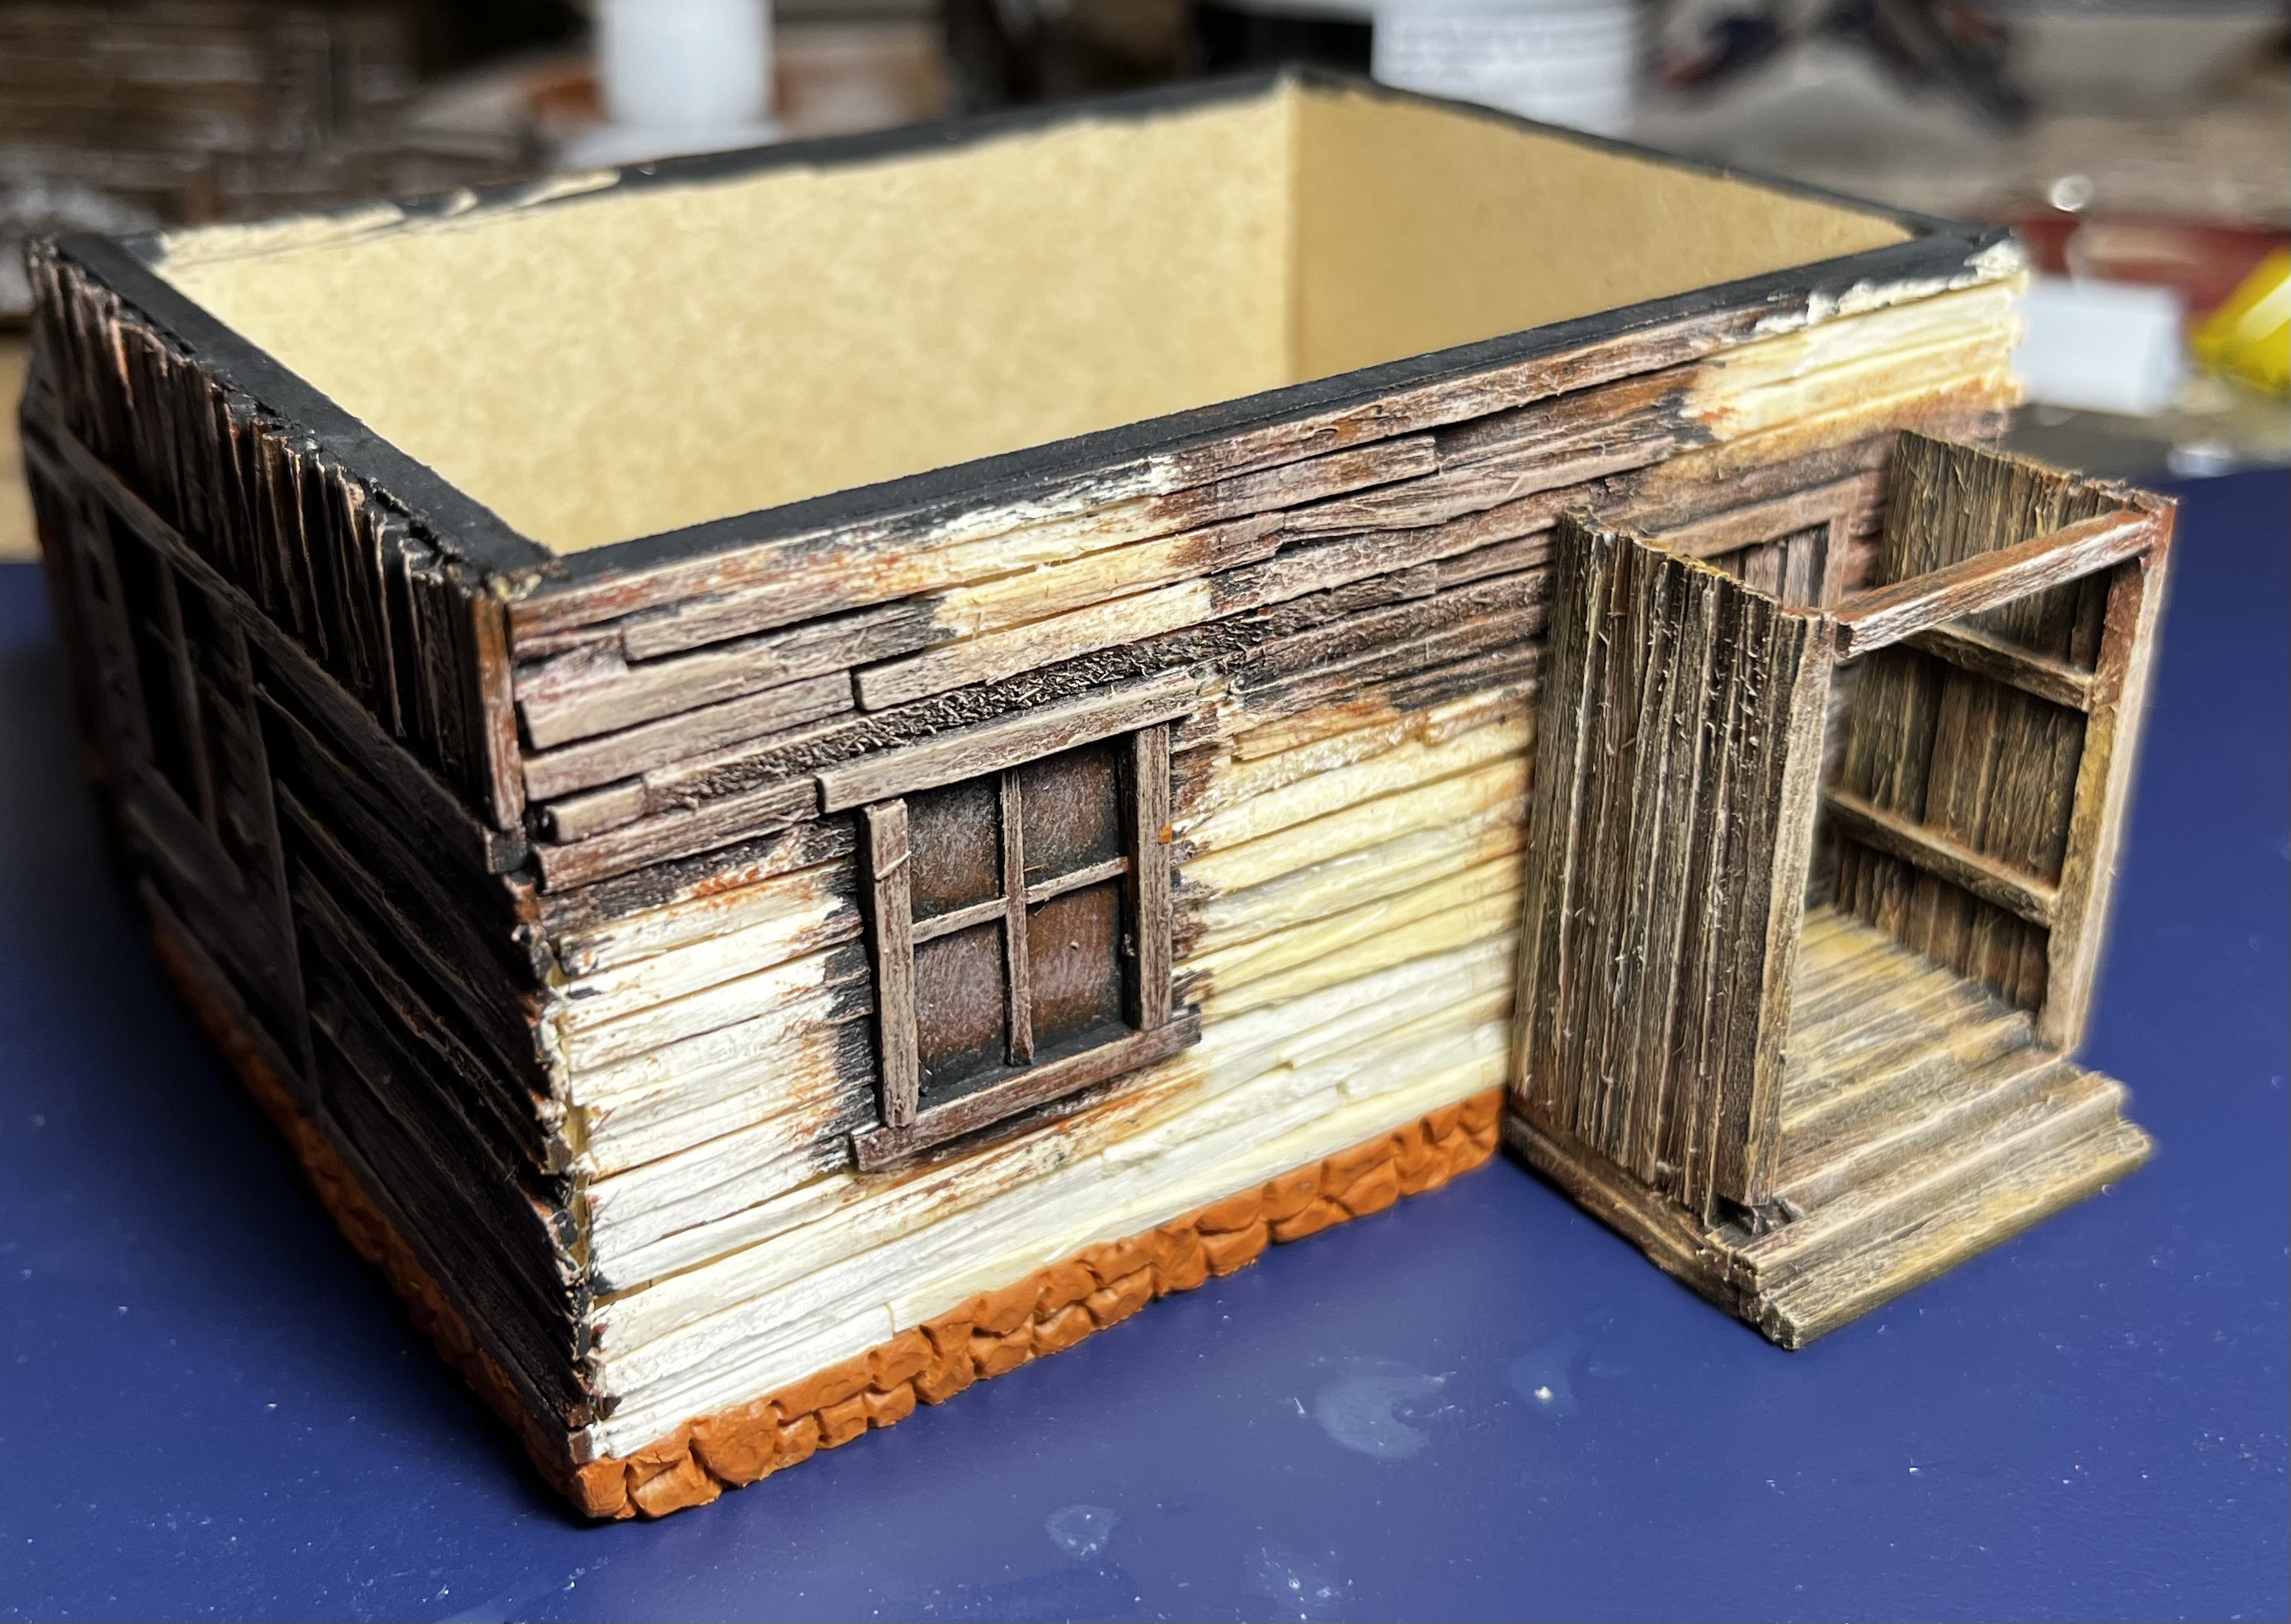
So here is the basic build with the timber cladding in place and painted where it will be exposed, prior to the application of the 'clay'.


For the clay cladding I have used an artist modelling paste. I found that one coat didn't cover the wood enough, so a second coat was applied, using a paper towel to get the daubed effect. A thinned wash of sepia dirtied up the clay cladding.

The roof for this model will be thatched, but the material I will be using for the thatch has not arrived, so it will be a week or so before I can get started on it. All the same you can get an idea of the basic shape from  the form.


And these shots demonstrate how the roof from Winter Building Number One can be interchanged.


Also completed in this batch is an outhouse and a crane well.


Friday, 16 May 2025

Winter Building Number Three...plus a few extra bits

I have just noticed as I was about to publish that this is post number 1,000. I remember thinking when I hit 950 that the milestone would be on me soon, but that was in September last year...it has taken such a long time to complete that final 50!

The winter building series is progressing well and building number three is done.

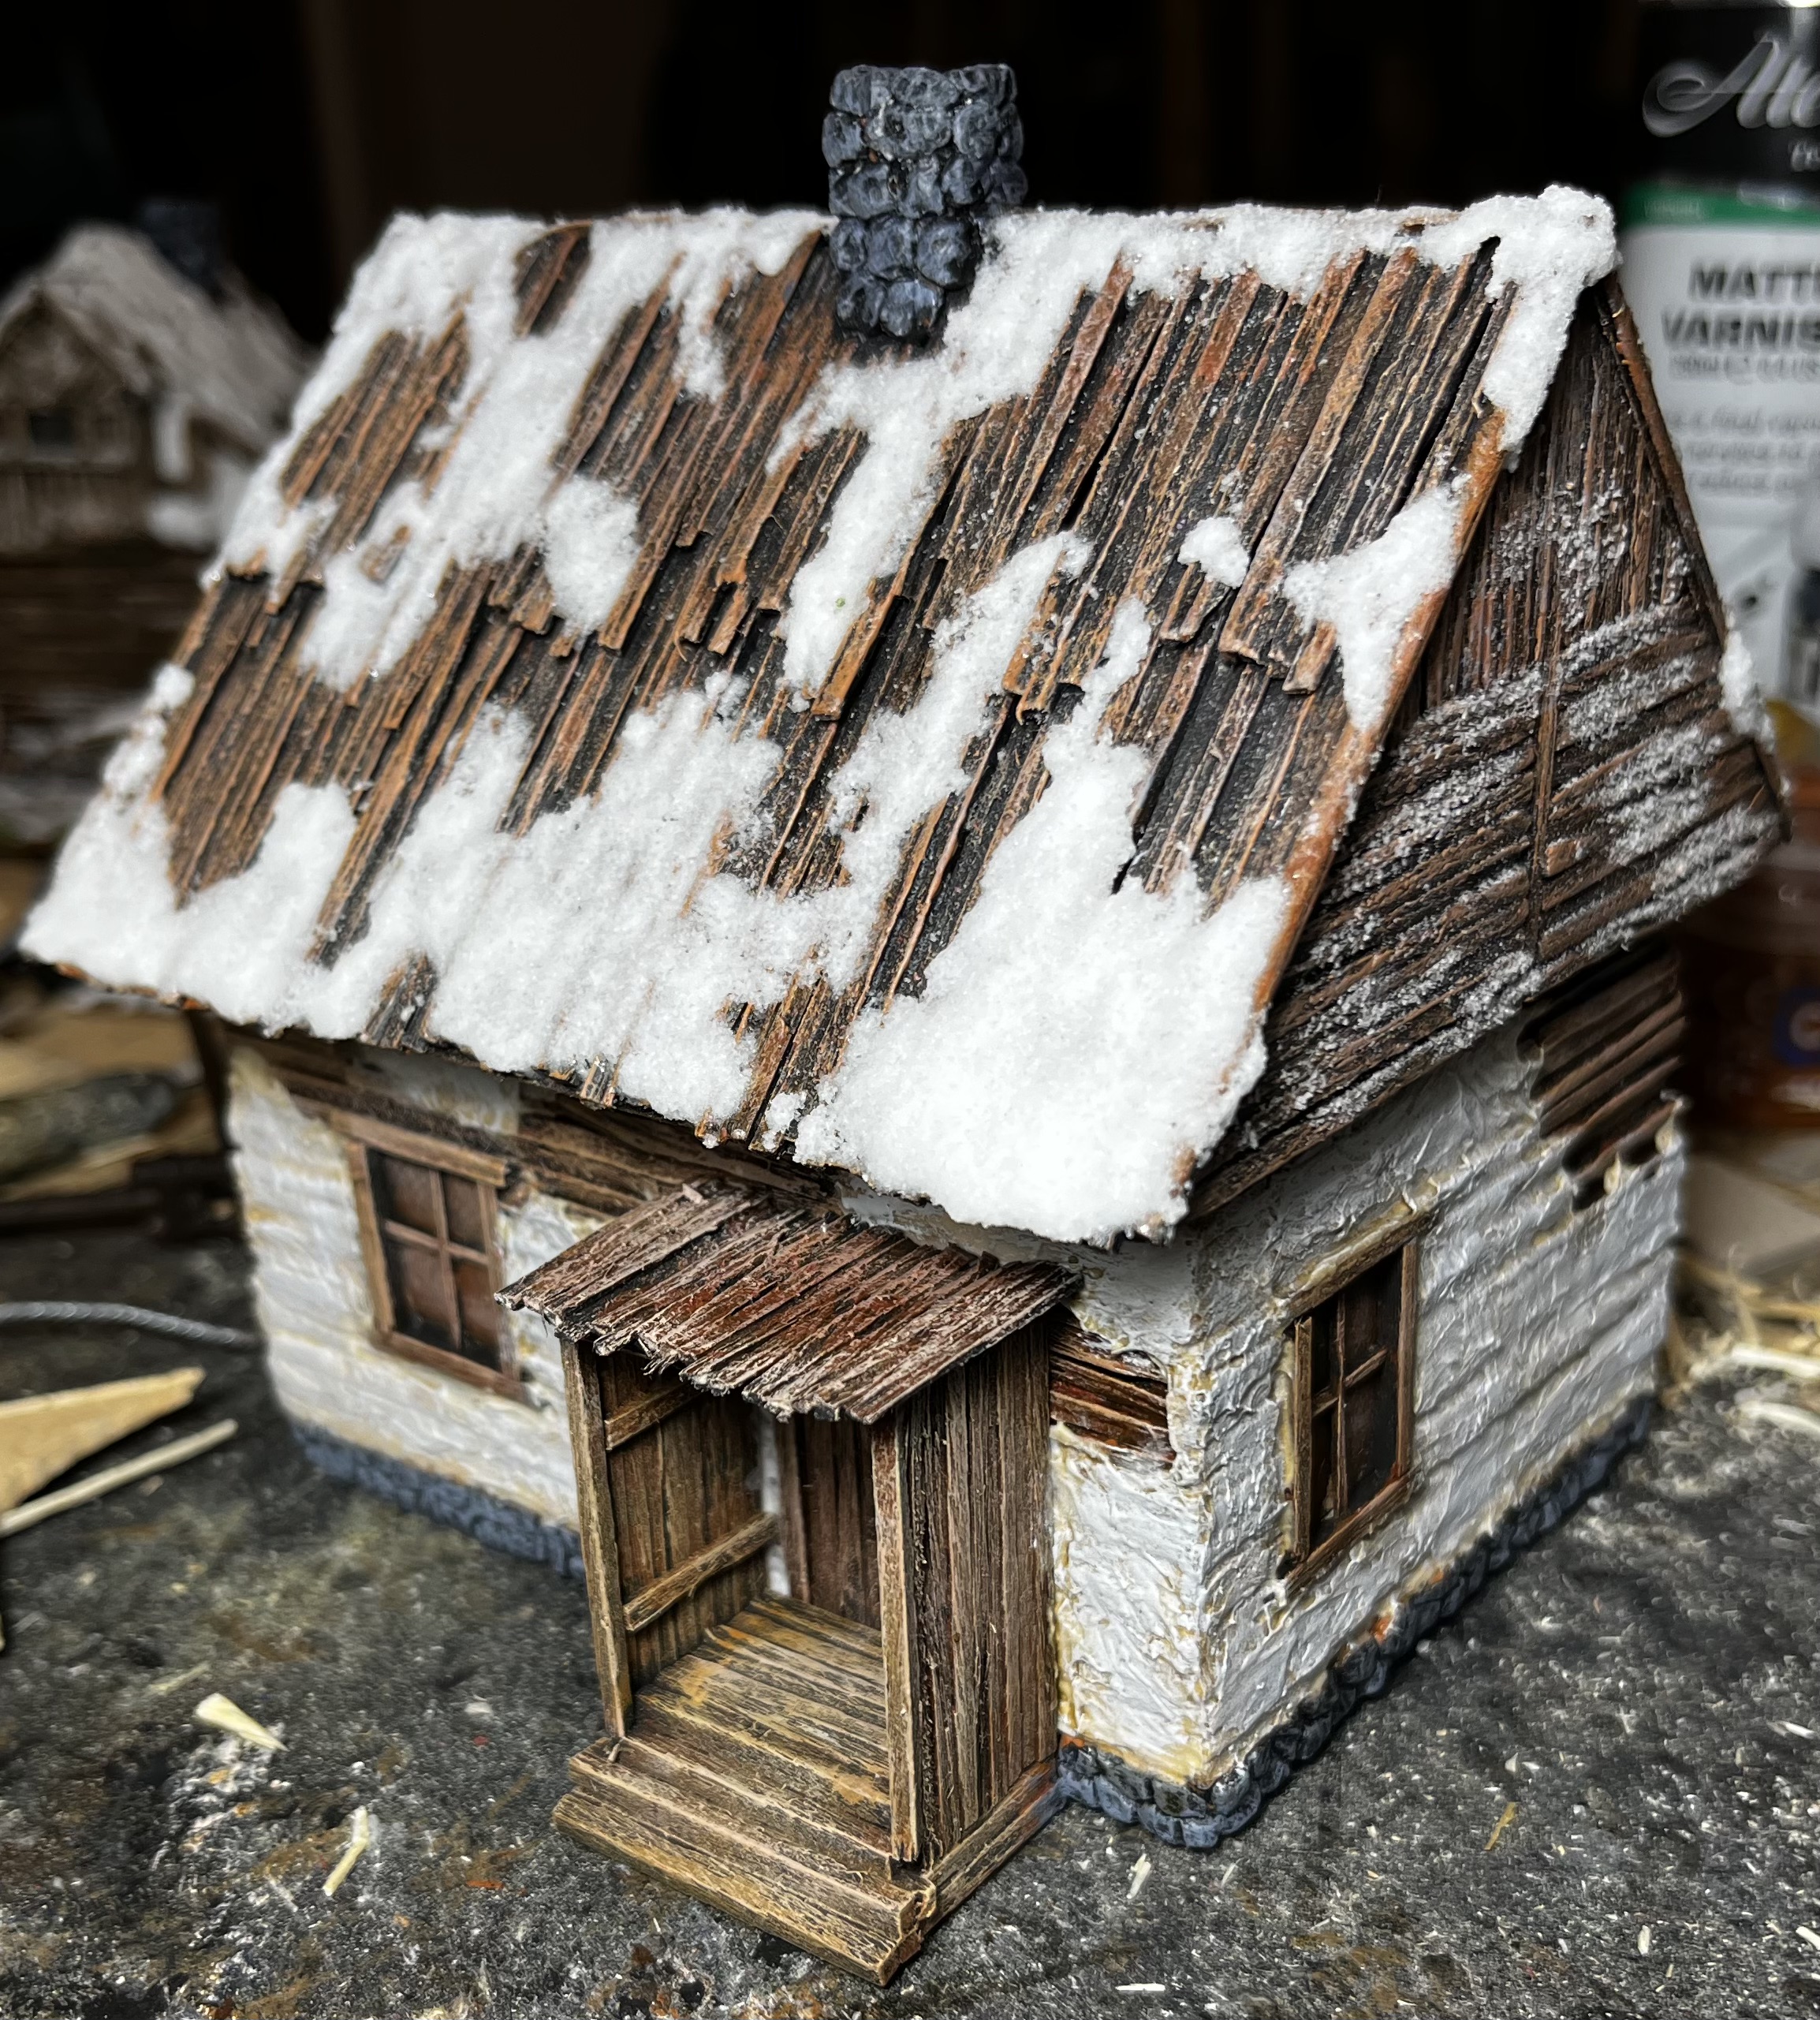
This is another peasant house, but perhaps by a more skilled builder who has built it slightly elevated to keep it off the cold ground. It has a bit of a porch with a very roughly built dormer window in the attic and a rough extension added on the opposite end.

Again this is a matchstick build around an MDF shell. This time the matchsticks, ever one of which I have split longitudinally, have been laid horizontally, except for the extension which are vertical.


The roof was a tricky build with lots of odd angles. Several hours were spent splitting and gluing matchsticks at odd angles.


 Here then is the 'summer' version of the building.

Q


Then the 'winter' version with all that snowy goop spread over all the detail that was so carefully glued on and painted.


And the finished item.


Also completed are these three manufactured pieces: the first, the ruin, is from Hovels and the other two are plastic kits by Pegasus. These were already assembled and just needed painting, basing and some snow deposited on them. 


On these last three I wanted a lighter snow effect so all I did was brush some matte varnish over the surface and sprinkle some of the snow over it. To make some areas a slightly thicker I repeated the process with a second irregular coat.

Here things will pause for a while, in part because I am waiting for some materials to arrive and in part because we are about to have a brief change of scenery.