Whatever the reason throughout the 54 years of my wargaming life I have always ordered just what I knew I could paint within a reasonable time period. In recent years I have turned this into quite a science with orders being timed to take maximum advantage of the credit period of my Visa card and to arrange for them to arrive just before the last item of the previous order left the painting table. It also allowed me to plan more carefully and take advantage of the post free options that provided me with a 20-25% saving on base cost that would have pleased my grandmother no end. Of course all those plans fell apart during the pandemic when postal services fell behind and there were a few occasions of a completely flattened lead pile which compelled me to allow a greater buffer for a while.
The key to my success has been my project planning. Now this doesn't involve full blown planning with gantt charts, but it does involve a spreadsheet that extended out some three of four months detailing what and when was being purchased and and determined how long a purchase would take to paint at the rate of six foot, three mounted figures or one gun set per day. In fairness I always this obsessive, but when I was building my Crimean War armies (which were required for a specific game on a specific date) I needed to ensure that I figures arrived in a way that I could get them all painted in time while not stretching the finances and incurring the wrath of the Domestic Controller.
Now I find myself in an odd situation. For the first time since 2016, when I started managing a project plan, my schedule looks like this:

As you can see after 20 February there are no figures on hand, no purchases and no new projects on the books.
There are a few items outstanding in existing projects, namely:
- Franco-PrussianWar
- Prussian Generals
- French Generals
- French Dragoons
- French Cuirassiers
- Napoleonic Swedish
- Generals
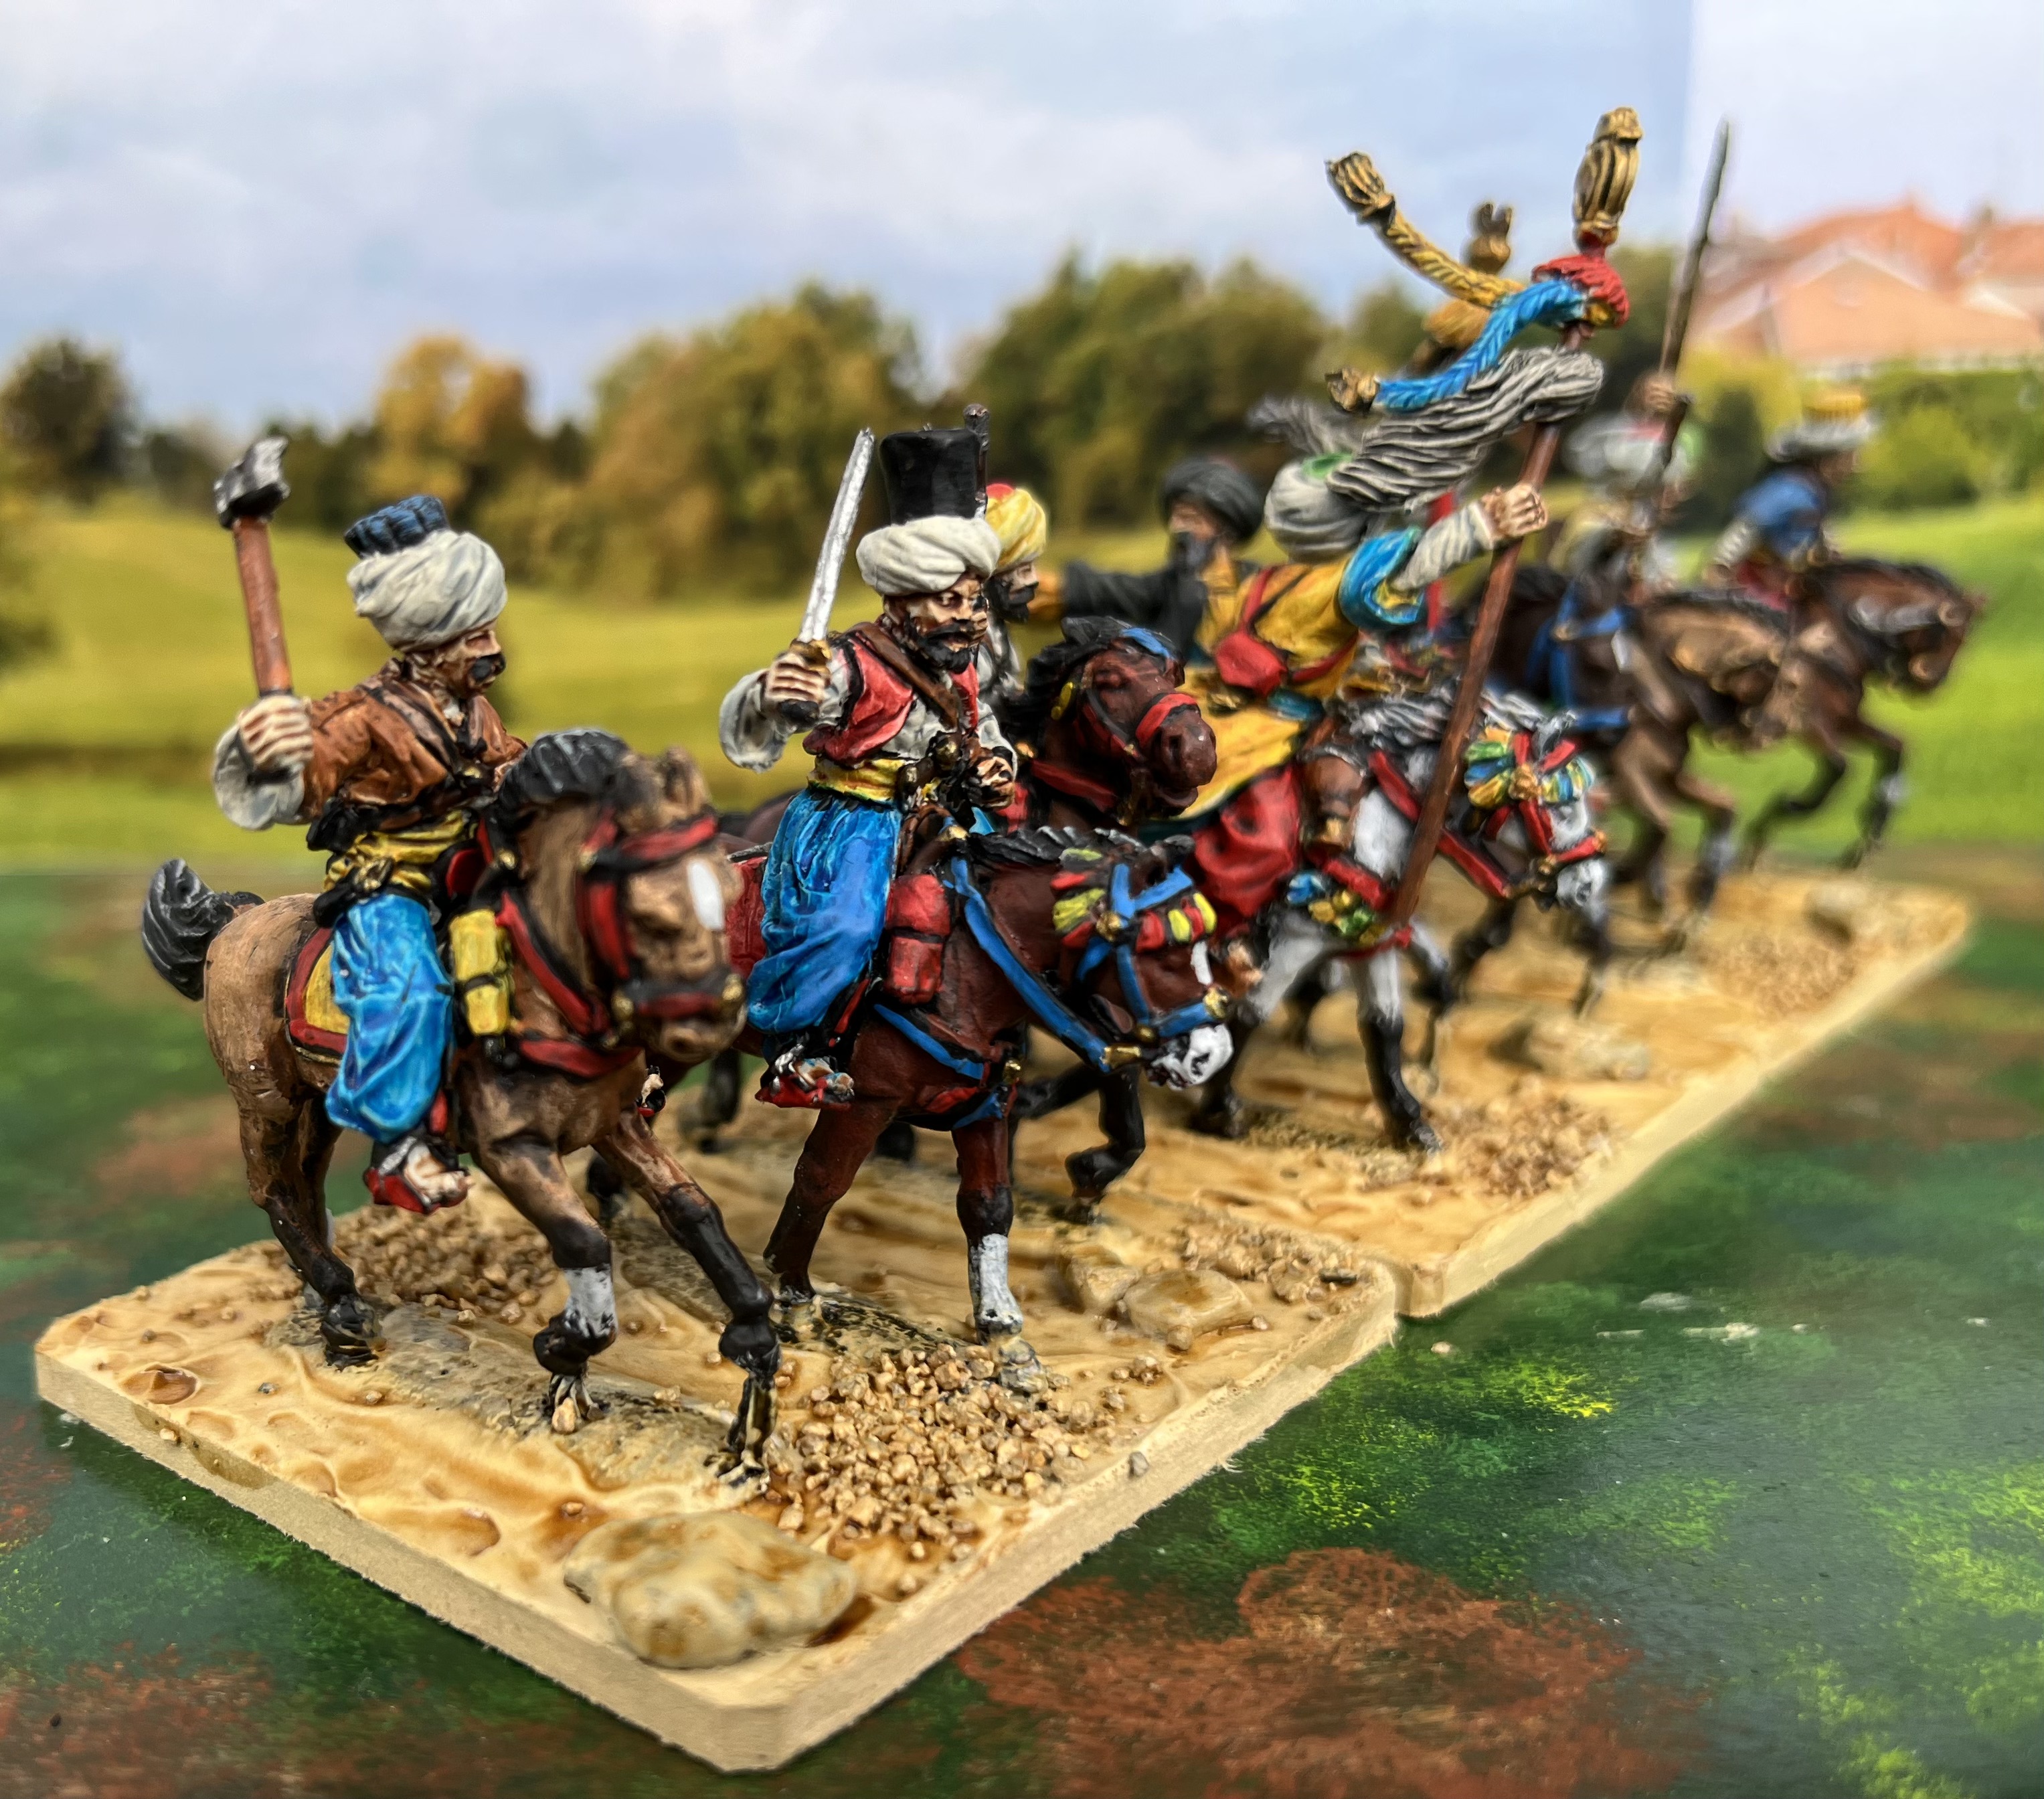
- Napoleonic Ottoman
- Commanders
- Artillery
These items are not yet released and no date for the release has even been hinted.
I am serious about living up to my resolution to cut purchases, but with nothing on the horizon, what to do? How will I fill my evenings?
I do have a few hobby related projects to work on. The main one is to complete the work on my games table, but due to constraints on health that can't be done probably until April and it is certainly not an evening task.
The table creates more opportunity for terrain work because by expanding it by one tile on each axis creates an issue with the quantity of terrain tiles because it means that to cover the whole table I will need 60 tiles whereas my current table only requires 45. The issue is that my current count of tiles is 70 and twenty of those are rivers or streams, so unless I want a river or stream on every table I need to add more tiles - 20 of them, twelve or fourteen of them to be just plain and the remainder plain with a road section, but again those are not an easy evening task.
I do have a few rebasing and small terrain projects to undertake which will keep me busy in the evening for a while - although it is unlikely that they will keep me busy until those outstanding items get released.