Following on from the previous terrain board post I set about building the first of my insert pieces that is going to be some fields for the North American theatres with wooden rail fences.
The first thing was to put an irregular “lip” around the piece. This was done by simply done by cutting the edges of the lip with a pair of scissors, that gives this effect:

I then glued felt on two fields, but wanted the third to be broken earth, maybe even ploughed. Then I went around the ragged edge and glued felt to it, except in a few places where I wanted patches of earth. Once all this felted area is sprayed I will place the fences.


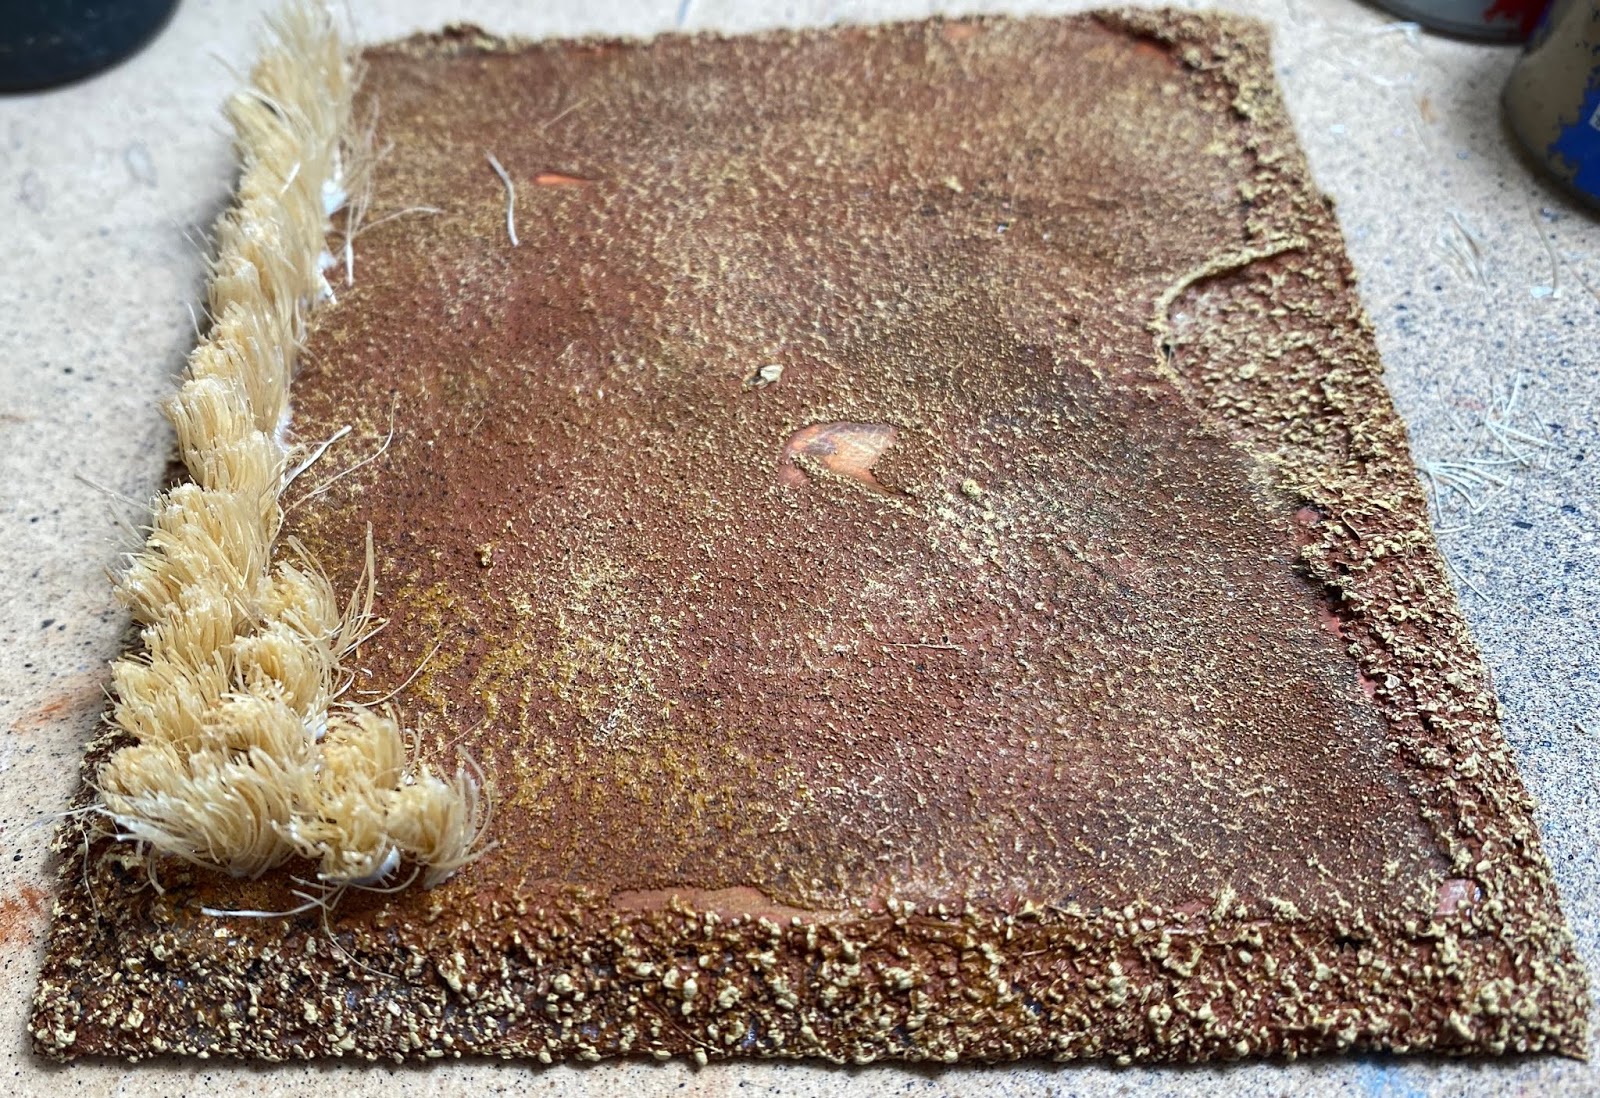
Above the piece before and after spraying
After spraying the sand was applied to the exposed earth areas and when dry were painted.

After spraying the sand was applied to the exposed earth areas and when dry were painted.

The fences were constructed from my old standby – matchsticks. I considered using the Renedra fencing, but mine, when fitted, are actually a bit more robust. Once they were built they were sprayed black and then dry brushed into a weathered wood grey/brown, before being glued into position around the fields.


The gates were then built and fitted.


The gates were then built and fitted.
Finally the optional pieces were constructed.
The first is the wheat field. The base is a piece of foamboard with bevelled edges which were covered with coarse sand while the top had a fine sand applied. The whole thing was painted on some brown tones. Then the tedious part began...glueing several hundred pieces of sisal twine to create the wheat. Here the task is just started...

...and the end result.

The second piece is a piece of rough ground, on which a track runs past the fields. For this I used a piece of foamboard. I beveled the edges, cut out the track and added some large boulders, using some bark from the garden, and some gravel for smaller rocks. I added some areas of pre-sprayed felt to get some consistency with the rest of the terrain boards and added foliage, grass tufts, the occasional tree stump or fallen log to break up some of the squareness of the piece.

The first is the wheat field. The base is a piece of foamboard with bevelled edges which were covered with coarse sand while the top had a fine sand applied. The whole thing was painted on some brown tones. Then the tedious part began...glueing several hundred pieces of sisal twine to create the wheat. Here the task is just started...
...and the end result.

The second piece is a piece of rough ground, on which a track runs past the fields. For this I used a piece of foamboard. I beveled the edges, cut out the track and added some large boulders, using some bark from the garden, and some gravel for smaller rocks. I added some areas of pre-sprayed felt to get some consistency with the rest of the terrain boards and added foliage, grass tufts, the occasional tree stump or fallen log to break up some of the squareness of the piece.

The third optional piece, that will have the same dimensions as the one above, will have a farm building on it, but I have nothing ready built that will fit in the space so it will have wait until I get the building bug again.
So it was done.


And with the optional wheat field in position.

Here it is fitted into the main board in a three different configurations.


Over the next few weeks I will work on a European variant.


Over the next few weeks I will work on a European variant.
Outstanding! I wish I had your skill on terrain construction.
ReplyDeleteThanks Jonathan I am really pleased with this...so pleased that I am going to start on the second version of the insert that will be a European variant.
DeleteThis is very nice Mark...I think , the best tile yet! How long does it take you to do the rail fences...I have made some too and would like to do more (for 1812) but I found it a very tedious process and can't motivate myself to make any more!
ReplyDeleteMatchstick fences are really quick and they are cheap... you can get a bag of 1000 at Spotlight for a few dollars. Then with a bit of PVA I can make a couple of meters in a night and paint them the next night.
DeleteSounds like the same concept but the only part that sounds the same is you can get lots of match sticks cheaply! I find the whole process quite fiddle and time consuming....mind you I don't think I have ever had the patience to spend two hours making fences, so maybe I could match your output with a bit more dedication!
DeleteLOL. This from the man with boxes and boxes of middle eastern buildings?
DeleteLovely and smart modular terrain!
ReplyDeleteBest Iain
Thanks Iain. This piece provided some interesting challenges.
Delete