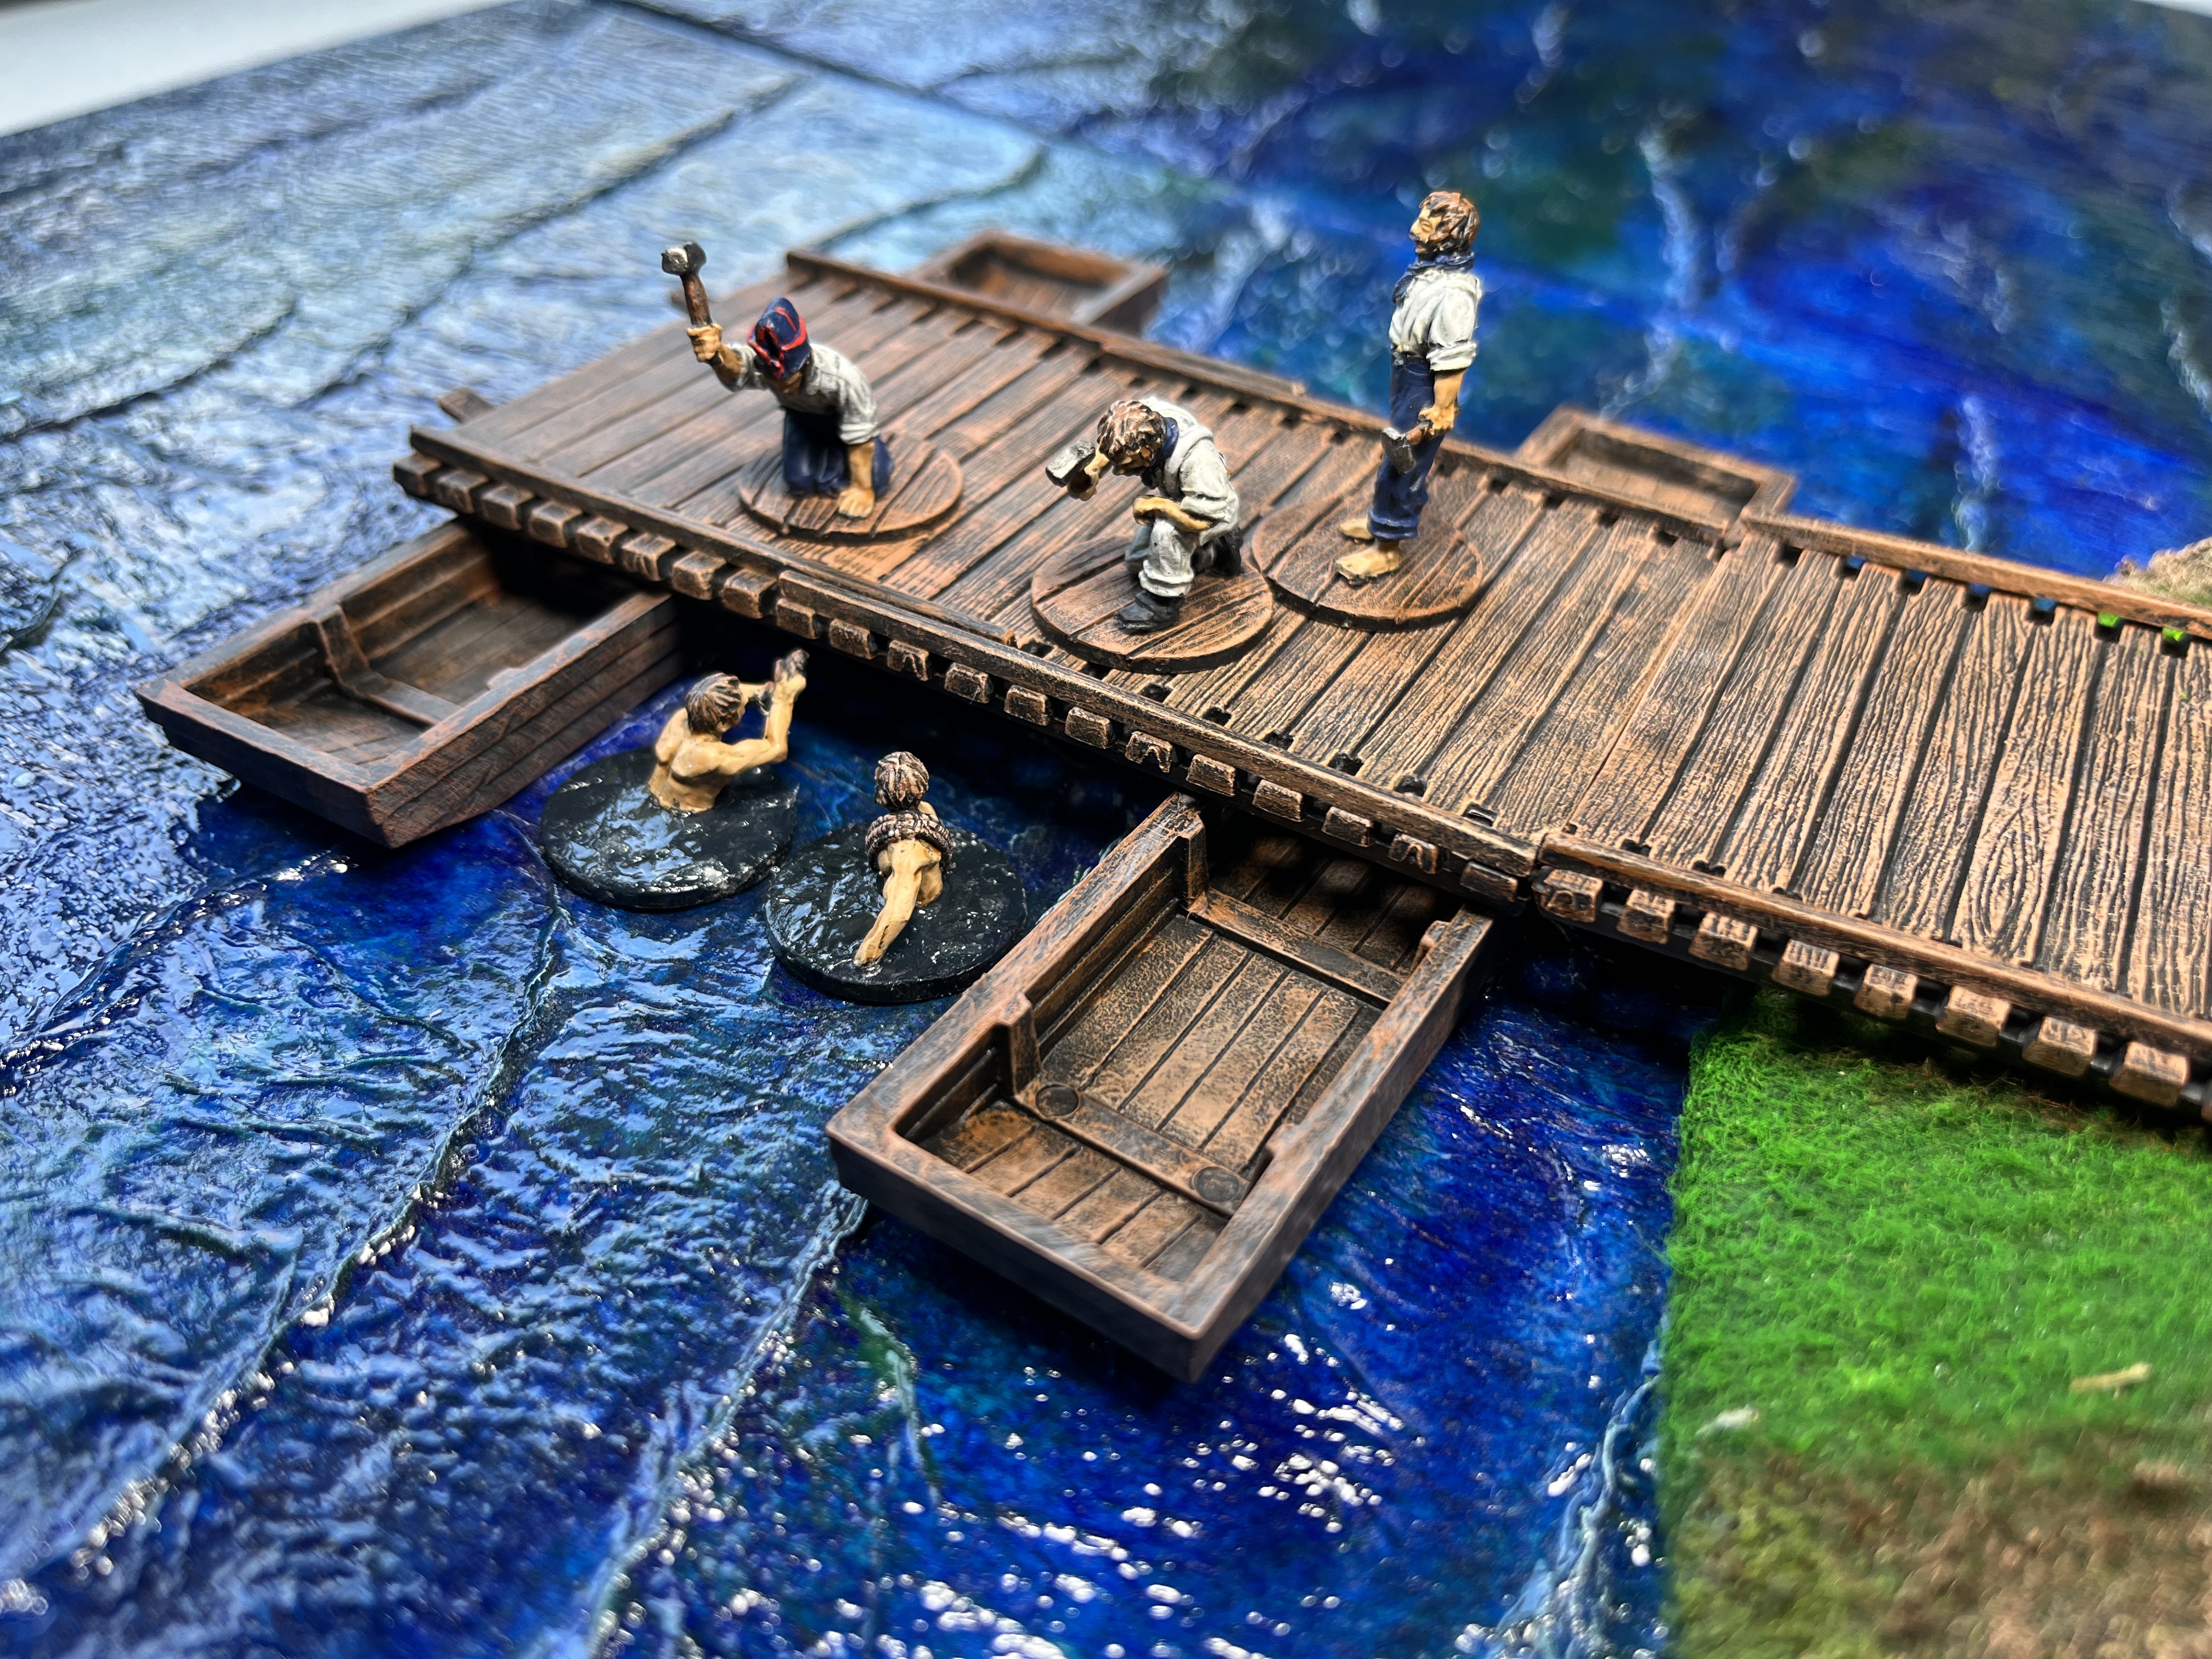
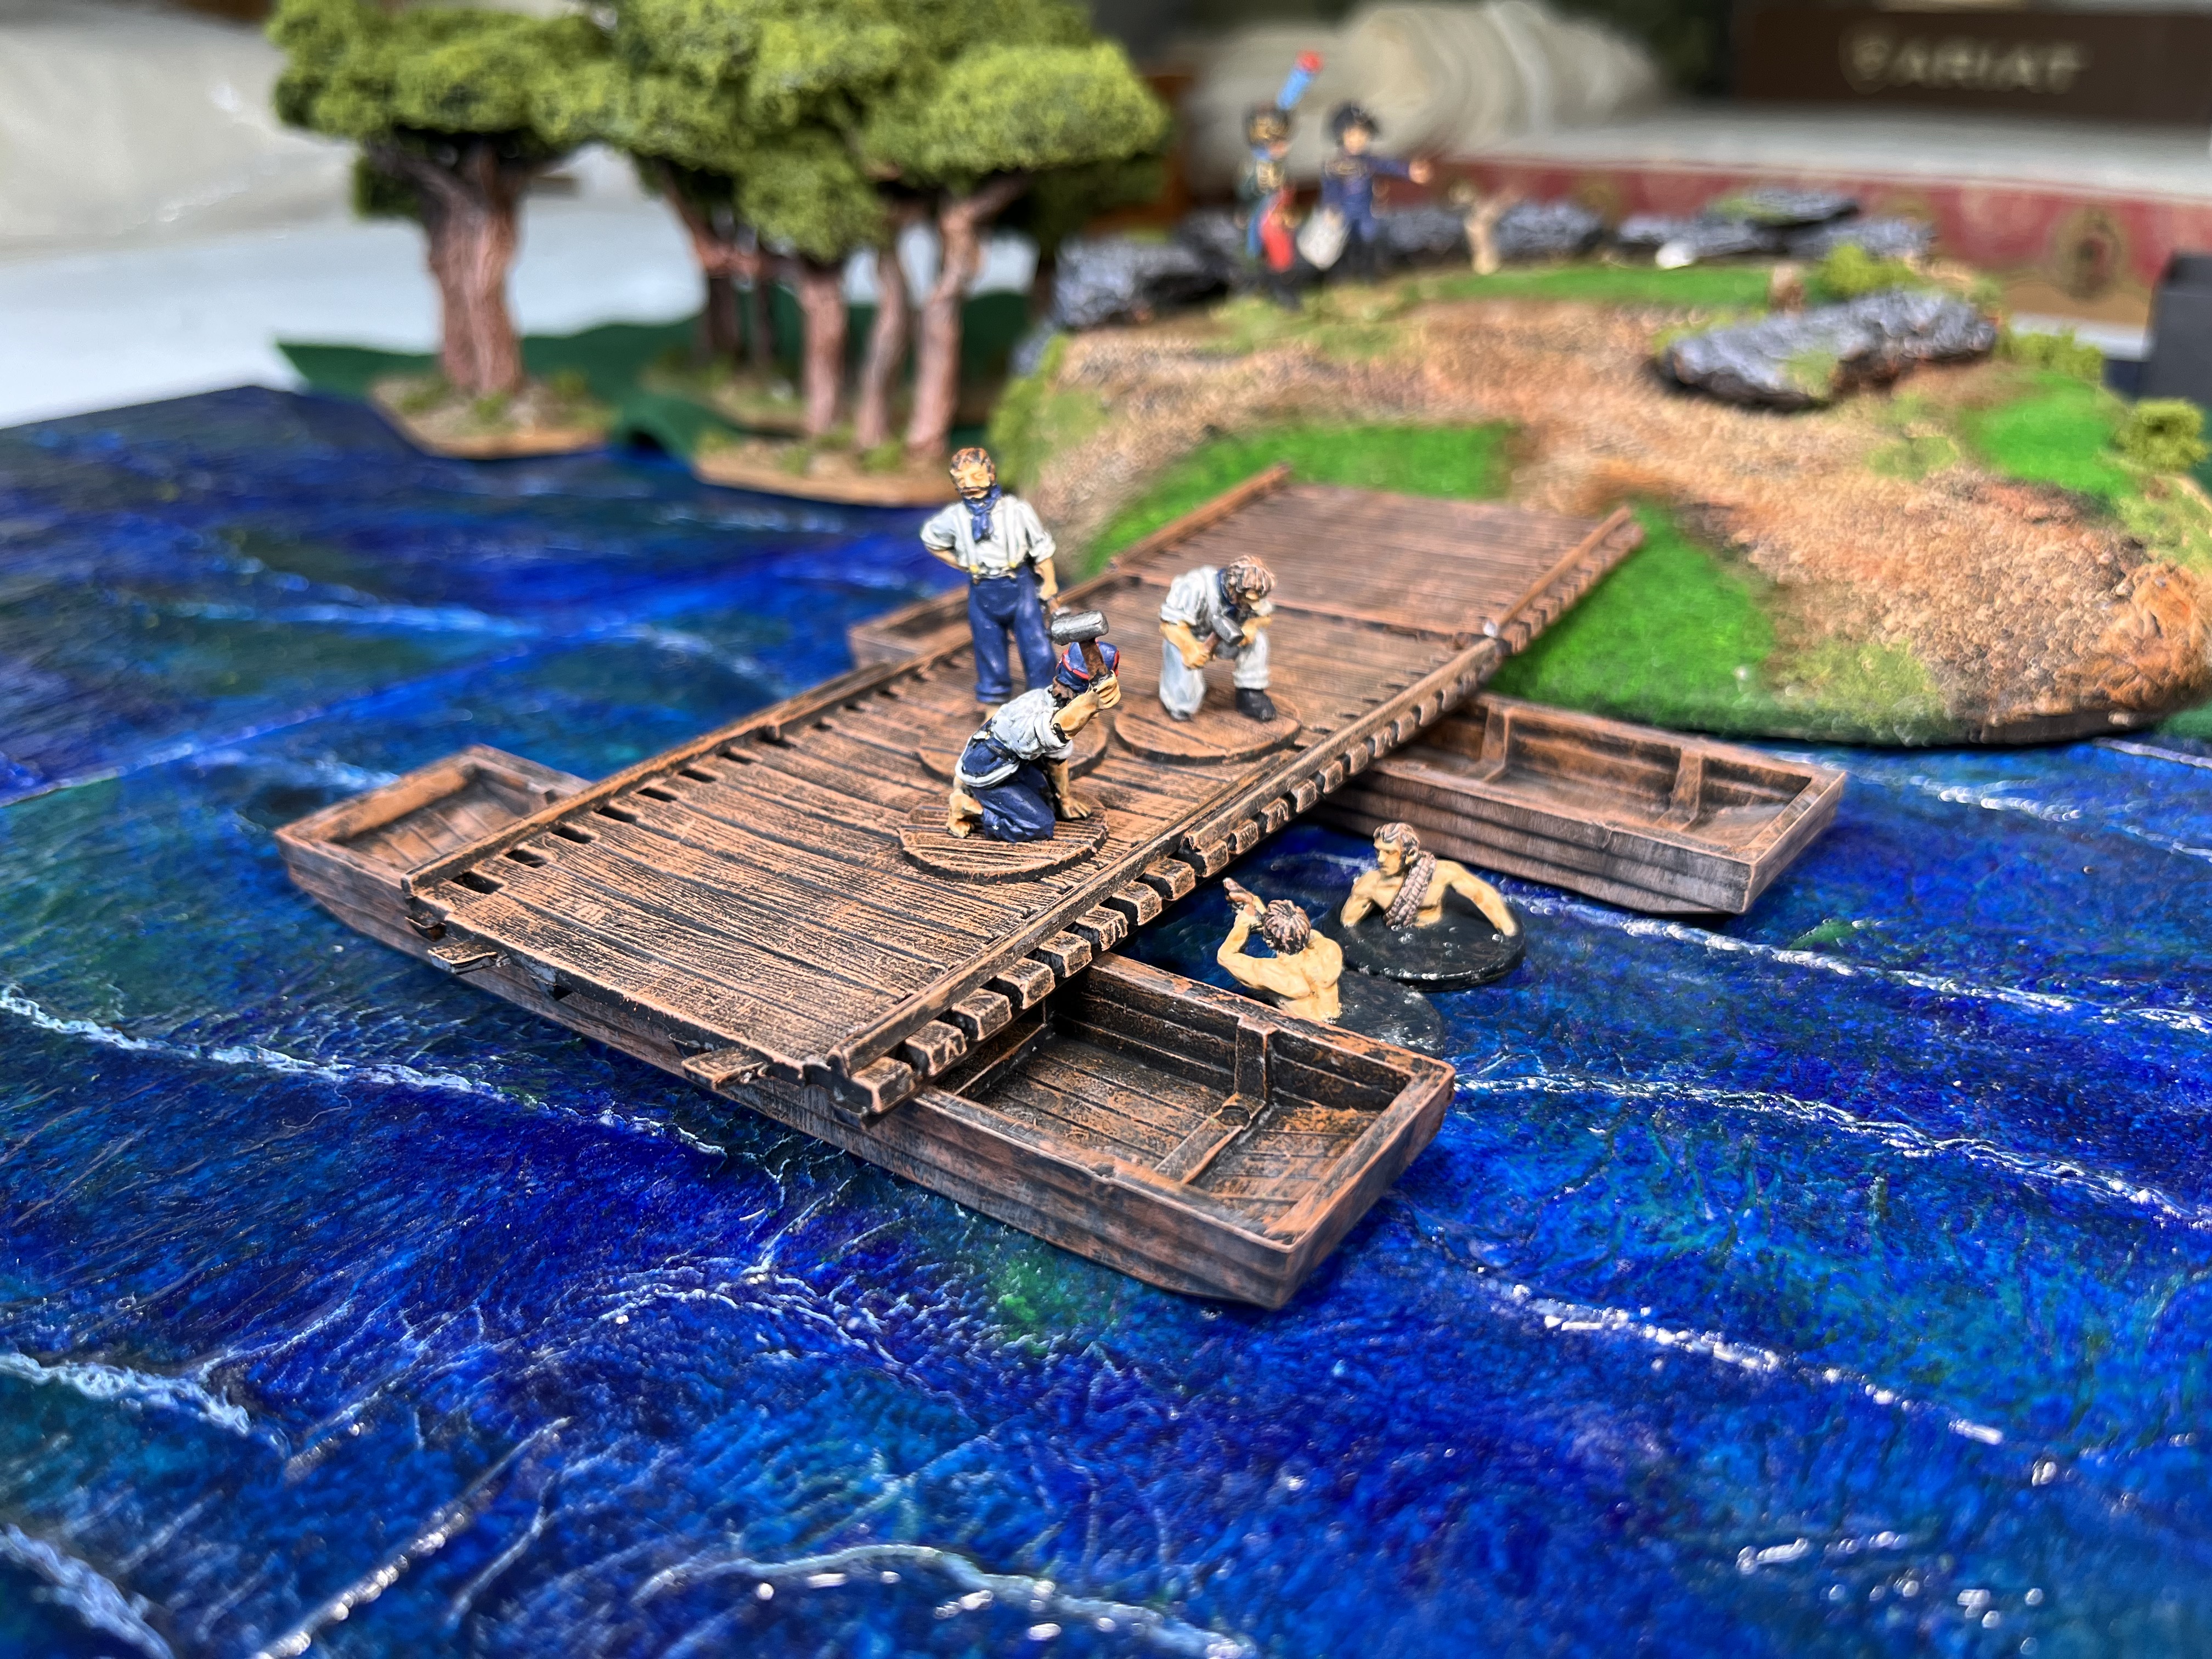
My continuing work on my oddball vignettes has moved onto the civilians.
I ordered four sets of the new Perry Napoleonic civilians. There are another four sets in the range, but regrettably they were out of stock. So another order will need to be placed.
The first batch are the workmen.


And in their appropriate settings...


 |
| This reminds me of an old (very old...I mean 1968) Pink Floyd song Careful with that Axe Eugene |
 |
| The village comes out to watch the parade |


 |
| And catch a rare glimpse of the Emperor |


The lead pile is running very low right now, with little chance of replenishment in the near future thanks to some unknown teenager of questionable parentage who threw rocks through two of our windows (and through the neighbours too). The resulting $750 repair bill then the $500 to install some cctv gear has seen my budget for toys diverted for the rest of the year.