Back in October we played part one of a two part American War of Independence game. On Sunday we played part two of that game.
In the first game the Franco-American force had aggressively attacked and knocked the British about quite quickly. One British command, the largest one by chance, chose not to come on the field and preserved itself entirely for the next game. While this cause some concern for the other British player and his Hessian colleague, it proved to be a good decision because the British could fall back on an intact command in a sound position.
The Franco-Americans had some problems in the second game in that six militia unit that were engaged in the first game, opted not to cross the state line and as a result their numerical superiority was lost.
So the setup. The British commander had to prepare the defence of his home base - the town about half way in from the northern table edge below B2 in - from the sketch map below.:
He was permitted to deploy his force (one brigade of four and two brigades of three battalions and one gun) anywhere across the table but no closer that 600mm to the southern table edge. A redoubt stood in front of the town and could be occupied by one gun and a battalion. The smaller works to the west of the town could be occupied either by a gun or a battalion. The Hessians (three battalions, a jager company and a gun) and the other British command (six battalions and two guns) would arrive at points B1 or B2, but both could not arrive at the same point. Their arrival would be diced for and they could arrive any time between turn two snd four. Only troops that were in line of sight needed to be place on the table.
The British commander chose to deploy one brigade behind the ridge to the west of the town, one behind the town and one in the fields to the east of the town, with his gun in the redoubt. The other British force was directed to enter at B1 and to move up onto the ridge were the works were. The Hessians were to arrive at B2 and extend east.
The Americans were allowed to enter at A1, A2 or A3. There were time delays for arriving at A2 and A3. They chose to bring on two commands at A1, with one moving to take the ridge and the other moving to take the redoubt and push on to the town. The French were to arrive at A3, but would not arrive until at least turn 3.
 |
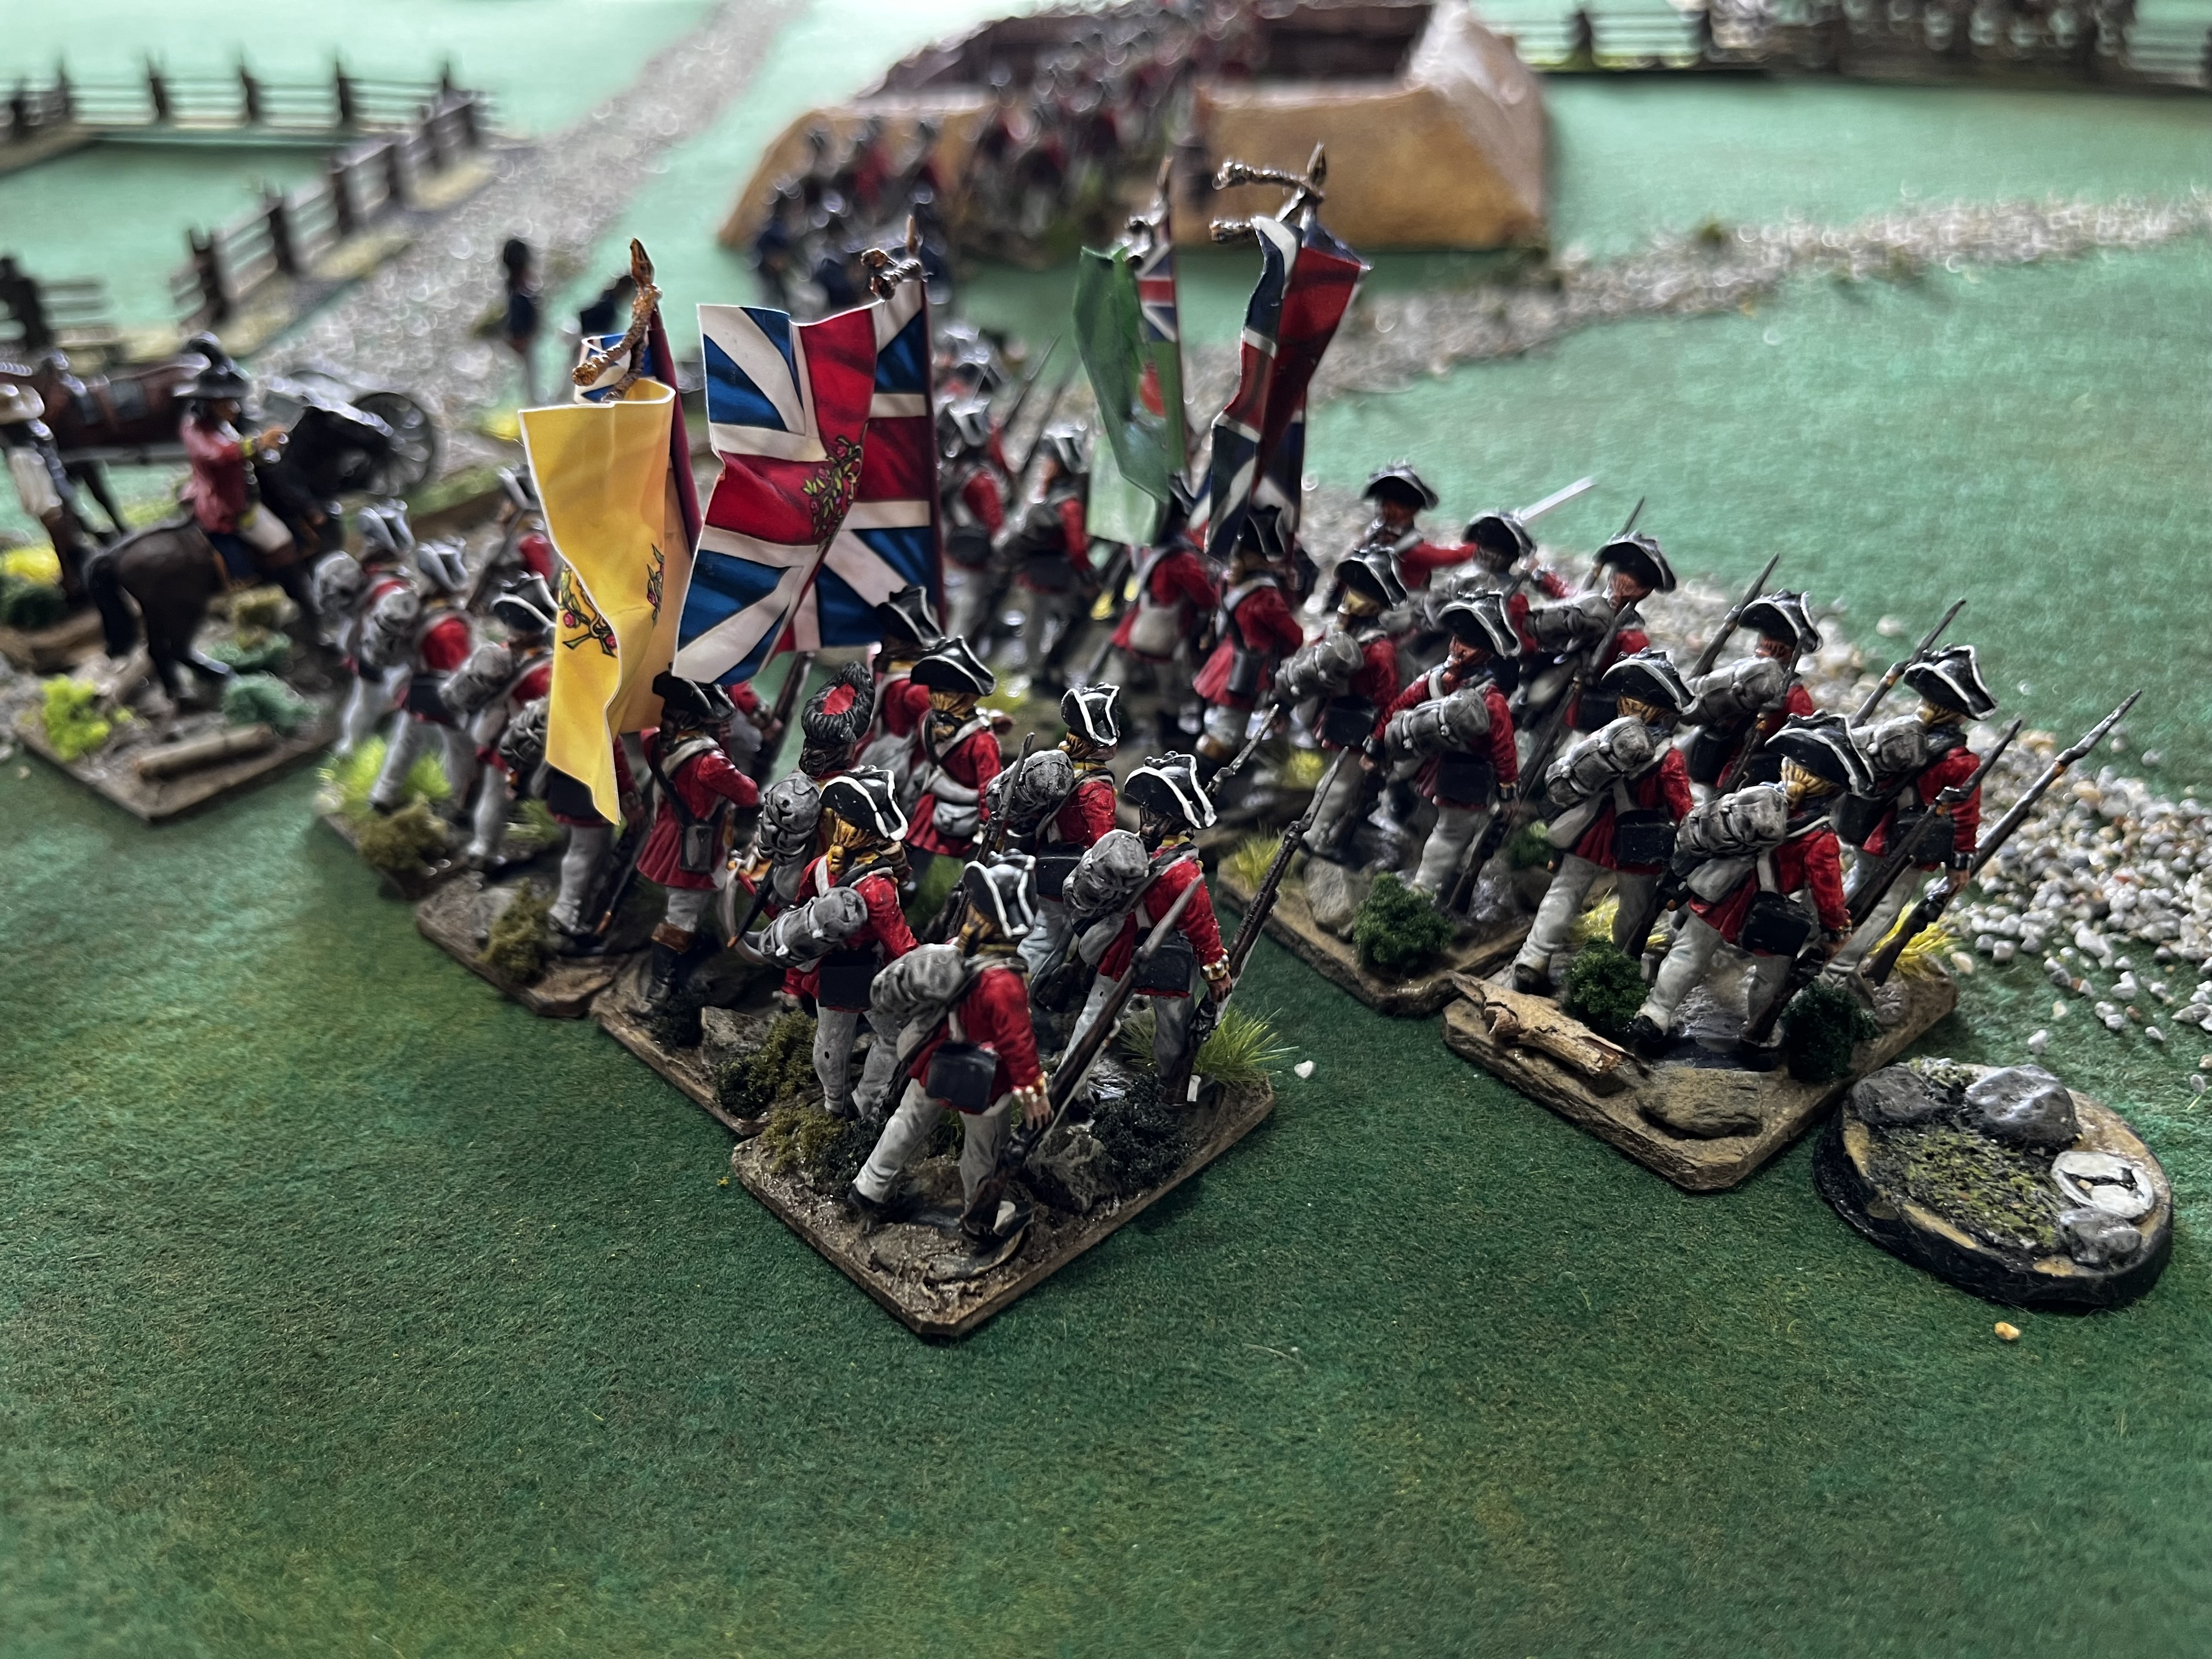
| The Americans arrive |
 |
| Followed by the British off table force. |
 |
| Both sides make for the vacant works west of the town |
 |
| The British get there first |
 |
| But the Americans charge... |
 |
| ...and push the British back. |
 |
| The British rally. |
 |
| Led by their brave general... |
 |
| They surge forward... |
 |
Driving the American regiment back.
|
Believing that the task of taking the ridge is too great the American left backs away, leaving two regiments to face six British battalions, and then moves to support the attack on the British centre.
Here things have gone well for a brigade of four American regiments.
 |
| The British withdraw the gun from the redoubt an a battalion occupies it |
 |
| But it is carried by an assault by two American regiments... |
 |
| ...that drive on, dispersing the British battalion and threatening the gun beyond. |
 |
| The gun attempted to pull back but was overrun |
 |
| The British reinforced their centre |
To the east of the town the French and Hessians faced off. The French had the numerical advantage here, with eight battalions against three.
The Hessians held out bravely, but the best they could hope to do was hold up the French.
The French then swung in to engage the British, who rushed troops to face the threat.
In the town the British struggled to contain the American attack.
Meanwhile the British on the western ridge finally managed to get their line formed and put the Americans under pressure.
Here the battle ended. The action in the town had was at a stalemate while on the American left, west of the town, the Americans were on the back foot, while the French were ready to put pressure on the British left. Honours were deemed even.
Now a few extra photos:
.jpeg)


Super looking game, great photos, some really nice vignettes on the battlefield, really good.
ReplyDeleteThanks Donnie. Sadly not all of the vignettes made it too the table.
DeleteWhat a fantastic looking game Mark…
ReplyDeleteLots of toys and lots of action across the table…
All the best. Aly
Your description made it sound like an even and see-sawing affair, and so it proved. Lovely to see so many figures on the table. I haven't included any AWI French in my line-up, but am now thinking I need some.
ReplyDeleteYou know you NEED those French! They are lovely figures too.
DeleteGreat to see the next stage of this mini-campaign Mark:). A fine looking game and I'm glad the British got away with a draw, as I did fear for them early on based upon the AAR.
ReplyDeleteThanks Steve. In truth the British got off quite lightly in the previous game with a loss of only one complete unit and two others reduced.
DeleteClose ups are the best!
ReplyDeleteThanks Joe, to be upfront, most of the closeups are provided by fellow gamer John who took way more pictures than me.
DeleteLove it. I once did an ACW game with a very similar set up, and let players decide before the game where each command would enter with some being delayed / longer.
ReplyDeletegreat table and troops. and you drew that map with a pen! such confidence. 😁
Thanks Stew. I use that mechanism quite a bit in games to upset the certainty of reinforcements - the could arrive on turn two, but must roll a 5+ to arrive, with the odds improving on subsequent turns.
Delete