NOTE: Additional images were received after this item was posted. They are at the end of the post.
Sunday’s AWI game was set in Virginia. I wanted a game that would involve the British, Hessians, Americans and French and thought that an interesting field action might be a British attempt to halt the Franco-American force in Northern Virginia. And what better place for them to do that than long the banks of Bull Run.
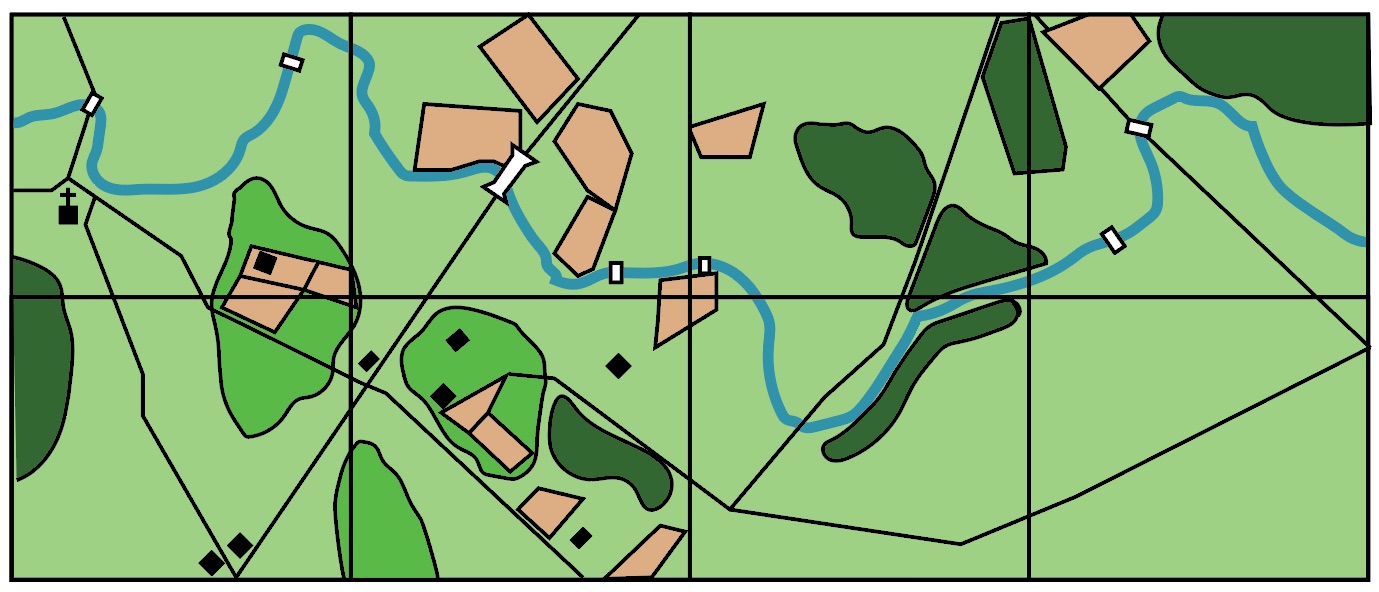
So I set up a terrain based on the field of the ACW battlefield of the First Bull Run from Sudley Ford to Blackburn’s Ford. My interpretation of the terrain is as below (the actual table layout did not follow the plan exactly, but was close enough).
Since we had eight players, the forces needed to be considerable and were:
- British: 18 line infantry battalions, 1 small cavalry unit, 3 field batteries
- Hessians: 4 line battalions, 2 jäger companies, 2 amusettes, 1 field battery
- Americans: 13 Continental battalions, 2 units of riflemen, 12 militia units, 1 cavalry squadron 4 field batteries
- French: 6 line battalions, 1 cavalry squadron, 1 field battery
The British were expecting an attack across Bull Run. At the start of the game one British brigade and the Hessians was in camp near the road junction on the lower left section of the table. Another brigade was in camp in the section to their left. The remainder of the force could be deployed anywhere below Bull Run, but not in the two top left sections and not within 150mm of a ford or the bridge.
The Franco-Americans could march onto the table at any point on the top edge, but did not see the British deployment until after they made their plan. All they knew of the British deployment was the location of the camps and that British patrols had been seen on the hills on the left.
Each side had three objectives and had to achieve two objectives to avoid conceding the game:
- The British
- Control the crossroad in the second to left lower sector at the end of the game
- Control the road junction on the right of the table at the end of the game
- At the end of the game 9 battalions had to be on the field in good order
- The Franco-Americans
- Control two of the three lower left sections at the end of the game
- There could be no good order British units north of Bull Run at the end of the game
- At the end of the game 11 Continental battalions had to be on the field in good order
Although they significantly outnumbered the British, the Franco-Americans had a tough task since nearly half their force was raw militia and a number of those units were classed tiny.
Here is how the game went.
The British deployed their two free brigades in the two left zones on the left while the rest of the force was positioned on the right. A large gap existed between the two wings, opposite the big bend in Bull Run.
 |
| The British extreme right |
 |
| Their position further to the right (on Henry House Hill) |

|
| And the British left, where the Hessians have reacted to the American approach and win the race to the hill in front of the camps |
The Franco-Americans chose to put two brigades opposite the British camps, the French in the big bend of Bull Run and one two brigades on the right. A reserve consisting entirely of small and tiny militia units were held off the table. With this deployment they began their advance.
 |
| The Hessians took the hill to their front and then charged down hill onto the freshly deployed Americans |
 |
| The quickly drove off three American regiments and their artillery support |
 |
| On the opposite flank the British also took the fight to the Americans. This action would hold the Americans on the northern bank here for most of the battle. |
 |
| To the left of the Hessians the British troops held another American brigade at bay (above and below) |
 |
| But here come the French |
 |
| They crossed Bull Run unopposed |
 |
Then they swung right to cut off the British on Henry House Hill
|
 |
| The American reserve marched boldly across the bridge into a wall of British fire and bayonets and two British battalions sent them promptly back across the bridge. |
 |
| While those two battalions were dealing with British the Militia, the French infantry cleared the other two from Henry House Hill |
 |
| The Hessians and British meanwhile crushed one American brigade and prevented another from crossing the Run. |
By 3:00 PM we had a decision. The British held one objective point, but lost the other. They also did not have 9 good order battalions left on the field. The Americans dominated two of the three zones they had to control giving them one objective, but lost a second objective because a Hessian unit was in their side of Bull Run, but they still had 13 good order Continental units on the field. So two objective to one gave a minor Franco-American victory.
In fact it was the French that carried the day. Their advance was completely unopposed until they reached Henry House Hill. They ended the fight with hardly a scratch.
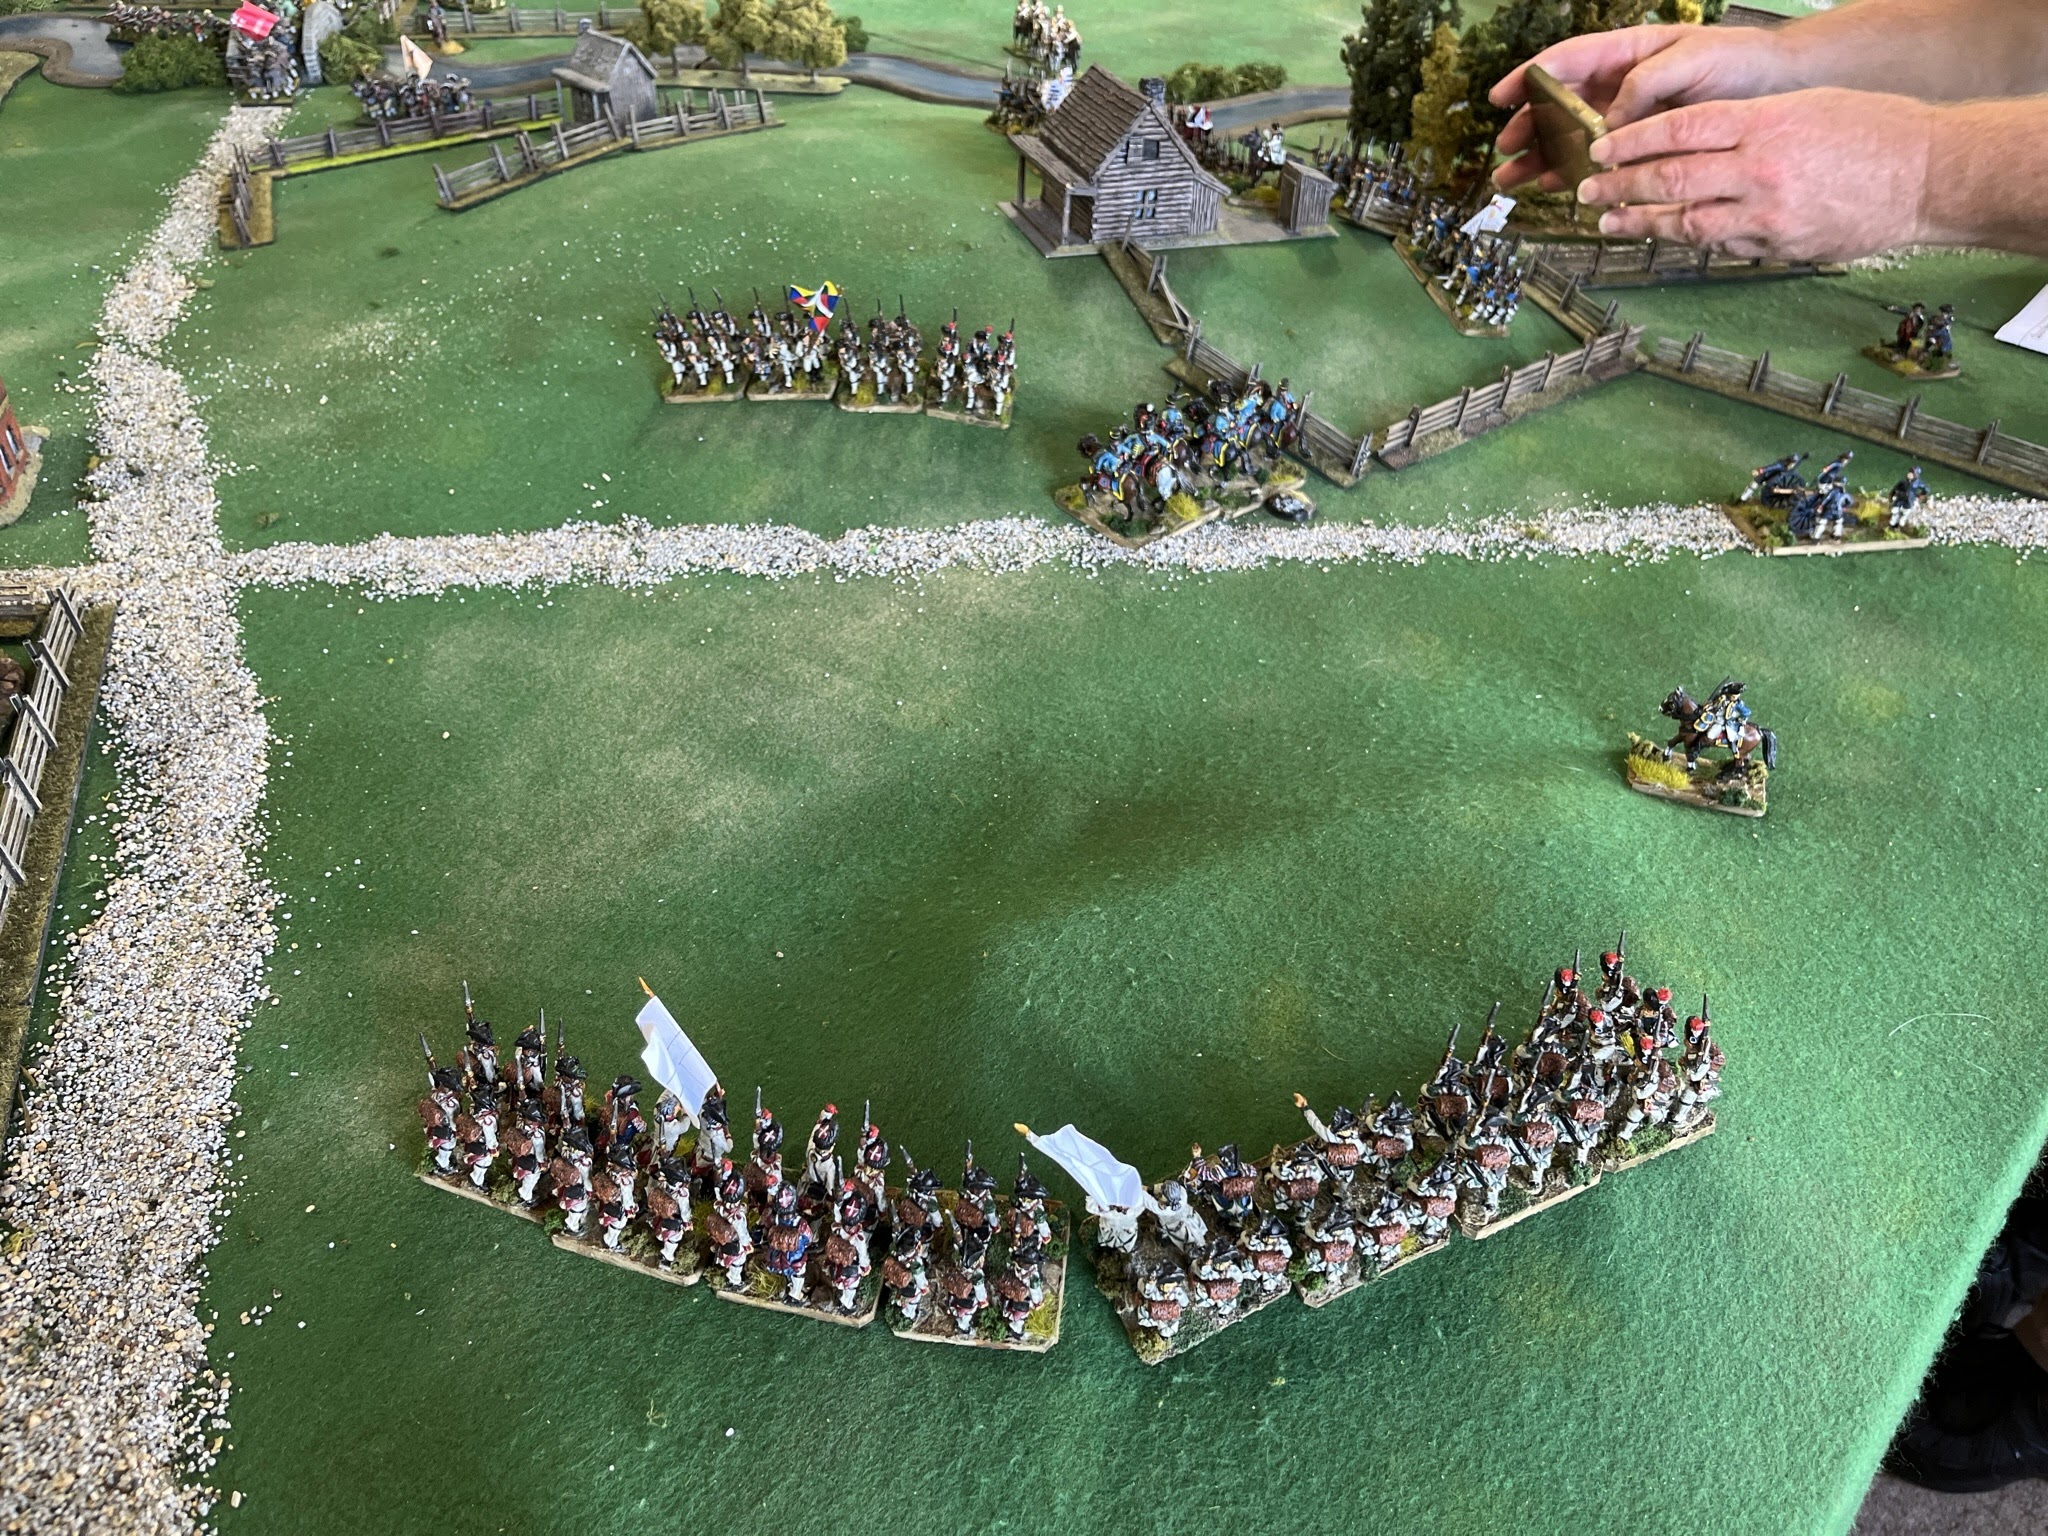
Additional images (provided by John L.) added since the initial post.