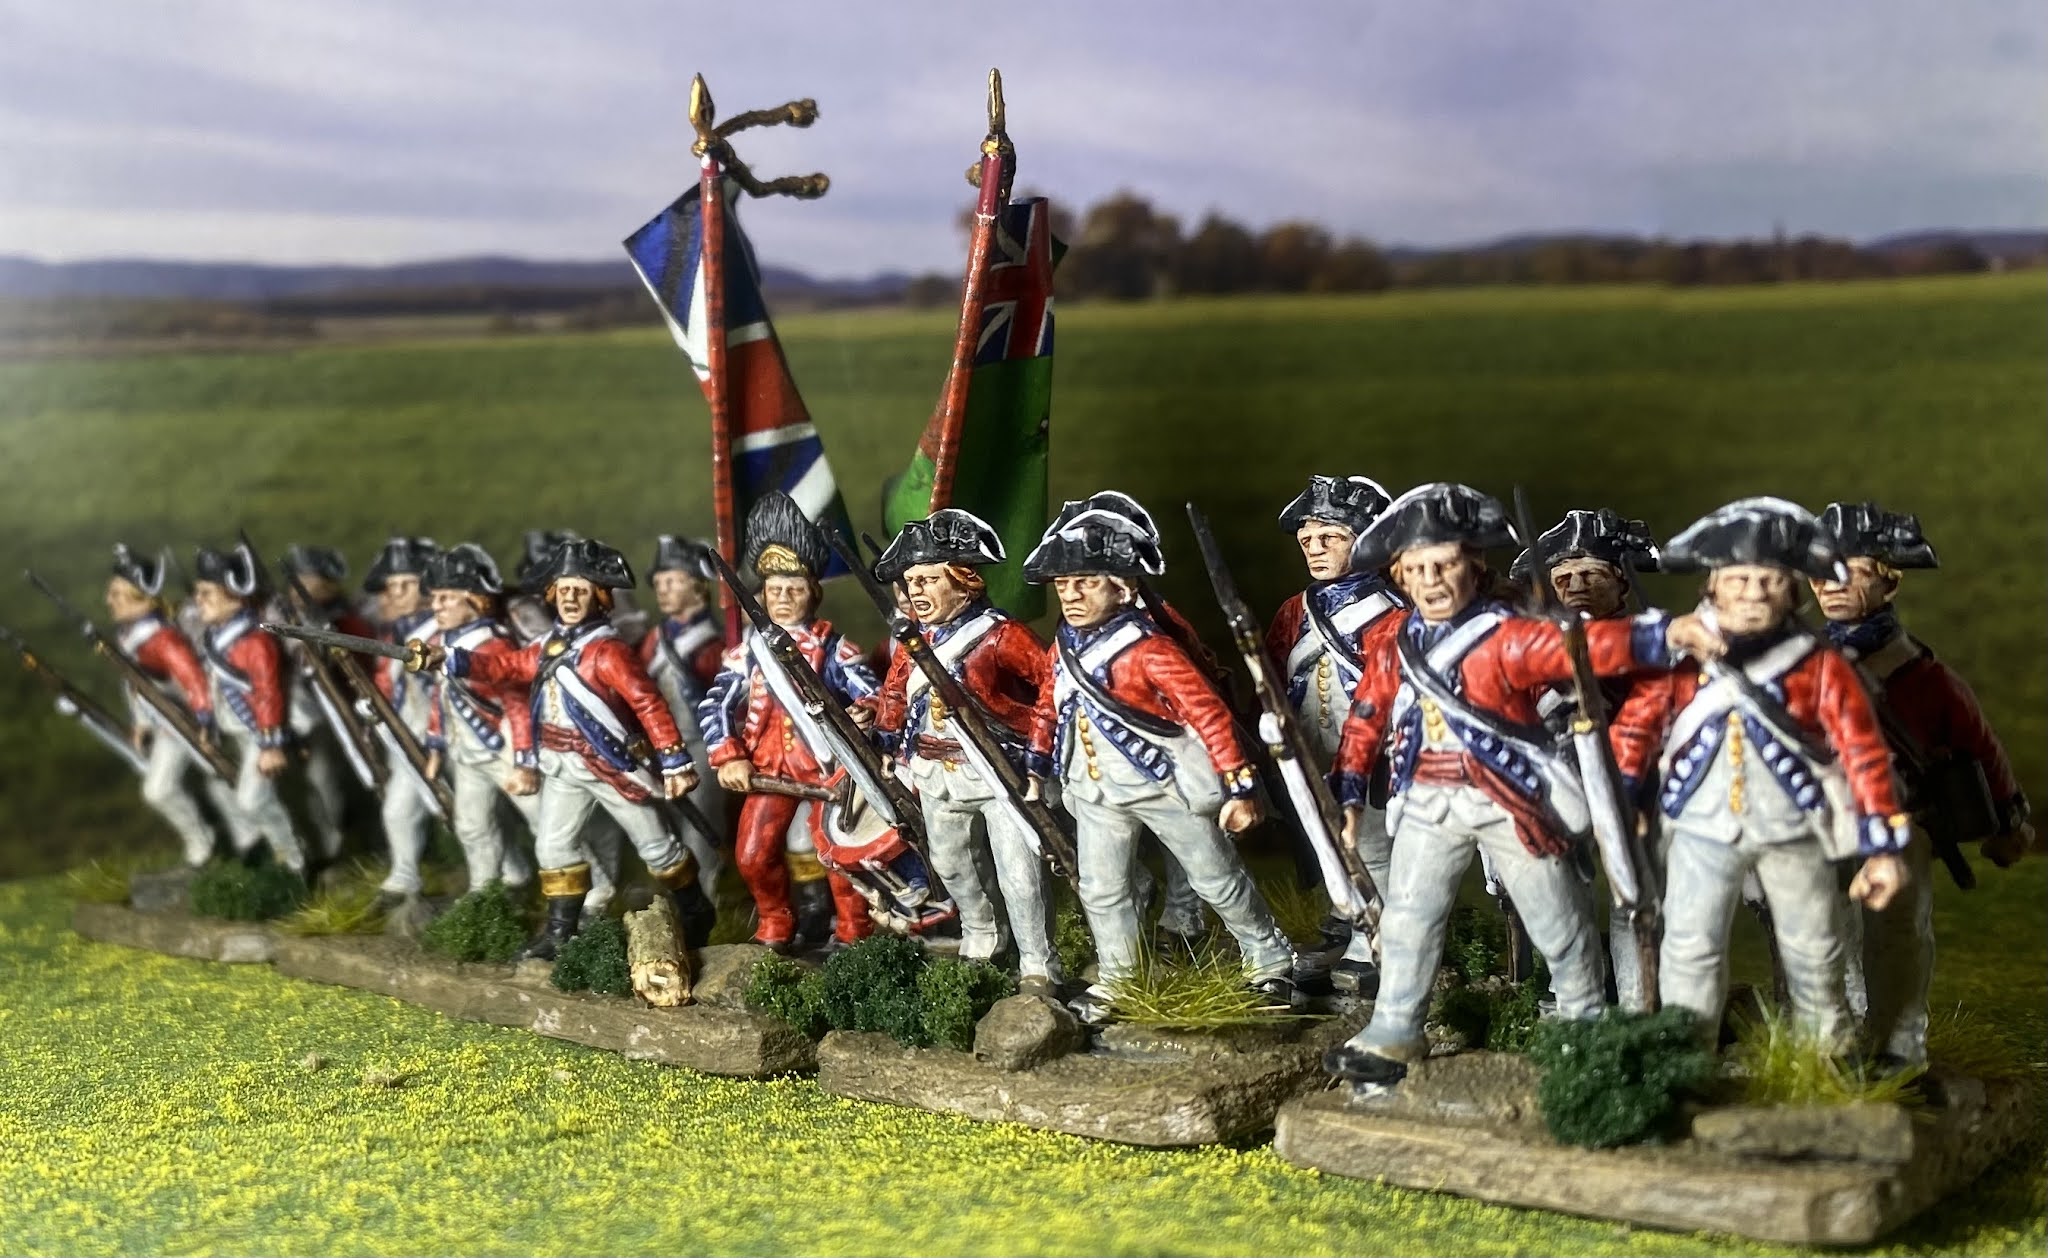
Fresh off the conveyor belt today is another AWI British line infantry battalion.


Five more battalions to go…
Fresh off the conveyor belt today is another AWI British line infantry battalion.
Five more battalions to go…
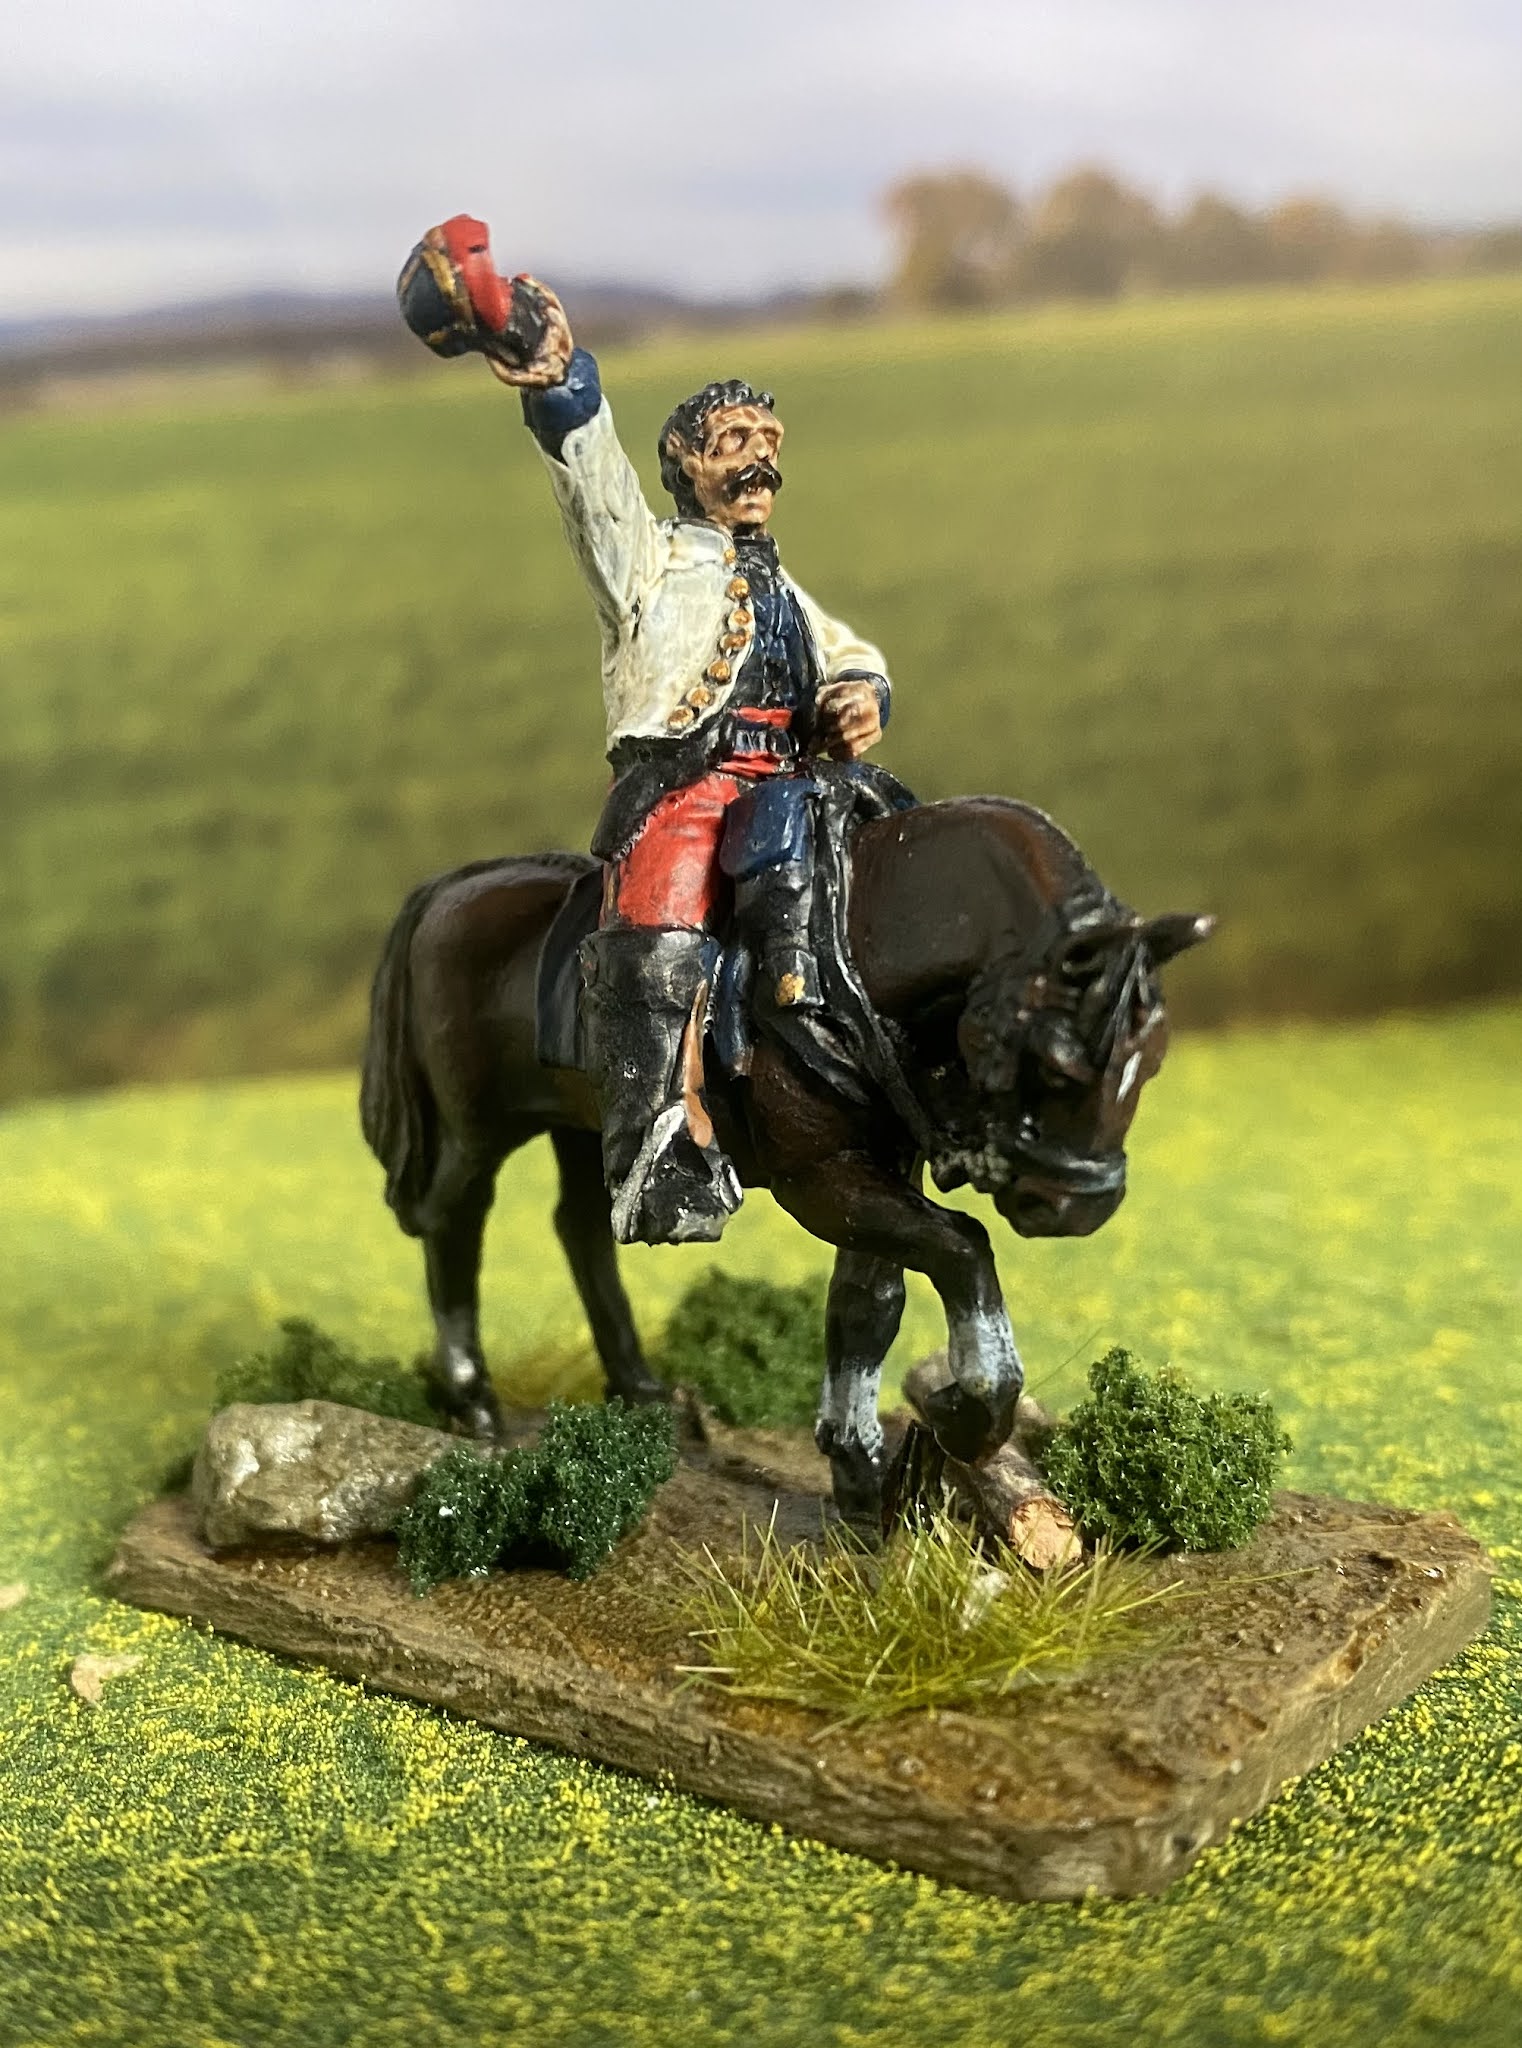
The latest additions to the Great Paraguayan War collection are these three Argentine mounted officers.


The completion of these will call a pause to the Paraguayan War collection for a while. There will be some more a little later, but I need to wait until the Paraguayan generals and Argentine artillery are released.
Next off the conveyer belt will be another British AWI unit.
If I think of my painting table as a leaf, I have spent the better part of this year as a caterpillar chewing steadily away at my yet to be revealed project. But the urgency of that project is diminished with the cancellation of this year’s Tarawera event and metamorphosis has occurred, freeing the wargames butterfly to flit between bright and shiny objects that have appeared near the painting table in recent weeks.
Evidence of this change has been seen of late with the posting of the Great Paraguayan War artillery sets and mounted officers, as well as the terrain tiles. But it is with this post that the complete transition to butterfly tendencies is demonstrated with the return to the American War of Independence and a long overdue expansion to the British force that I last worked on in January 2020, before the world went mad. The project yet to be revealed will continue, but at a less frenetic pace.
Presented here is the 9th Regiment of Foot, minus its standards (because I didn’t have the opportunity to print them before we were put into lockdown). This is the first of seven line battalions that will join the six that are already in the barracks. Another artillery set and a few battalions of Hessians are likely to depart foreign shores in the not too distant future to join them.


Meanwhile as I was preparing this post fresh reinforcements arrived from Nottingham.

These will be the cause of the butterfly going into overdrive, flitting between an even greater number of projects in the coming months, most of which will be reported on the pages of this blog.
Riding out from the uniform store today are three mounted officers from the Brazilian army.


These three are the first of two sets of mounted officers for the South American conflict and will be joined by three Argentinians shortly.
I have completed the second Brazilian artillery piece.


Once again this is an Armstrong gun, loading this time, and has some nice touches with a gunner with his hand in the breech screw and another about to insert the shot into the breech.


There will be another couple of Brazilian guns at some stage, when the Perrys turn out the other field guns, and I will need a mountain gun, of course.

As we settle into another lockdown I wish I had a few more sets like this on hand.
Today’s regular Sunday game was set in Egypt in 1801. Having locked the French up in Alexandria, the British forces under Hutchinson have commenced their movement on Cairo. The fortified town of Rahamaniyeh was taken and the army advanced along the fertile edge of the Nile while a flotilla of small boats ferried supplies up river. Near Shubrakhit, some fifty miles north of Cairo, the Nile bends and a broad island restricts the channel. Here the French have built a redoubt in which they have positioned a battery to dominate the channel. If the advance is to be pressed further the position must be carried. It is known that a significant French force is deployed in support.
 |
| The table plan with the Nile off table to the left. The blue line shows the limits of French deployment. Where the line is on or outside the table edge, it shows a possible point of entry. The red line shows the possible Anglo-Ottoman points of entry. |
The French force is made up of three infantry brigades and two cavalry brigades.
The British had four infantry brigades and are supported by an Ottoman force of five cavalry and six infantry units.
 |
| The initial deployment, with the redoubt left centre. |
 |
| The Guards and Emigre brigades prepare to advance |
 |
| The French right |
 |
| Above and below, Moore’s Brigade advanced on the British left, with the Highlanders leading, against the redoubt |

 |
| The Ottoman cavalry swarm forward |
 |
| The Hompesch Hussars press forward |
 |
| Craddock’s Brigade advances |
 |
| Above and below, the Ottomans swarm around the village |

 |
| The Ottoman cavalry catch the dromedary troops out of square, and eventually break them |
 |
| The Chasseurs a Cheval about to break the Ottoman cavalry |
 |
| Above and below, Ottoman infantry |

 |
| The Guards and Emigre Brigades begin their swing against the French left |
 |
| The British artillery preparing to pound the French in the redoubt |
 |
| The Navy drags up the guns |
 |
| The final position around the redoubt…the last two French battalions on the table |
The Great Paraguayan War was not a war in which field artillery played a big role and these two Paraguayan gun sets complete the field artillery I am intending to join the Paraguayan army.


There will be more Paraguayan guns, but they will be heavy siege pieces that were positioned within the fortresses around which many of the campaigns were fought. But I have over spent my gaming budget this month, so these sets will be ordered a little later in the year.


Next up is another Brazilian set.
In January last year I started a proof of concept for terrain tiles. I was more than happy with the results Part One Part Two and I have used them in a few solo games that that have featured on these pages. But as pleasing as the results were there were a few problems with the design. The size of 1200mm x 600mm (4ft x 2ft) that I initially liked because it reduced the number of joins proved to be main problem. First it was quite heavy and awkward to lay accurately on the table. Second storage was going to be a problem. So I needed a rethink.
Storage needed to be the decision driver. For storage I want to use a flat pack cupboard available at most hardware stores that will fit nicely in the garage. I can get a suitable one with a 450mm depth so 400 mm square was an option, but the widest I could get had an internal measurement of 750mm so only one tile could fit on a level which would leave a lot of wasted storage space. In the other hand if I went to 300mm square I could fit two tiles across the width and make better use of the cabinet. So size was decided - 300 x 300 although 300 x 600 was still a practical option. Next was getting the weight down which was going to mean using some sort of foam. It would have been quite a simple solution to simply use a block of polystyrene, but I have this obsession with damage to the edges - one of my pet hates is to see terrain tiles where the edge has been damaged and exposes the white polystyrene - and I want to give some sort of rigidity to protect the edges. I also want to lock these together and solution for this is to use rare earth magnets. So another proof of the concept is required.
To hold the magnets and to give that rigidity and edge protection I need some sort of frame and for the magnets to line up those frames were going to need some precision construction. Now I can do a bit of carpentry, but lack the skills and workshop for precision manufacturing. What I am good at is graphic design and it only took a few minutes to knock up a design a frame that could be precision laser cut and I could accurately position magnets. I then sent the design off to a laser cutter who turned the job around in a day, providing me with four sets.
 |
| The raw cut pieces for four frames. |
 |
| The frame assembled |
With that done I moved onto the surface covering which was always going to be the same felt that I used on my earlier trial. I did consider using a flocking gun, but it can be a messy process. I get away with a lot with what I make at home, but I think fine flock fibres finding their way around the house would be seen as a step too far by her indoors.
For my proof of concept I made one plain board and three with roads - one straight across the board, one diagonally across and a slightly sunken junction. In the shot below the plain board has had its edges trimmed.

For the base of the roads in glued a mixture of fine and medium grain sand. Oddly in the image below the road seems to bulge above the surface, but it is a total illusion because the area around the junction is actually recessed.

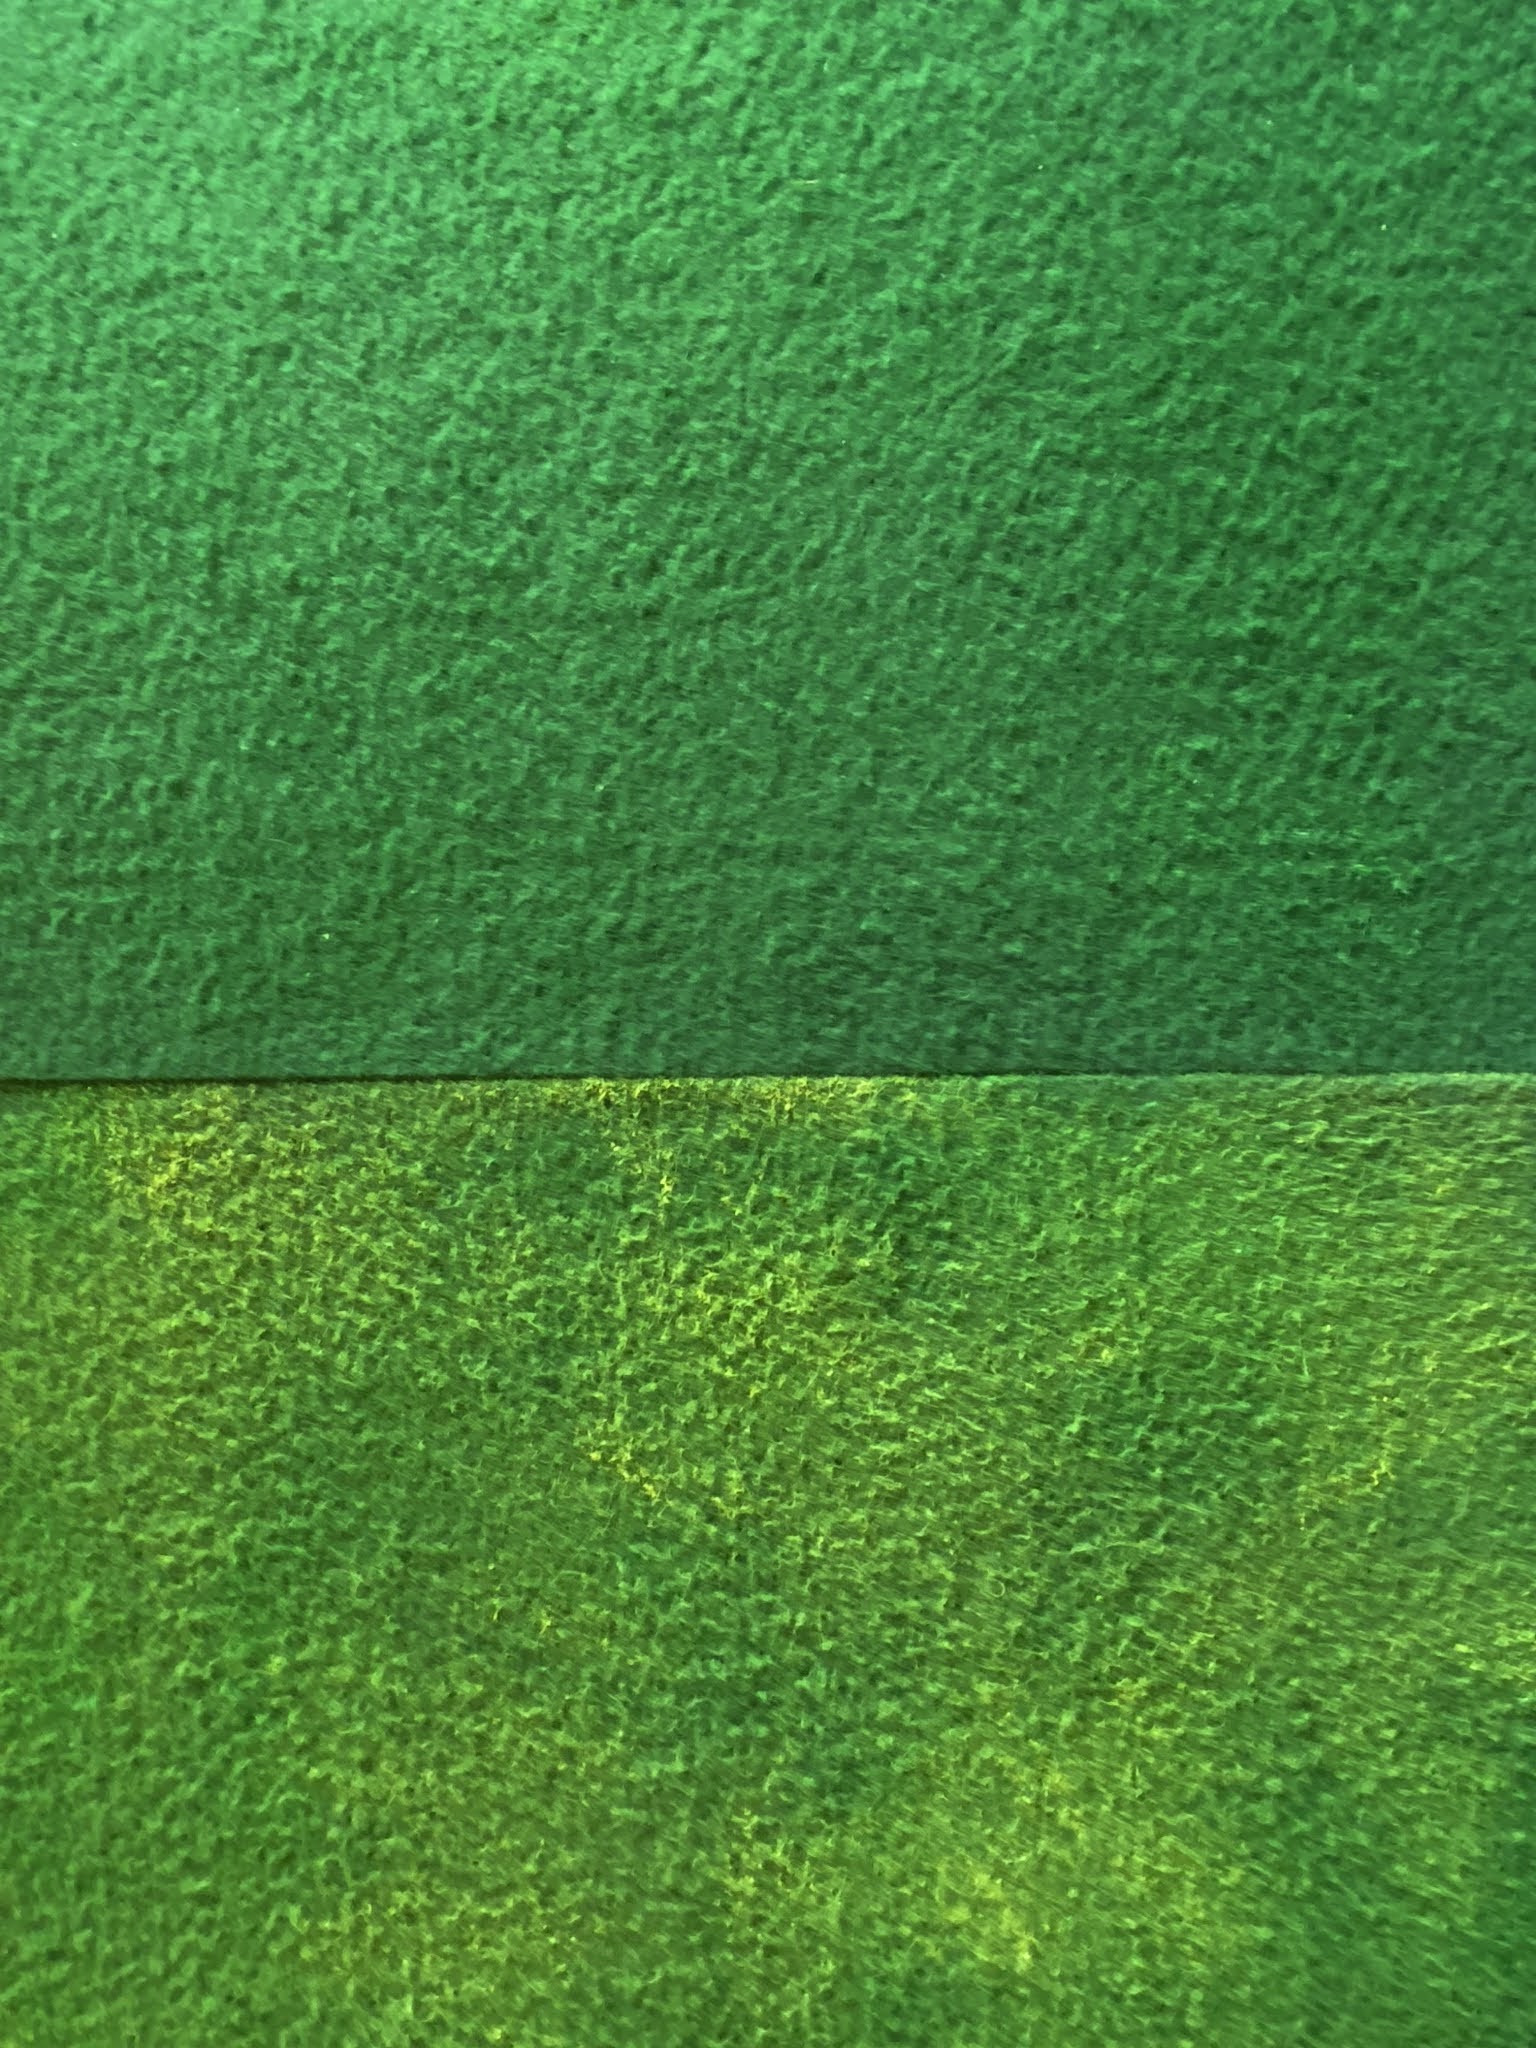
The next step was to tone down the green of the felt. In the past I have done this by spraying the cloth with first a bright green and then a yellow coat. But I need to spray in the open air to maintain domestic bliss and successful spraying requires dry and windless weather, two things that an Auckland winter lacks. So this time I dry-brushed the colours, first a bright green then yellow. I actually prefer the dry-brushed finish. Below you can see the difference between the first green coat (top) and then the yellow (bottom) applied over the top.
The roads were then undercoated in black ready for final colouring.


You can also see how two tiles could be joined to create a 300x600mm tile, something I may do to create some variation for say a river or stream section.
And all four pieces of the proof of concept.
 |
| Placed edge to edge |
 |
| Stacked atop each other |
I still need to install the magnets that are still enroute from China, but I am happy with the results and will pursue further.