Wednesday 27 February 2019

A Small Fortification

For an upcoming Egyptian campaign game I need a redoubt. 


The model needs to hold one battalion of three stands and a gun stand so I have defined the interior space as 150mm x 150mm with a 30mm deep embankment. I assume that that this would simply have been a mound of sand, but how did they stop the sand from collapsing back into the centre of the redoubt. Normally there would be a buttress of gabions, but I had none to spare and no time to order any so I chose to make the wall from wood – although where they would have managed to get wood from is a good question since transport was limited and wood would have been limited to palm trees, some crates and barrels and maybe some dunnage from the ships, all hauled to the front lines by hand. The advantage of making using the wooden internal walls, of course, is that the redoubt can then be used for other periods.


Nonetheless I made the wooden parapet wall from my old standard – match sticks – glued together in various configurations. I made three sides with solid walls 150mm long and on the fourth side I left a 50mm gap. They were painted a weathered timber colour.


I then fixed some polystyrene to the front edge on each of the walls then the combined parts were glued to a foam core base, applying a ground cover to the interior before I added the fourth side.


Once the glue was well and truly dry I trimmed the face of the redoubt to a roughly 45° angle and filled the gaps with a poly filler. At the rear of the redoubt, at the entrance, I added a few barrels from the Renedra range – since they were to be half buried in sand I was able to use half barrels.


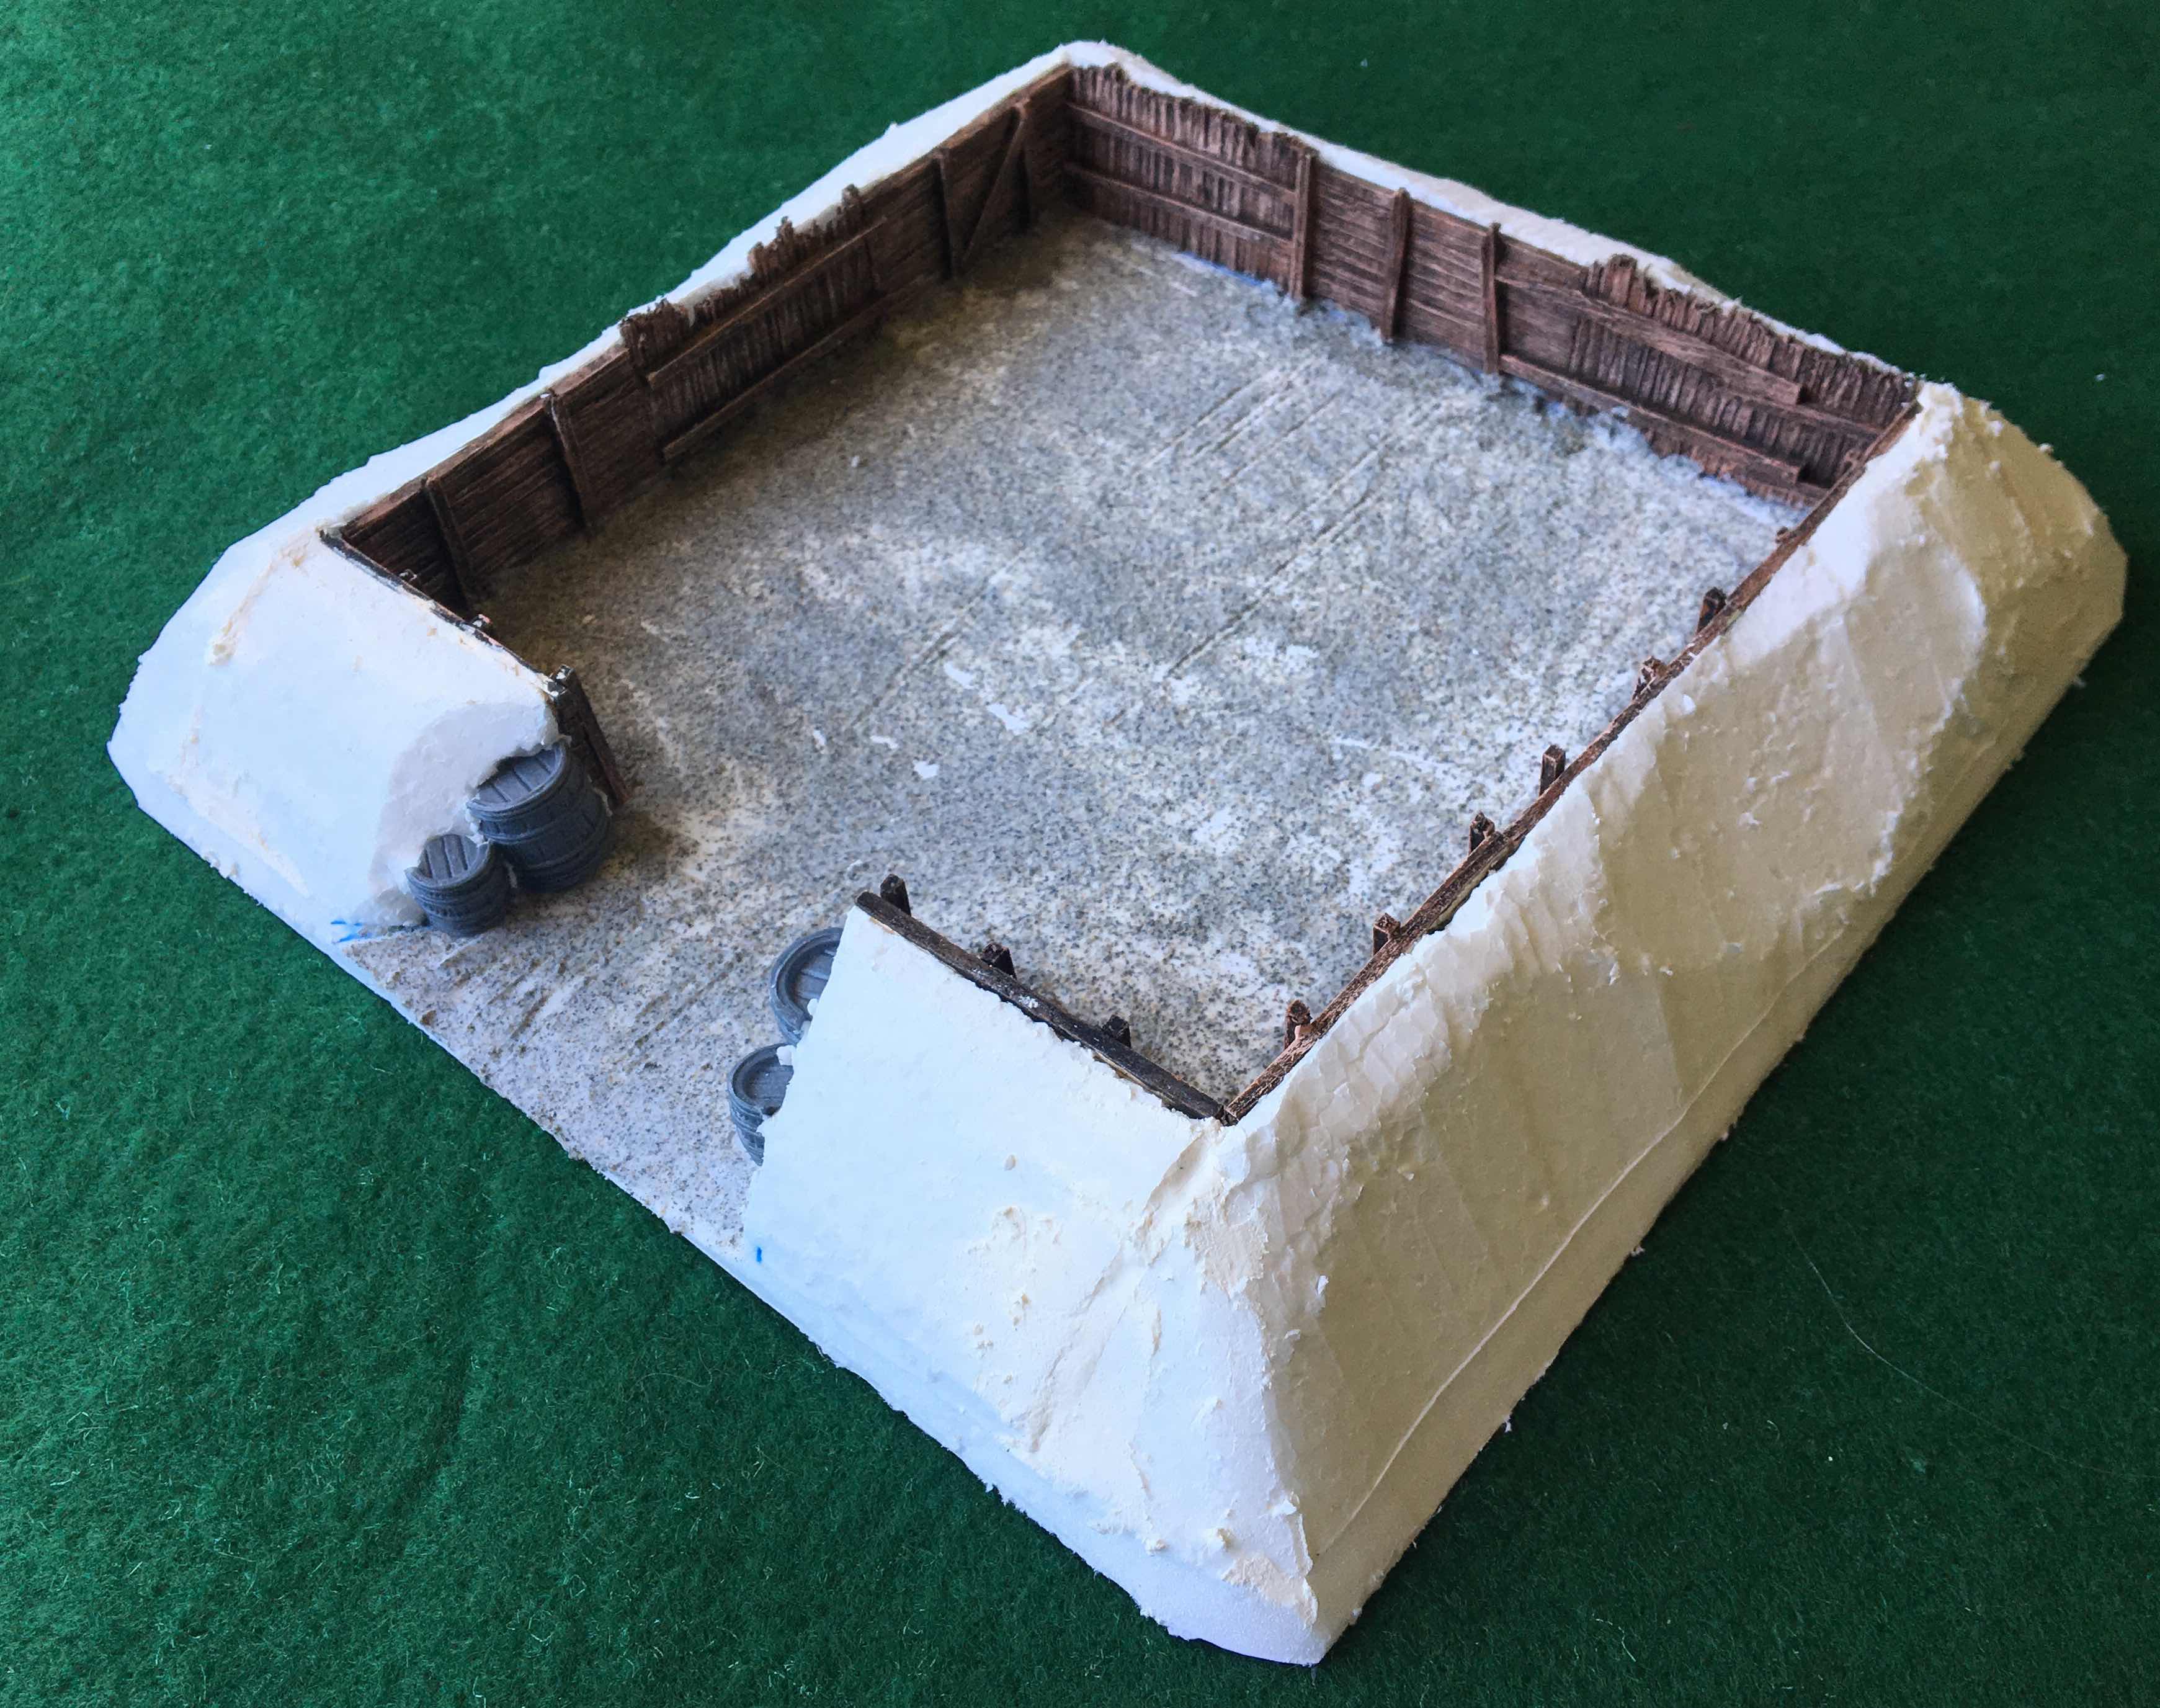
I then coated the whole of the exterior with my usual basing material, an artist’s modelling compound into which I added some fine sand. I pressed a few stones and some broken match sticks into the surface to create a bit of additional texture, then left the whole model in the sun for an hour to dry.


Next I painted the barrels in wood tones then the whole exterior and internal base area a sand colour that I washed with a thinned down coat of GW Seraphim Sepia. Finally I gave the sand areas a very light dry brushing with GW Stallarn Sand lightened with a bit of white.


And that was it.


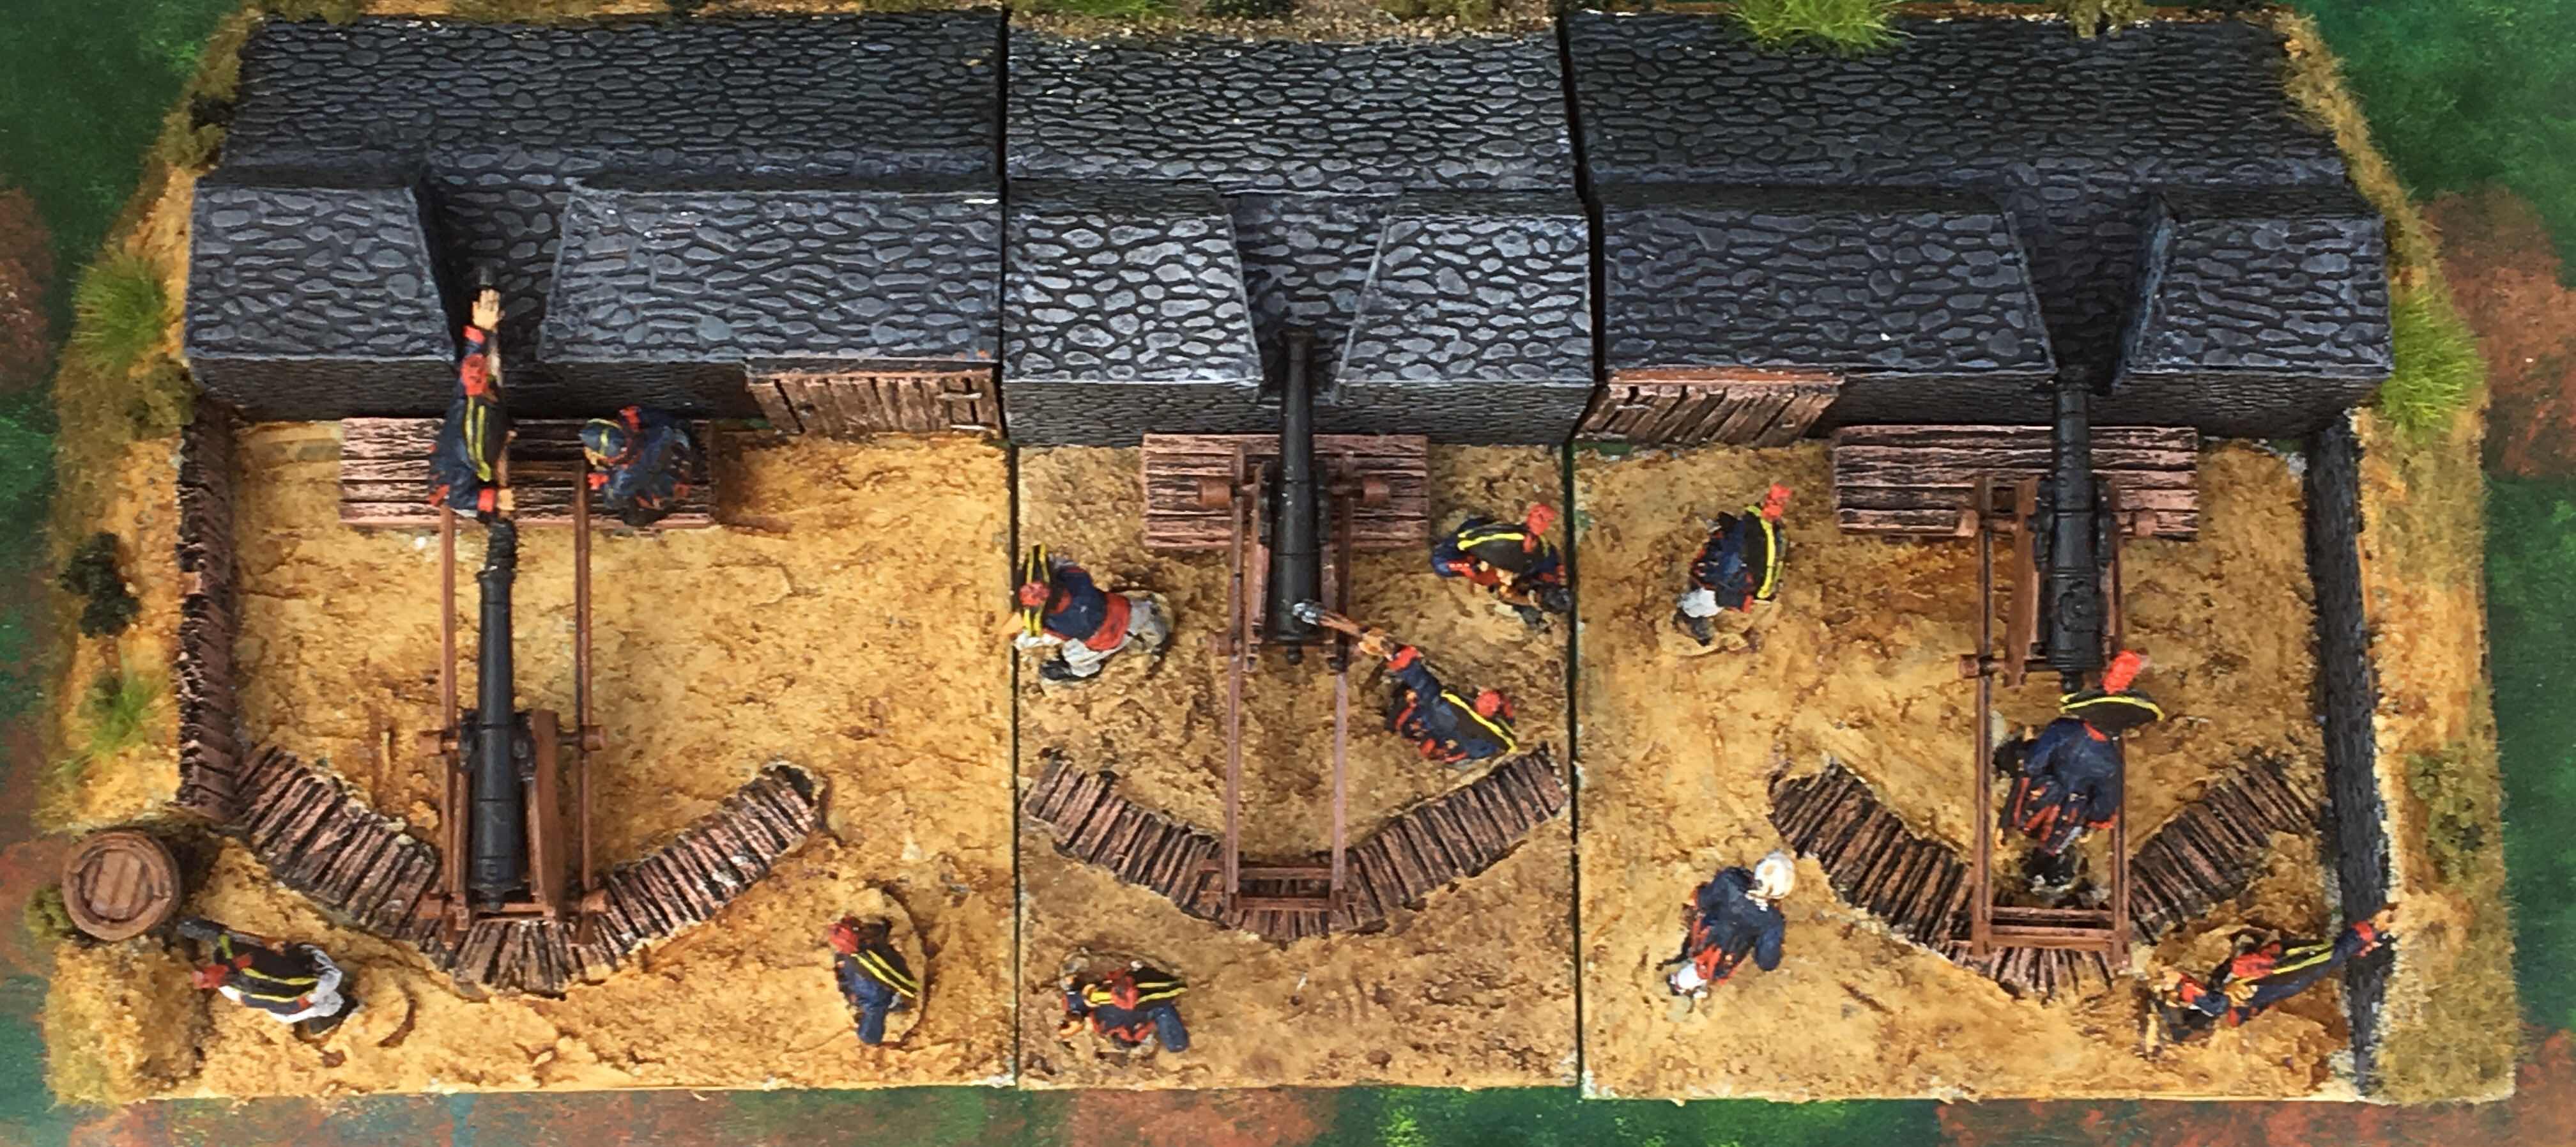
 One redoubt with the 28th Foot and a gun in position ready for battle on 10 March.

Tuesday 26 February 2019

2e Battn, /48e Demi-Brigade de Battaille

Last week brought a delivery of lead to the painting table in the form of a small parcel from Eureka Miniatures containing two battalions of Revolutionary French infantry.


The first one of those units, 2/48e Demi-Brigade de Battaille, is presented here. 


The 3/48e will follow later this week.

Saturday 23 February 2019

A few items to keep busy...

With the lead pile as low as it is I have been working on some long neglected projects.

One very quick one was the completion of a rustic wooden bridge that has been sitting in the work table in an incomplete state for about nine months. This is intended to be a companion for the blockhouse that I made back in May. The pair were to be a part of a game that was to have been played at our annual  gaming weekend last year, but when that event was postponed due to the illness of our host I suspended work on it. Now that there is a possibility of that event occurring in May I thought I had better get on and finish it.


The construction was simple; the foundation timbers were made of twigs from the garden and the rest was made from match sticks. Painted various shades of brown it looks pretty effective to me. Below it is paired with the blockhouse, with the gun covering the bridge and its approaches.


The second project is one that will be probably be an ongoing one is the creation of some game markers. I have a bunch of these already made from some slotta bases that I bought decades ago – some I think when they first came out in the 1980s. I use these to record losses on units and there are six types: three round one, each with a number of 1,2 or 3 and three square ones with number of 4, 5 or 6. In my system the three round markers just record the accumulation of losses, whereas the square ones record losses and the collapse of the unit’s morale (whereby a 4 or 5 result shows the unit as disrupted and 6 as shaken).

The existing counters have been in use for a few years now and are beginning to show signs of wear and tear. I had been planning to make something a bit more robust for a while and have finally managed to get around to doing just that, starting with the round counters first. The first thing I did was make up three master patterns, taking some spare bases and making a small disk of green stuff into which I engraved a number 1, 2 or 3.

Then I made a mould (mold for my North American readers) of the master pattern using Blue Stuff. If you haven’t encountered this this stuff before this termoplastic is a super useful product for making push moulds. You simply place some of it in a container and pour boiling water on it. Inside 30 seconds the material is soft. You then take it out of the water (I like to quickly take any water off the surface with a paper towel) and then press it around your master pattern. You have about a minute to a minute and a half to work the stuff before it starts to cool and harden. I usually put it in the fridge for a while to really cool it down. The great thing is that if you get it wrong, and it is quite easy to trap air bubbles around the master, it is completely reusable – just throw it back into boiling water and reshape it.


With the moulds made I pressed some Sculpey polymer clay into them, cut the base level and then pushed the casting out on to some baking paper. This is my first time working with Sculpey and it is great – it is like working with plasticene. I then sculpted the surface detail – rocks, small plants, fallen logs, grass, etc. when I had completed six of each I fired up the oven to 130 degrees C and baked the clay and in half an hour I had 18 ceramic markers ready for painting.

After painting, coating with a strong polyurethane varnish (followed by a coat of matte varnish)  here are the final results.


I will try these out in some future games and see how they go for robustness. If they work out I can see a number of other markers and table accessories that could be similarly manufactured.

Also off the painting table are a few French and British casualty figures that came with the Perry heavy cavalry sets.


Saturday 16 February 2019

Another quiet week on the production line

The flattening of the lead pile is still having its impact on production. The two battalions of French Revolutionary  infantry from Eureka seem to be taking an age to jump the ditch from Australia to here. In truth it has only been 14 days since I placed the order, but it seems longer. Parcels from the UK take about this length of time and I suppose I expected it to take much less time for a parcel to come from Melbourne than from say Nottingham. Looking at it sensibly though the difference in transit time is perhaps two days, but the bureaucracy of the postal and customs services is the same and the whole process is not helped by the fact that New Zealand Post now only deliver every second day.

But I haven't been completely idle and have been working on a few bits an pieces that have been laying around for a while.

First are a couple of lovely Paul Hicks designed Spanish light infantry figures from Brigade Games. These will join another batch of light infantry due early next month.


Second are three troopers from the 5th Dragoon Guards of the Heavy Brigade from the Crimean War. These are from Great War Miniatures through Northstar that I bought way back, but problems with the moulds meant that production of these figures was suspended and the figures have not yet been brought back into production. Hopefully they will be back in production this year - I am not good at going back to older projects.


I still have a few bits and pieces to keep me going until the lead pile is renewed.


Sunday 10 February 2019

Napoleonic Fortress Guns, Part Three

That there has been no activity on this blog for the last two weeks is a direct result of three factors:

  • The Lead/Plastic pile has been flattened and self-imposed austerity measures are holding back a restock until the end of February (although a small number of Revolutionary French are on their way).
  • Life in the real world has been unusually hectic
  • A heatwave in the last week or two has driven evening temperatures to the point that sitting at the painting table is uncomfortable. 

That said, hobby work  hasn’t completely ground to a halt.  The main focus has been on the Napoleonic fortress guns that I started back in early January.


I have completed another five guns, two Spanish and three French...


,

...and painted some French gun crews (Brigade Games figures again).


I have also been working on the bases for the guns, completing those for the Spanish shore battery. The original plan of making one battery stand into which the various gun stands would slot has gone out the window. The stands have been built so that they simply stand together side by side. I have completed two more Spanish stands and reworked the stonework on the first Spanish one to match the new ones. There is some variety in that the two outer stands can be used without the central one to create a two gun battery.


The Spanish battery now has guns in three different states: (left to right below) one loading, one firings and one sighting.


I also managed to get a game in last weekend (15mm early WWII), the first for the year, but I neglected to take any images of the game, so have not prepared a report.