My disrupted participation in our annual gaming retreat meant that my game, a Crimean War game, that had been scheduled for Wednesday, was moved to Saturday.
General Background
Following their defeat at the Alma on 20 September 1854 the Russians under Menshikov retreated on Sevastopol. The Allies decided against an immediate pursuit, a blunder that allowed Menshikov to evacuate the city and move his field army towards Bakhchysarai deeper within the peninsula leaving only a hodgepodge force of 15,000 sailors, marines and militia to defend the place.
The Allies began the advance on Sevastopol on 23 September and skirmished with Menshikov’s rearguard at Mackenzie’s Farm on the 25th. Arriving opposite the city a day later they decided not to attack Sevastopol from the northwest side deciding instead to attack from the southeast, from where the armies could be more easily supplied from the ports in Balaclava and Kamiesch Bays. Not realising that the northwest side the city was poorly fortified and defended by only 5,000 men, the Allies missed the opportunity to avoid a siege.

Then, once their supply depots had been established, with a nearly five to one advantage in numbers the Allies blundered yet again by choosing not to risk an attack on the city before reinforcements arrived. While they dithered the Russians improved their fortifications and some of Menshikov’s army re-entered the city, raising the total number of defenders to 25,000.
By late October Menshikov, with his army reinforced to 65,000, was prodded into action and determined to attack the British supply port at Balaclava. In the bumbling Battle of Balaclava, fought on 25 October, the Allies claimed victory only by the fact that the Russians retreated.
British Briefing
Following the battle, the British, supported by a brigade of Turks pushed forward and by mid-October had extended the siege lines as far as a position on a knobbly ridge, that they named Home Ridge, that overlooked the Chornaya River.
Home Ridge marks the extreme right of the Sapaune Heights that run nearly all the way back to Balaclava harbour. These heights are the back door to the siege lines and are vulnerable to attack from the north. To guard against such an attack four of the five British infantry divisions and the depleted cavalry division were encamped on the heights, while single infantry division manned a two mile long front to connect with the French.
Although the Chornaya River at its mouth is nearly 100 yards wide it narrows to no more than twenty yards two miles east of Home Ridge. After the river narrows it runs through a marshy patch for about a mile before the banks become steep as the river is flows through a series of ravines. Despite the ruggedness of the terrain, a determined attack could force its way across and operate against the rear of the Allied lines.
The night of 25 October was colder than most thus far in October and an early mist fell. During the night the Turks in the redoubts on Home Ridge, reported considerable activity near the Chornaya bridge and from the direction of Sebastopol. Fearing an early attack, the Turks were called to arms. Messages were sent to the British divisions alerting them of a possible attack.
The British cannot depend on definitive orders from Allied high command the various divisional commanders will need to formulate a plan amongst themselves.
The game begins the mist is lifting.
Deployment and Reinforcements
At the beginning of the game only the Turks are on the table in the redoubts.
All other commands must march to the table based on the map below. Two divisions have two possible arrival points and one division and the Light Cavalry Brigade has three points as indicated on table map (below). March times to these points can vary from one to four turns.

In addition the British can call on a French infantry division as reinforcements at two specific times in the game. The first time is at the beginning of turn three of the game and the second time is immediately after the lunch break. All other calls will go unheard. The intended arrival point must be specified at the time of the call and it will take those reinforcements three turns (maybe more maybe less) to arrive.
CAUTION: If the French reinforcement option is exercised, there will be a consequence for the British - it could be a localised shortage of ammunition, the reinforcements may not arrive where they want them, some of thier troops may face a sudden drop in morale.
Victory Conditions
Typical of the Allied handling of this campaign the objectives are vague: hold Home Ridge and prevent the Russians from passing across the eastern edge of the table in force (six or more unshaken battalions).
Allied Order of Battle
1st Infantry Division,
Guards Brigade Brigadier General Bentinck
- 3/Grenadier Guards
- l/Coldstream Guards
- l/Scots Fusiliers
Highland Brigade: Brigadier General Sir C. Campbell
- 42nd (Black Watch) Foot Regiment
- 79th (Queen’s Own Cameron Highlanders) Foot Regiment
- 93rd (Argyll & Sutherland Highlanders) Foot Regiment
Artillery:
- Battery A RA
- Battery H RA
2nd Infantry Division:
First Brigade:
- 41st Foot Regiment
- 47th Foot Regiment
- 49th Foot Regiment
Second Brigade:
- 30th Foot Regiment
- 55th Foot Regiment
- 95th Foot Regiment
Artillery:
- Battery B RA
- Battery G RA
4th Infantry Division:
First Brigade:
- 20th Foot Regiment
- 2lst Foot Regiment
- 63rd Foot Regiment
Second Brigade:
- 46th Foot Regiment
- l/Rifle Brigade
Artillery:
- Battery E RA
- Battery P RA
Light Division:
- 2/Rifle Brigade.
First Brigade: Major-General Codrington
- 7th Royal Fusiliers
- 23rd Royal Welch Fusiliers
- 33rd Regiment
Second Brigade: Major-General Buller
- 19th Regiment
- 77th Regiment
- 88th Regiment
Artillery:
- Battery C RHA
Cavalry Division: Lord Lucan
Heavy Cavalry Brigade: Brigadier General Scarlett:
- 4th Dragoon Guards Regiment
- 5th Dragoon Guards Regiment
- 1st Dragoon Regiment
- 2nd Dragoon Regiment
- 6th Dragoon Regiment
Light Cavalry Brigade: Brigadier General Lord Cardigan
- 4th Light Dragoon Regiment
- 13th Light Dragoon Regiment
- 8th Hussar Regiment
- 11th Hussar Regiment
- 17th Lancer Regiment
- Battery A RHA
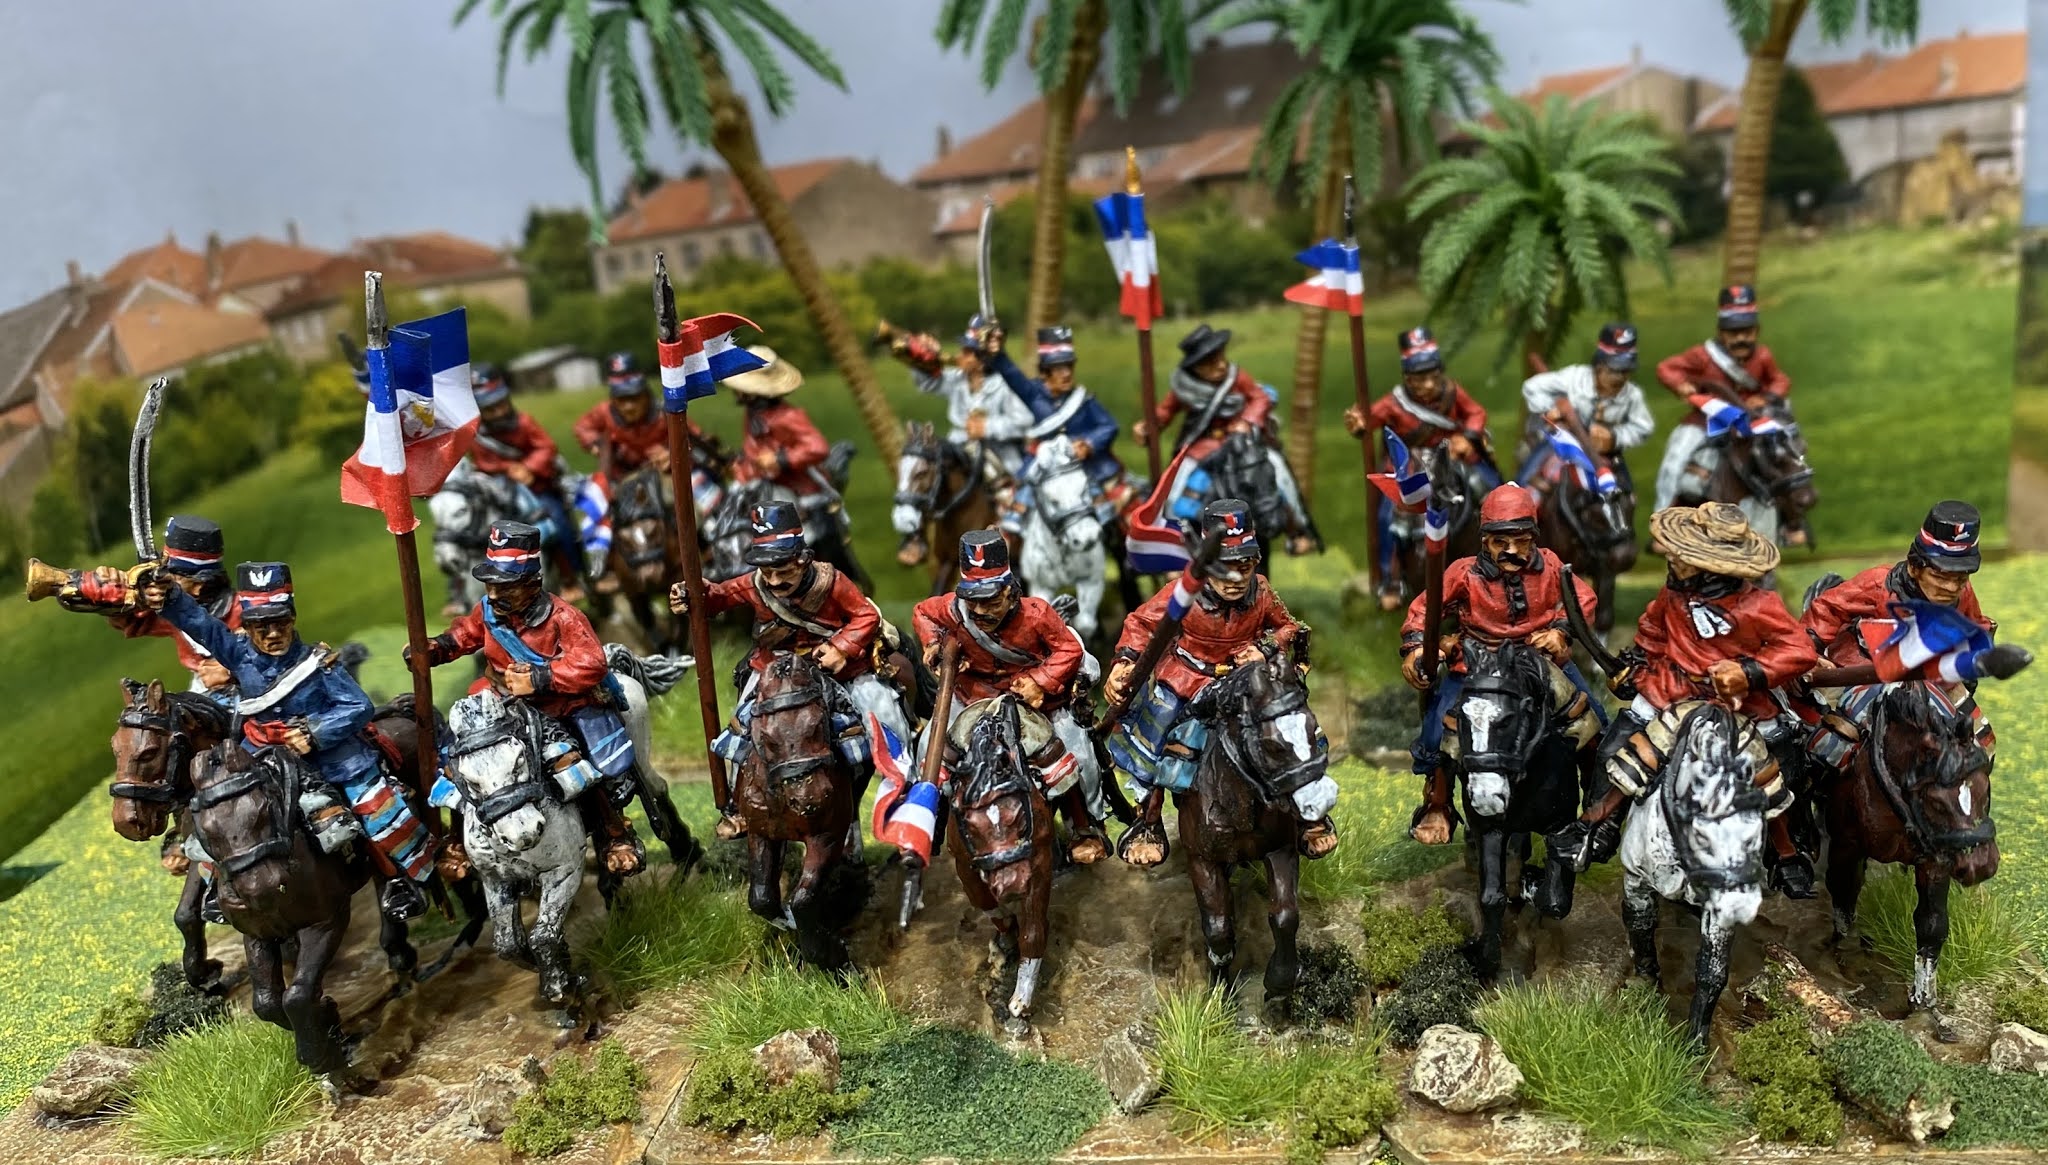
Turkish Brigade: Pasha Youseef Ali Burni
- Istanbul Regiment (4 battalions)
Artillery:
- 5th Artillery Battery
- 7th Artillery Battery
The Reserves
lst French Infantry Division:
lst Brigade: Général de brigade Espinasse
- lst Chasseur à Pied Battalion
- lst Zouave Regiment (3 battalions)
- 6th Line Regiment (3 battalions)
2nd Brigade: Général de brigade Vinoy
- 20th Line Regiment (3 battalions)
- 27th Line Regiment (3 battalions)
Artillery: Chef d’escadron Huguenet
- 3/8th Artillery Regiment
- l/9th Artillery Regiment
Armament:
Rifled Muskets:
- All British infantry except the line battalions of 4th Division
- French Chasseur and Zouave battalions
Muskets:
- All Turkish troops
- All French line battalions
- The four line infantry battalions of 4th Division
What happens if the Allied forces call the French Reserves
They can call up the French reinforcements at one of two occasions:
- At the end of Turn 3
- At the beginning of the first turn after lunch
Two turns AFTER they have been called, at the beginning of the Allied player turn, they will open an envelope then roll 1 xD6:
- If a 1 or 2 is scored open the slip marked Option 1
- If a 3 or 4 is scored open the slip marked Option 2
- If a 5 or 6 is scored open the slip marked Option 3
Option 1
Potential morale drop
French reserves arrive as scheduled, but:
Each player rolls 1xD6 for each brigade and battery under their command and on a score of 4, 5 or 6 every unit in the brigade or each battery will take an additional casualty up to shaken.
Option 2
Potential Ammunition shortage
French reserves arrive one turn earlier than scheduled.
Each Player rolls 1xD6 and:
- If the score is 1, 2 or 3 artillery ammunition in their command is in short supply – re-roll all artillery hits from this point on
- If the score is 4, 5 or 6 small arms ammunition in your command is in short supply – re-roll all infantry hits from this point on
Option 3
French Reserves arrival not what you expect
French reserves arrive one turn late and not where they expect:
- 1st Brigade (less the chasseur battalion) arrives at the GREEN deployment zone
- 2nd Brigade arrives at the BLUE deployment zone
- The artillery and the chasseur battalion arrive at the RED deployment zone
Russian Briefing
Following the battle of the Alma the British pushed forward and by mid-October had extended the siege lines as far as a position on a knobbly ridge, that they named Home Ridge, that overlooked the Chornaya River. They also established significant forces on the Sapaune Heights that run nearly all the way back to Balaclava harbour and provided the back door to the siege lines.
Although the attack at Balaclava was a failure, it was enough of a “near run thing” that Menshikov is encouraged to make another attempt to drive the British off.
The British position on Home Ridge is exposed and open to attack. While an attack from two or three miles up the river would bring the attacking force directly behind the British position, the steep banks of the river and lack of roads would hamper operations. When Menshikov heard that the Turks had taken over the forward position on Home Ridge he decided to attack on two lines. He transferred 7th Infantry Division from the North Shore to Sevastopol to attack from the north east corner of the city, while 8th Infantry Division and the cavalry would cross at the Chornaya bridge and advance on the ridge.
Menshikov wants to drive the enemy from the ridge and expose the right of the allied siege lines and gain access to the valley beyond that leads to the British base at Balaclava. But typical of his performance to date Menshikov gave no detailed orders to his subordinates leaving it up to them to plan the details of the battle, while he returned to his comfortable headquarters at Bakhchysarai.
Deployment
The 8th Division is on the table on turn one, 200mm in from the edge marked by the two blue boxes on the map below. The box on the short table edge extends 600mm from the corner. Artillery can be deployed but cannot fire in the first turn. The start points of the 7th Division and the cavalry are marked and access to the deployment areas are limited to the march routes indicated on the map below. The cavalry can march to the Blue, Red or Green deployment zones, while the 7th Division can only march to the Red or Green zones.

Each dot on the line of march represents a one turn delay from the start of play that the marching unit is off the table, so that a unit with two dots spends turn 2 marching and starts from the table edge on turn 3.
Victory Conditions
The Russians must drive the British from Home Ridge and must either be in control of the high ground north of Victoria Ridge or have passed at least six unshaken battalions of the eastern table edge at the end of the game.
Russian Order of Battle
7th Infantry Division Lieutenant General Count Alexi Onatop
1st Brigade: Major General Seiruslei Pestov
- Smolensk Infantry Regiment (4 battalions)
- Mohilev Infantry Regiment (4 battalions)
2nd Brigade: Major General Demetri Lacksalot
- Vitebsk Jager Regiment (4 battalions)
- Polotsk Jager Regiment (4 battalions)
7th Artillery Brigade: Colonel Leo Shotov
- 9th Position Battery (2)
- 10th Position Battery (2)
- 17th Light Battery (2)
8th Infantry Division Lieutenant General Boris Knockeroff
1st Brigade: Major General Pyotr Dropoff
- Azov Infantry Regiment (4 battalions)
- Infantry Regiment (4 battalions)
2nd Brigade: Major General Igor Phallinov
- Ukraine Jager Regiment (4 battalions)
- Odessa Jager Regiment #(4 battalions)
12th Artillery Brigade: Colonel Alexi Banginoff
- 16th Position Battery (2)
- 30th Light Battery (2)
- 3lst Light Battery (2)
2nd Cavalry Division: Major General Vladimir Chargenoff
1st (Dragoon) Brigade: Major General Anatoly Smirnoff
- Kazan Dragoon Regiment
- Riga Dragoon Regiment
2nd (Hussar) Brigade: Major General Ivan Stroganoff
- Kiev Hussar Regiment
- Ingermannland Hussar Regiment
Cossack Brigade General Yuri Schpinatop
- 4 Regiments
- Cossack Battery (2)
Astute readers will, of course, recognise the similarity with this scenario and the Battle of Inkerman, on which it is broadly based.
And so to the game:
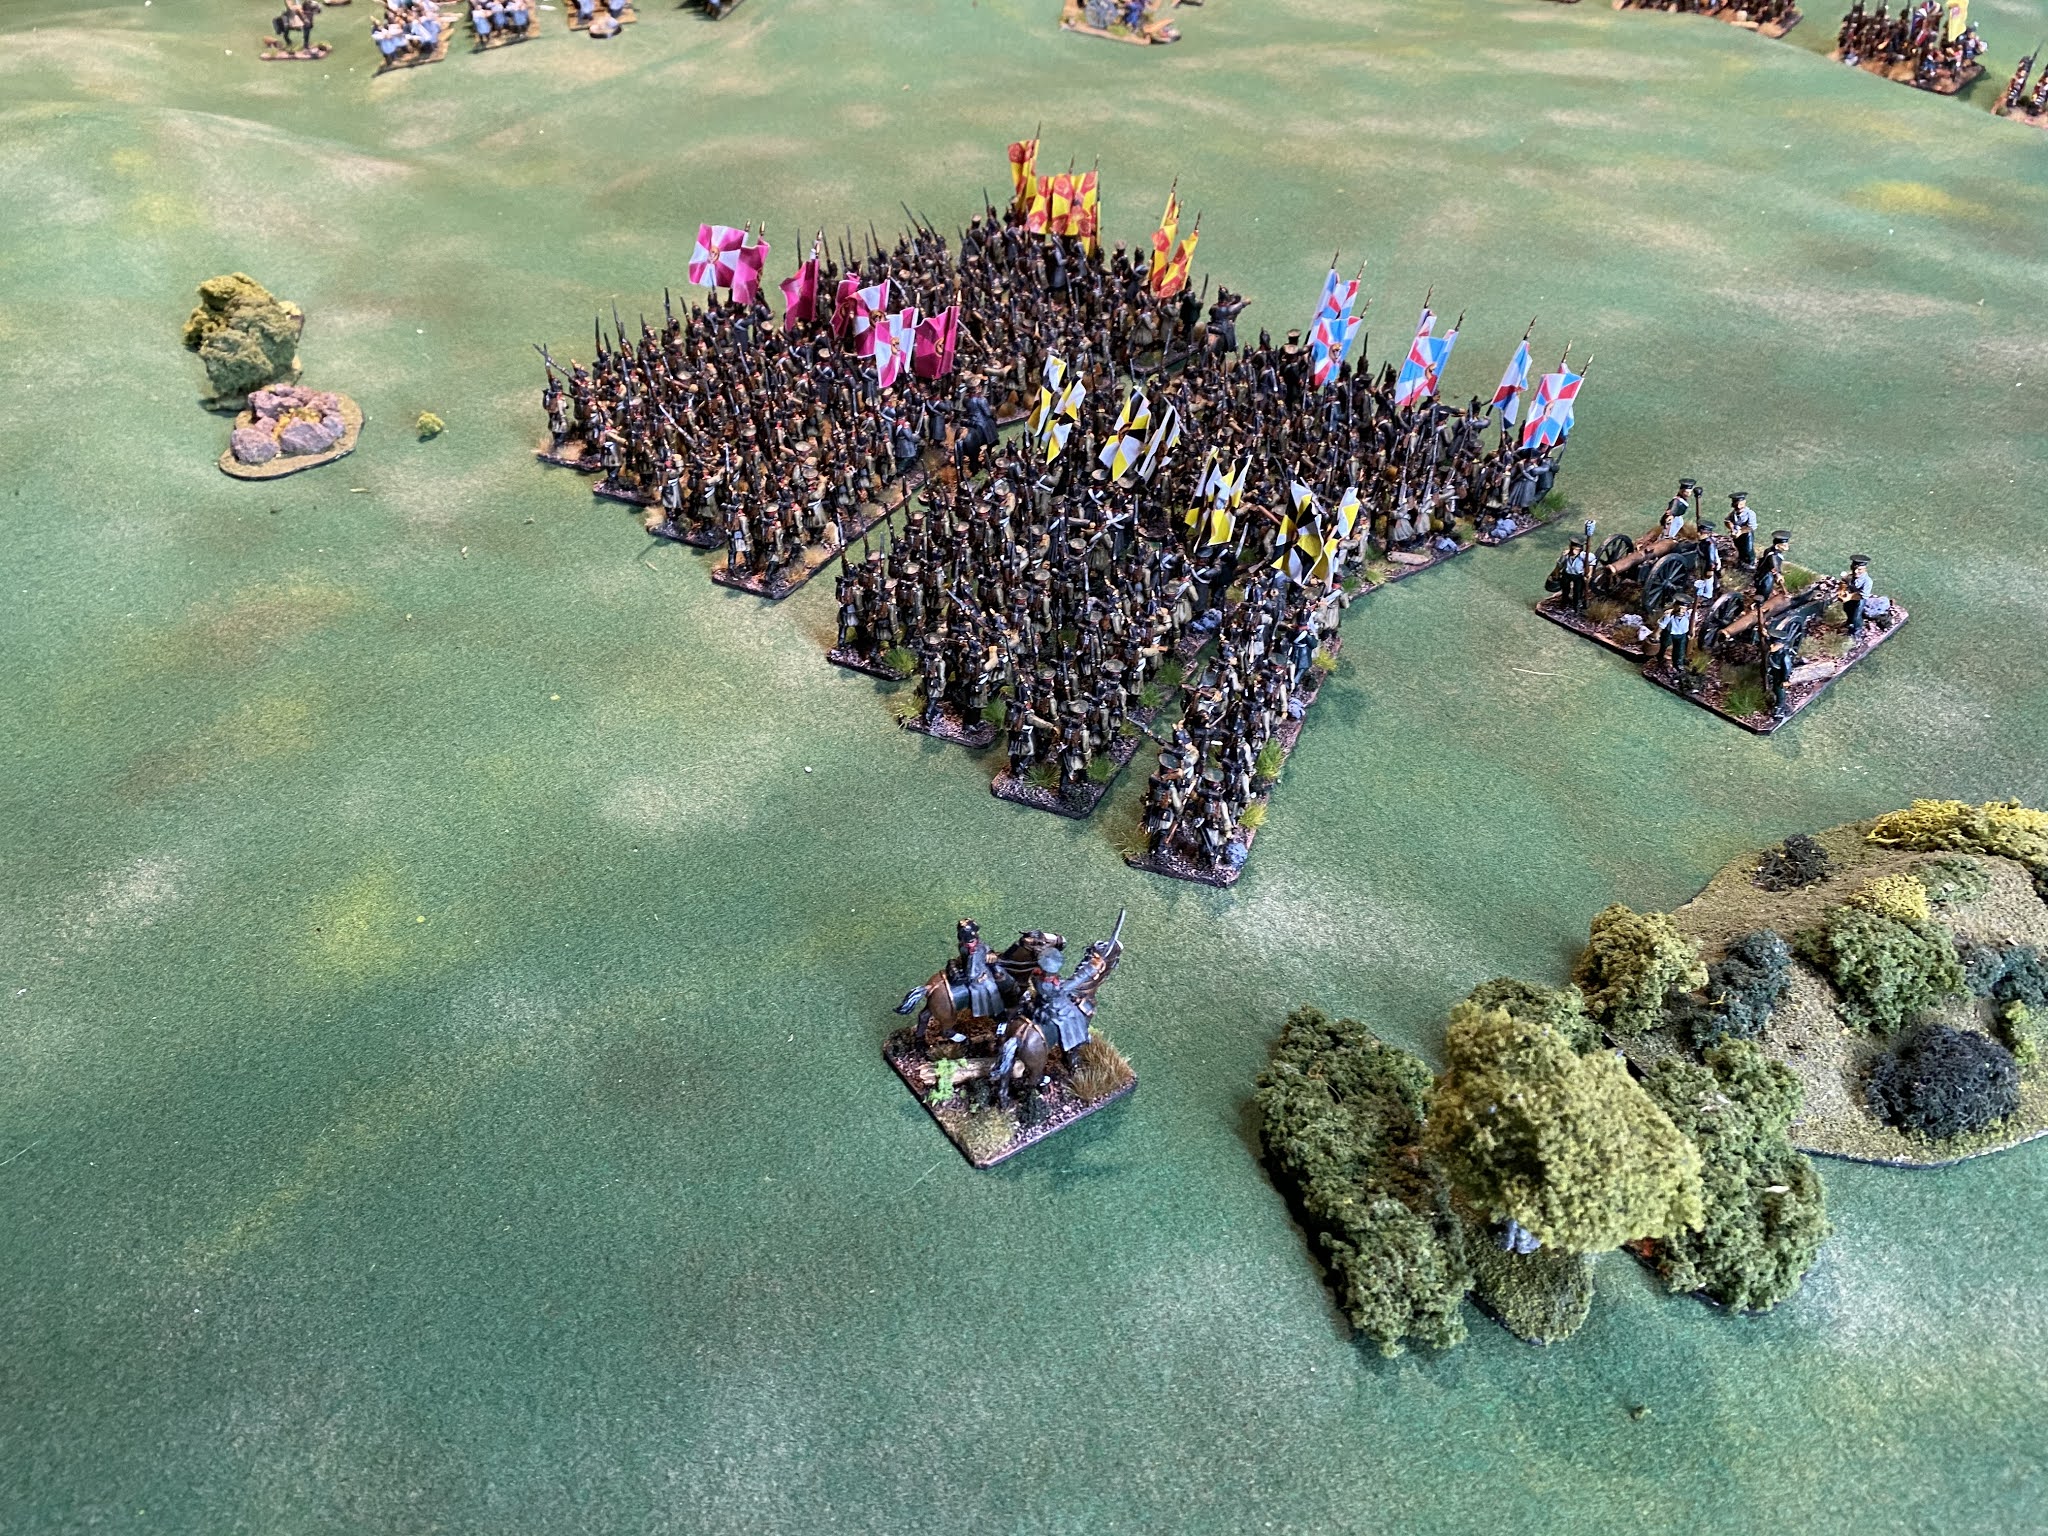
The Russians chose to throw their may effort against Home Ridge, with the cavalry extending fo the south to occupy any Allied forces there. Tha allies chose to reinforce Home Ridge with the 1st and 2nd divisions, while the 4th, Light and cavalry divisions were to the south.
Right from the kick off the Russian 8th Division pushed hard against the Turks, hoping to gain some advantage before the British could arrive. Immediately the Russian artillery superiority came into play and the Turkish guns were quickly silenced.


After the lunch break the Allied forces exercised the reinforcement option and the result was option 3. The end came on the back of Home Ridge where the Russian managed to pass six good order battalion across the Eastern edge if the table.

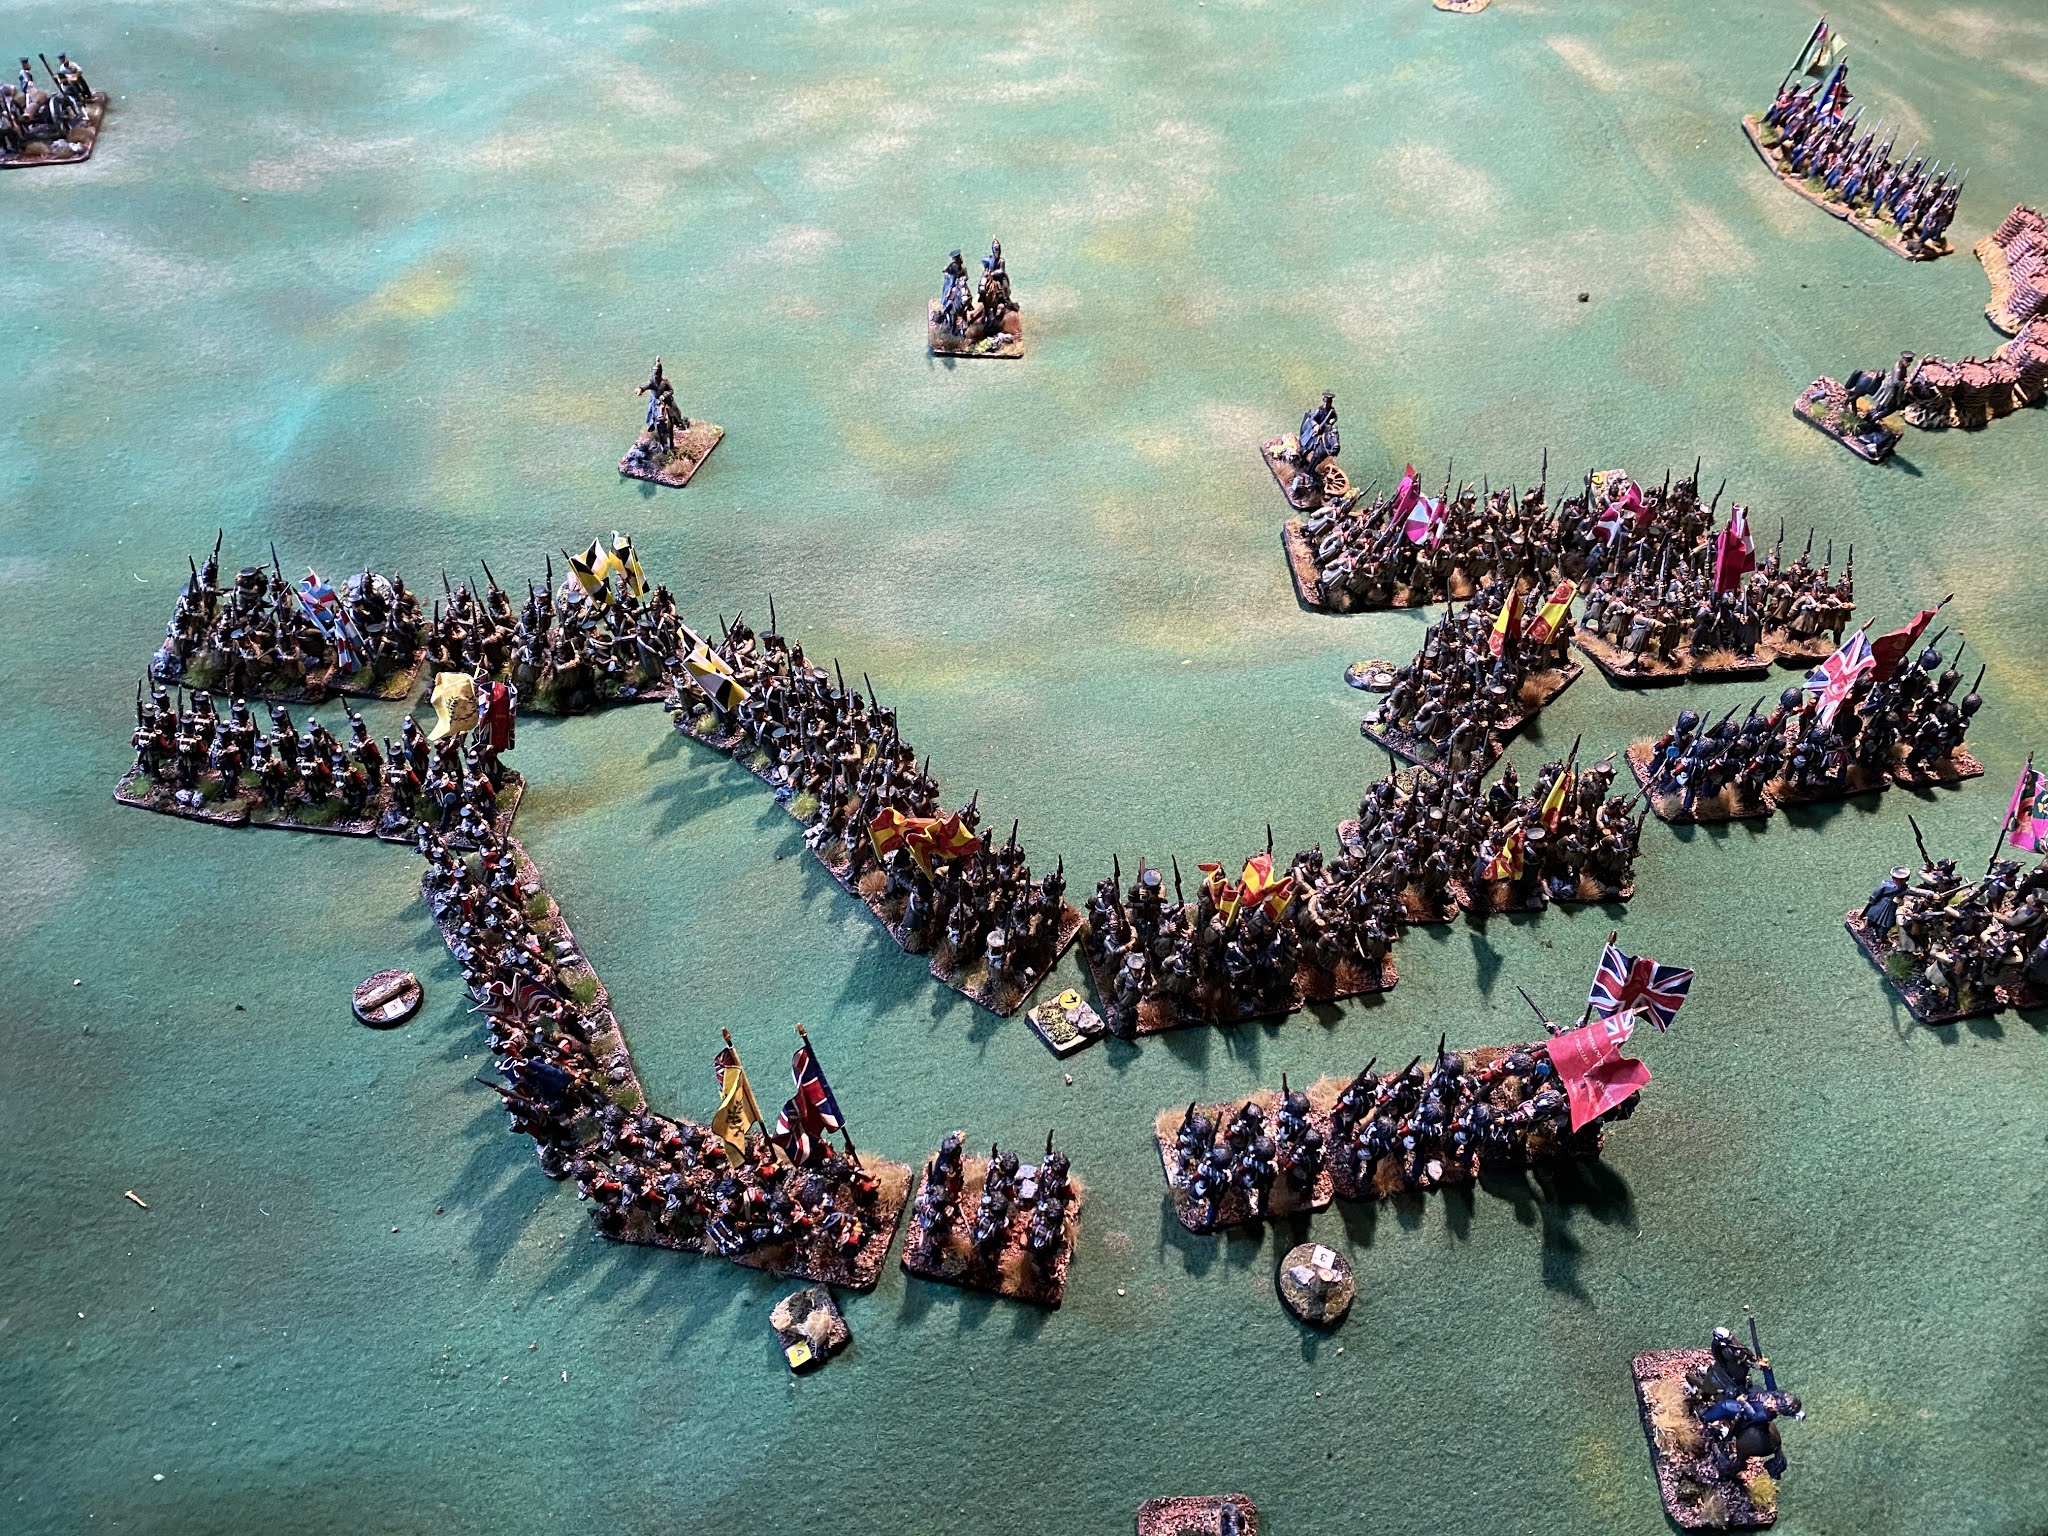


It was a huge game with 1672 foot figures, 166 mounted figures and 31 guns.
The evening saw a great meal of a fillet of beef followed by a steam pudding, washed down with a bottle or two of good red wine.