Friday 25 October 2019

AWI British Infantry Completed

The last three battalions of my AWI contingent have moved off the basing table this week. Top to bottom they are the 27th 4th and 54th regiments.


They were not all painted this week, but have been sitting about waiting for their bases to be prepared.

And so a brief parade of all six battalions. All figures are the Perry plastics, flags by GMB.


All that is needed to complete this mini-project is a set of three mounted officer, a field gun and a limber. These are scheduled for a December arrival.

Also completed are 12 casualty figures (2 for each of the regiments). I am not quite sure how I will use these yet, but I am sure I will figure something out.


Next up is a bunch of Bavarian line infantry – the boys in blue

Tuesday 15 October 2019

Ramblings

On the whole I tend to be a bit of an upbeat chap. A lot of stupid things annoy me (IT helpdesks, tele-marketers, people who don’t read instructions and idiot drivers to quickly name a few), but not too much really gets me down. However, the state of our world at present I am finding very unsettling. What with political ructions in the USA and Britain (both of which have a direct impact on me because they cause fluctuations in the value of our Pacific Peso that affects my toy soldier buying power), the issues in the Persian Gulf and along the Turkish/Syrian border, the burning of the rain forests, the unending noise about Global Warming and the rising noise about plastics. It’s enough to drive a man to drink.

Now I know that there is nothing I can do to seriously influence most of this, especially when it comes to the political stuff, but these things bother me at the moment. My only consolation is that I have a hobby that allows me to turn off the TV news or the internet and to paint away leaving our problem stacked world behind for a few hours every day. I am not burying my head in the sand, you understand, it is just that some times there is a need to silence the chatter.

So after all of that, onto the toys. Three items have come off the basing tray in the last week.

The final two limbers for the Russian Napoleonics were first off the tray. Technically these should a horse artillery, but no one makes horse artillery limber drivers and I didn’t fancy buying horse artillery crew and swapping heads – more correctly my frugal mind would not let write off the cost of the gun crew to get the correct heads on horse artillery limber drivers.


Second off the tray were two more Crimean generals. Like the recent version of general Scarlett, the chap with the bicorne is a conversion of a base Great War Miniatures figure. He was the staff officer from the Cathcart set – as was Scarlett. His head was replaced with a suitable Victorian-like bearded head from one of the Gripping Beast Dark Ages sets, on which I fitted the bicorn from the original Great War figure’s right arm. The new right arm also came from a Gripping Beast set while the hand pointing came from the Perry Plastics French infantry set. The other figure here is as manufactured.


The last item is the third battalion of six from the AWI British collection.


Sunday 13 October 2019

A Little Action on the Spanish Coast

Today we played a game to make use of my recently completed flatboats (joined by a couple of boats from another player)...an idea I have had for quite a while. The game was played with five British commanders playing against the Spanish controlled by me and one other player. All the Spanish responses were programmed. Here are the details of the game.

Narrative 
It is 1803 and a Spanish flotilla has been raiding British shipping from a harbour on the Atlantic coast. The Admiralty has ordered that the Spanish threat is to be eliminated.

Three attempts by the Navy to enter the harbour have failed because of its narrow entrance and a well positioned shore battery. A combined operation is planned with the Army tasked with capture the battery from the land side and destroy the guns so that the Navy can enter the harbour and destroy the Spanish ships.

A spy was put ashore and he returned with this map. 


The spy  made the following observations:
  • There are only two possible landing points – North Beach and South Beach. 
  • Some militia supported by artillery is posted in and around the fishing village on South Beach
  • A camp was spotted in the rear of the battery, but he could not get close enough to determine the strength or type of troops.
  • In the town further inland he found the taverns filled with a mix of militia and regulars.
  • In the camps near the town he identified the standards of as many as six different regiments (Spanish regiments consist of between one and three battalions)
  • Cavalry and artillery are also present

Horse Guards, expecting to face resistance from as many as 20 Spanish battalions, has committed a significant land force to the venture

British Details

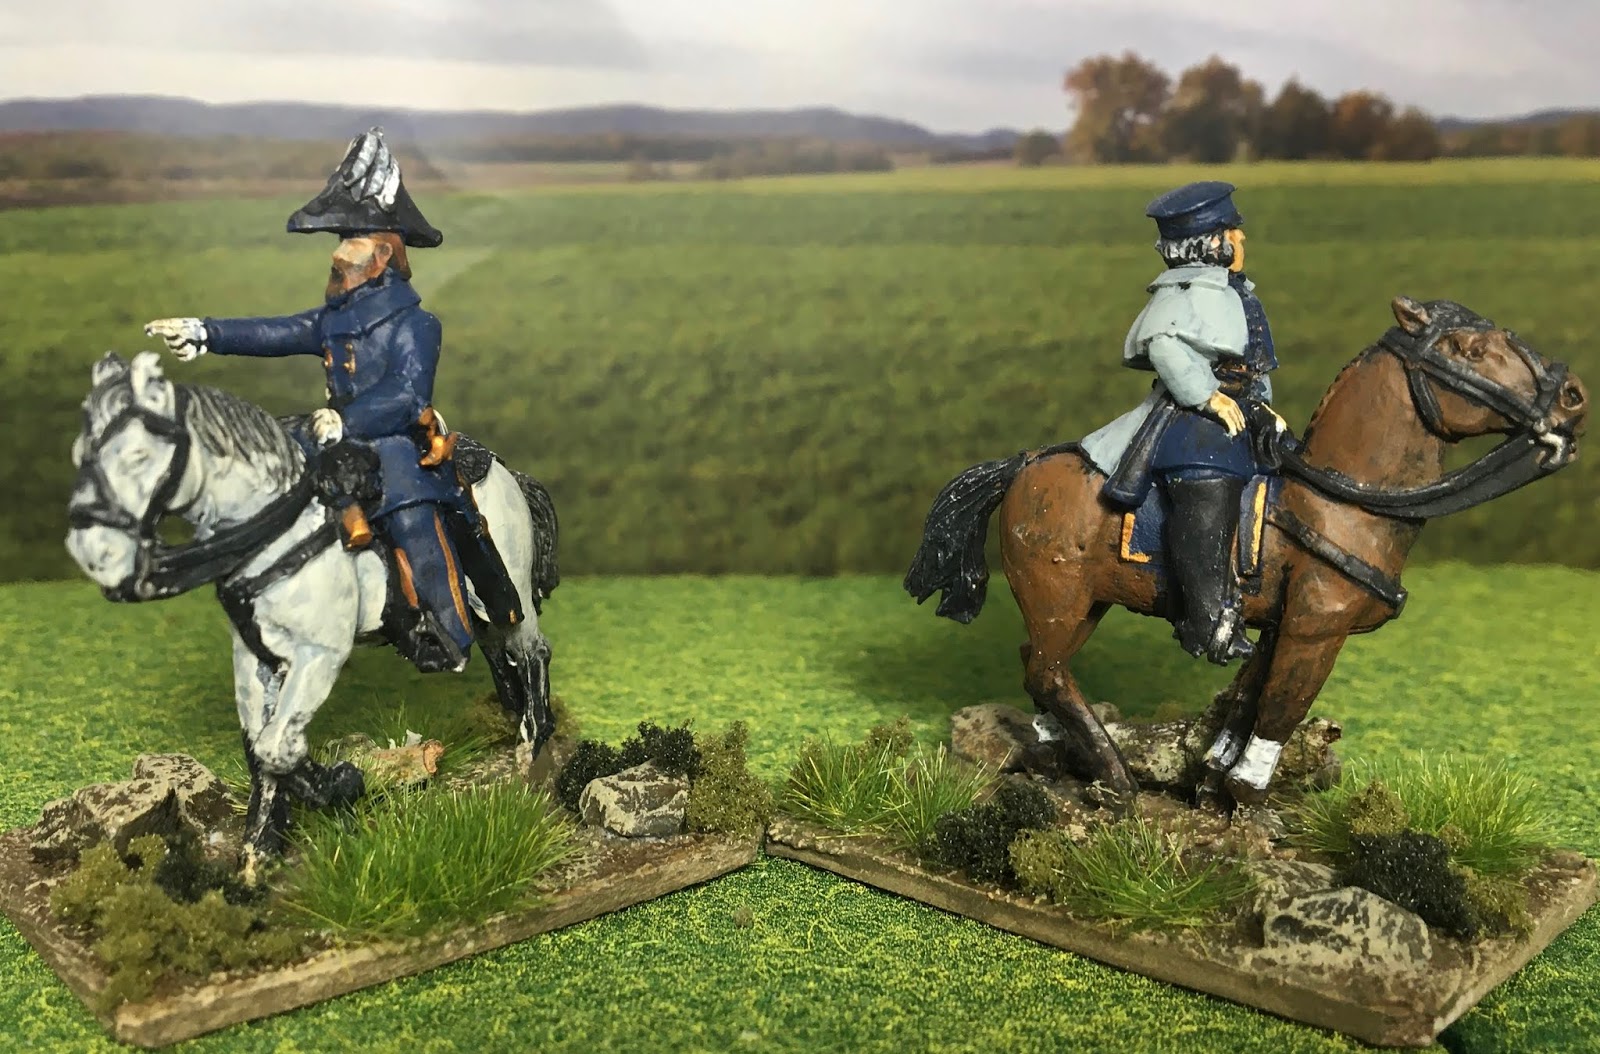
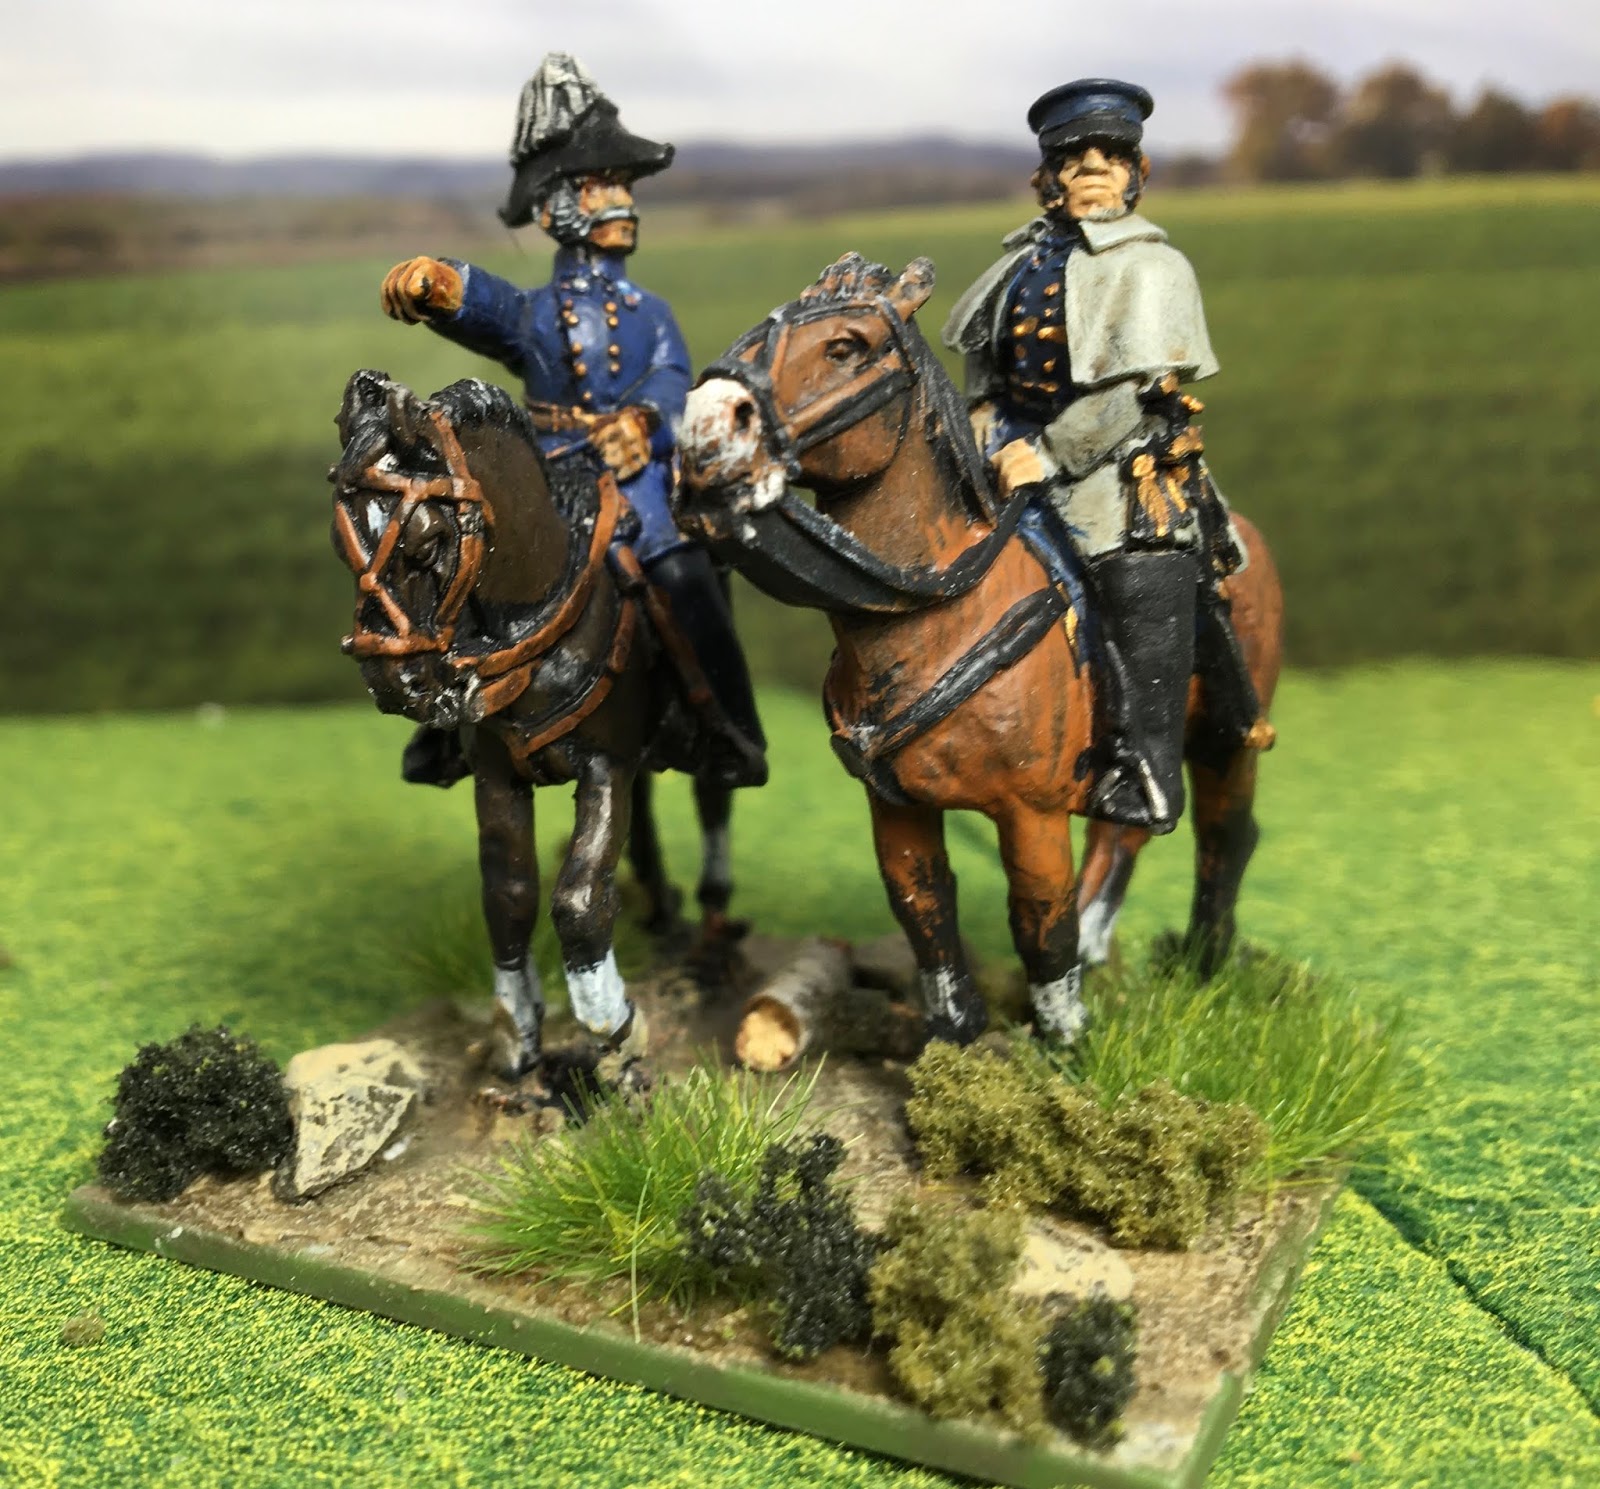
The Navy will put you ashore and your objective is to capture the fort and destroy the guns. Each player commands a brigade as below:

The British Force
  • 1st Brigade - 2 Line battalions plus a company of 60th Rifles
  • 2nd Brigade - 3 Line battalions plus a company of 60th Rifles
  • 3rd Brigade  - 3 line battalions 
  • 4th Brigade - 3 line battalions plus a company of 60th Rifles
  • Mixed Brigade - Naval landing party, Marines, 1 company of 60th Rifles, 6lb field gun

Command Chips

Each player starts with the same number of command chips as the number of units in his brigade. Command chips allow him to assign actions to units.  Before the game starts he rolls 1xD6:
  • 1 or 2 = Receive one additional command chip
  • 3,4 or 5 = Receive two additional command chips
  • 6 = Receive three additional command chips

Boat Movement

All boat Movement is starts from the corner of the table os the respective beach areas. Each move of a boat roll 1xD6:
  • 1,2 = 200mm
  • 3,4,5 = 250mm
  • 6 = 300mm

Spanish Force

In the fishing village
  • 4 militia battalions – in position one either side and one behind the village
  • 1 battalion of light infantry - in position at the junction of the road and the track to North Beach
  • 1 gun – in position between the village and the ridge
Cannot react until fired on or if British troops are within 100mm of the shore.

This force will attempt to defend against the landing, but if the number of British units landed exceeds their own strength, or as soon as any British unit that has landed on North Beach passes through the gap in the hills, the defenders will abandon the low ground and head for the ridge.

Camp near the Fort 
  • Texas Tercio 
  • 1 Line infantry regiment of 3 battalions
  • Cavalry Regiment
Cannot react until first shot fired. This force will take one full move to form up the move immediately after being alerted and will move to support to the support of the force in the fishing village.


Camp near the town

  • 3 infantry regiments, each of three battalions
  • 1 cavalry regiment
  • 2 guns
Will dice for each regiment to form to react after Camp near fort activates:  1,2,3 one turn to form, 4,5,6 two turns to form

This force will attempt to hold the ridge and will not pass beyond the ridge except to pursue the enemy. Its whereabouts will be concealed from the British until line of sight is established.

The Rules


The Game

The  British chose to land the First and Second Brigade on North Beach and the other two brigades and the navy on the South Beach. There were not enough boats to brings more than three brigades ashore in the first wave, so they chose to land First brigade as the second wave on North Beach while Third Brigade would form the second wave in Beach.

And so the action began.

The British Third Brigade and the Naval force head for the South beach...


... while the Second brigade lands on North Beach.


With the British Second Brigade passing through the gap  that carries the track from the North Beach, the militia began to withdraw from the fishing village.


As soon as the boat guns fired, the a Spanish troops on the ridge beside the shore battery were alerted and formed up. Soon after the troops in the distant village were called to arms.


As the British formed two battalions of Spanish regulars came down off the ridge and opened fire, inflicting some loss on one of the battalions.


The British soon counterattacked, with the Marines striking the left flank of the Spanish force, while a line battalion attacked the right. The left collapsed quickly, but the right held on for longer...


...but it didn’t last long before it too was driven off.


With the Spanish forced back to the ridge, the British Third Brigade and the Navy troops were free to advance.


Opposite the British First and Second Brigades regiment of Spanish dragoons charged. The British decided to receive the charge in line and their volley disrupted the cavalry, but the troopers crashed into the line all the same. A desperate fight ensured and against all odds the cavalry prevailed. The British infantry scattered to the wind, but the dragoons were spent and withdrew to rally.


The British fourth brigade finally lands...

...and approaches (top left in the image below)


The Naval force approached closed in on the weakened defenders of the shore battery and after a short fight carried the position.


Even though the battery had fallen the Spanish attacked vigorously. The fight swayed too and fro. The Spanish had some success, but even their best troops were lower rated than the British and the British lines held.


Having destroyed the shot battery the army began to withdraw under the cover of a frigate the army.


In the end while the British did manage to destroy the shore battery, they took heavy losses, with six of their thirteen battalions driven from the field, presumably they routed back to the boats, and another three were in a poor state.

But it was a fun day, enjoyed by all.

Tuesday 8 October 2019

Bavarians

Attentive readers may remember that just six weeks ago I agonized over whether to collect a Danish or Bavarian Napoleonic force. The decision of course was Bavarian and the first figures arrived three weeks ago.

My intention was to build a force from 1813, organized from the order of battle for the Battle of Hanau, the 3rd Division to be precise. I chose that division because with six line, two militia battalions and two batteries it makes quite a nice little force to work as an ally. Those six line battalions come from five different regiments, so there is a nice mix of facing colours. But when the order arrived I realised I had ordered light infantry command instead of line.

This forced a rethink. The only light infantry at Hanau were in the 2nd Division. Yes I can make it work: there are four line, two light, four militia battalions and two batteries. The only disappointing thing is that the line battalions are from just two regiments, reducing the variety of facing colours.

So here are the 1st Light Infantry and the combined 5th and 6th Light Infantry.

The 1st was painted with the contrast colours and I don’t like the result. I struggled to get definition on the crossbelts and the whole effect is grubby. 


The 5th and 6th combined battalion  I have done using my more traditional method and I am much happier with them. This battalion has two command stands so that if I want to break the single battalion into smaller units I can.


This experience of working the Contrast Paints has settled my view on how I should use them and that is as support for my normal style. I think the white provides an excellent finish over a base white and I like the way the red can be used to either provide a dull brick red or be built up to a very intense bright red. The browns provide some excellent horse tones and the yellow gives as an excellent single coat colour over a white or light bone base coat.

Sunday 6 October 2019

Crimean Commanders

A part of this week’s effort has been to complete the command stands for the British cavalry division for the Crimean collection.

First of all, to finish off the Heavy Brigade that featured in these pages a few week back, is the figure to represent General Sir James Yorke Scarlett.


Despite being described by a superior as an officer of 'limited ability, lacking initiative and nearly useless' and 'that damned stupid fellow,” Scarlett was one of the few British commanders in the Crimea who managed to enhance his reputation positively.

Born in London in 1799 he was the second son of the 1st Baron Abinger and was educated at Eton and Cambridge before joining the army in 1818 as a cornet in the 18th Hussars AMS sent to India.  Promotion as slow and not until 1830 did he receive his majority in the 5th Dragoon Guards. A full ten years later he was appointment as Commanding Officer of the regiment in 1840, a post he held until 1854.

When the war in the Crimea broke out he was given the command of the Heavy Brigade and led it in the successful Charge of the Heavy Brigade at Balaclava. After some time back in England he was made Lieutenant General in 1855 and returned to the Crimea where he succeeded Lucan as commander of the cavalry. He retired from the army in 1870 and died a year later.


As a recognition of his time with the 5th Dragoon Guards Scarlett wore the helmet of an officer in the regiment in the field and since no one makes a single figure like that a bit of conversion was in order. In preparation for this I had carefully decapitated a dragoon officer figure a few weeks ago when I was finishing the heavy brigade. Next I took the staff officer  figure from one of the Great War Miniatures command packs and removed his head. The dragoon head was then pinned and glued in place then finished with a small amount of Greenstuff to finish of the collar of the coat. I added a sword arm in place of the hat wielding arm that comes with the staff figure, and cut away the sword hilt from the scabbard. Done.


Next was the divisional command. Lord Lucan was already completed, so I added a mounted officer and rebased accordingly.


Also leaving the painting table after lingering in the basing tray for too long ate another two Russian Napoleonic limbers. Two more to go.


Tuesday 1 October 2019

A North American Theme

After a month or more of working on European subjects, the last week has seen the completion of a couple of North American items.

First of all at two American command bases for the War of 1812. These were a part of the pack I got from Foundry a couple of months ago, but the the two mounted figures were missing their horses. The horses finally arrived and here they are based ready for a command.


Then there is the first two of what will be six battalions of British infantry for the American Revolution.


They are they first units that I painted using the new Games Workshop Contrast Paints. I am really pleased with the way the reds and whites came out, but the jury is still out on the overall result.