On the Isabellino side were three new commands:
- The British Auxiliary Legion (BAL)
- 1 battalion of marines
- 4 battalions of line infantry
- 1 battalion of Spanish infantry
- 1 field battery
- 1 rocket battery
- 1 lancer regiment
- Isabellino First Brigade
- 2 battalions of guard infantry
- 1 battalion of light infantry
- 3 battalions of line infantry
- 1 line cavalry regiment
- 1 light cavalry regiment
- 1 horse artillery battery
- Isabellino Second Brigade
- 2 battalions of guard infantry
- 4 battalions of line infantry
- 1 line cavalry regiment
- 1 field artillery battery
- 1 mountain battery
- Carlist Brigade
- 1 battalion of Valencian Volunteers
- 4 battalions of line infantry
- 2 cavalry regiments
- 1 mountain battery
- Carlist Brigade
- 1 battalion of guides
- 5 battalions of line infantry
- 1 cavalry regiment
- 1 field artillery battery
- Carlist Brigade
- 1 battalion Cabrera's guides
- 4 battalions of line infantry
- 1 cavalry regiment
- 1 field artillery battery
Wednesday's game had determined which side the reinforcements arrived. The positions of the troops that fought on Wednesday are shown on the map below, with the Carlists in Blue and the Isabellinos in red. The deployment restrictions for the reinforcements were:
The BAL had to arrive at A, while the other two Isabellino brigades could arrive at either B or C. The Carlists could could arrive at C, D or E. Only one brigade can arrive at each point in any one turn.

If both sides decided to try to bring on a force at C, players would roll 1xD6 for each unit in their command and add the scores together. The higher score will arrive at C on Turn 1, while the lower would arrive at B if Isabellino or D if Carlist, on turn 3.
The Carlist chose to bring on one brigade at E and two at D. The Isabellino brough one brigade on at B and one at C, much to the concern of the Foreign Legion commander who felt he was left without direct support.
The FFL and the Carlists around the Abbey were content to stand back and trade a few artillery rounds while the other brigades got into position.
.HEIC)
.HEIC)
.HEIC)
On the right of the FFL, on the other side of the dividing hills, General De Lacy Evans advanced with the BAL under the cover of the lancers.
.HEIC)
.HEIC)
The Carlist mountain gun threw a few rounds into the deploying British, but without much effect.

Then a Carlist cavalry unit charged a battalion of BAL infantry. Caught before they could form square, things looked grim for the infantry, but they held firm and repulsed the cavalry.


The BAL infantry followed up against the retreating cavalry, but the cavalry rallied and pushed them back.
After this brush with the BAL, the Carlist on this side of the hills, struggled to keep control of their force and both sides resorted to exchanging artillery fire while moving across the hills to support the FFL.
At the far end of the field, one of the Carlist brigades attempted to support the force in the Abbey, but was forced to direct most of his force to the Isabellino brigade that arrived at B, while the right most Carlist brigade had to deal with the Isabellinos that came on at C.
.HEIC)
.HEIC)
.HEIC)
.HEIC)
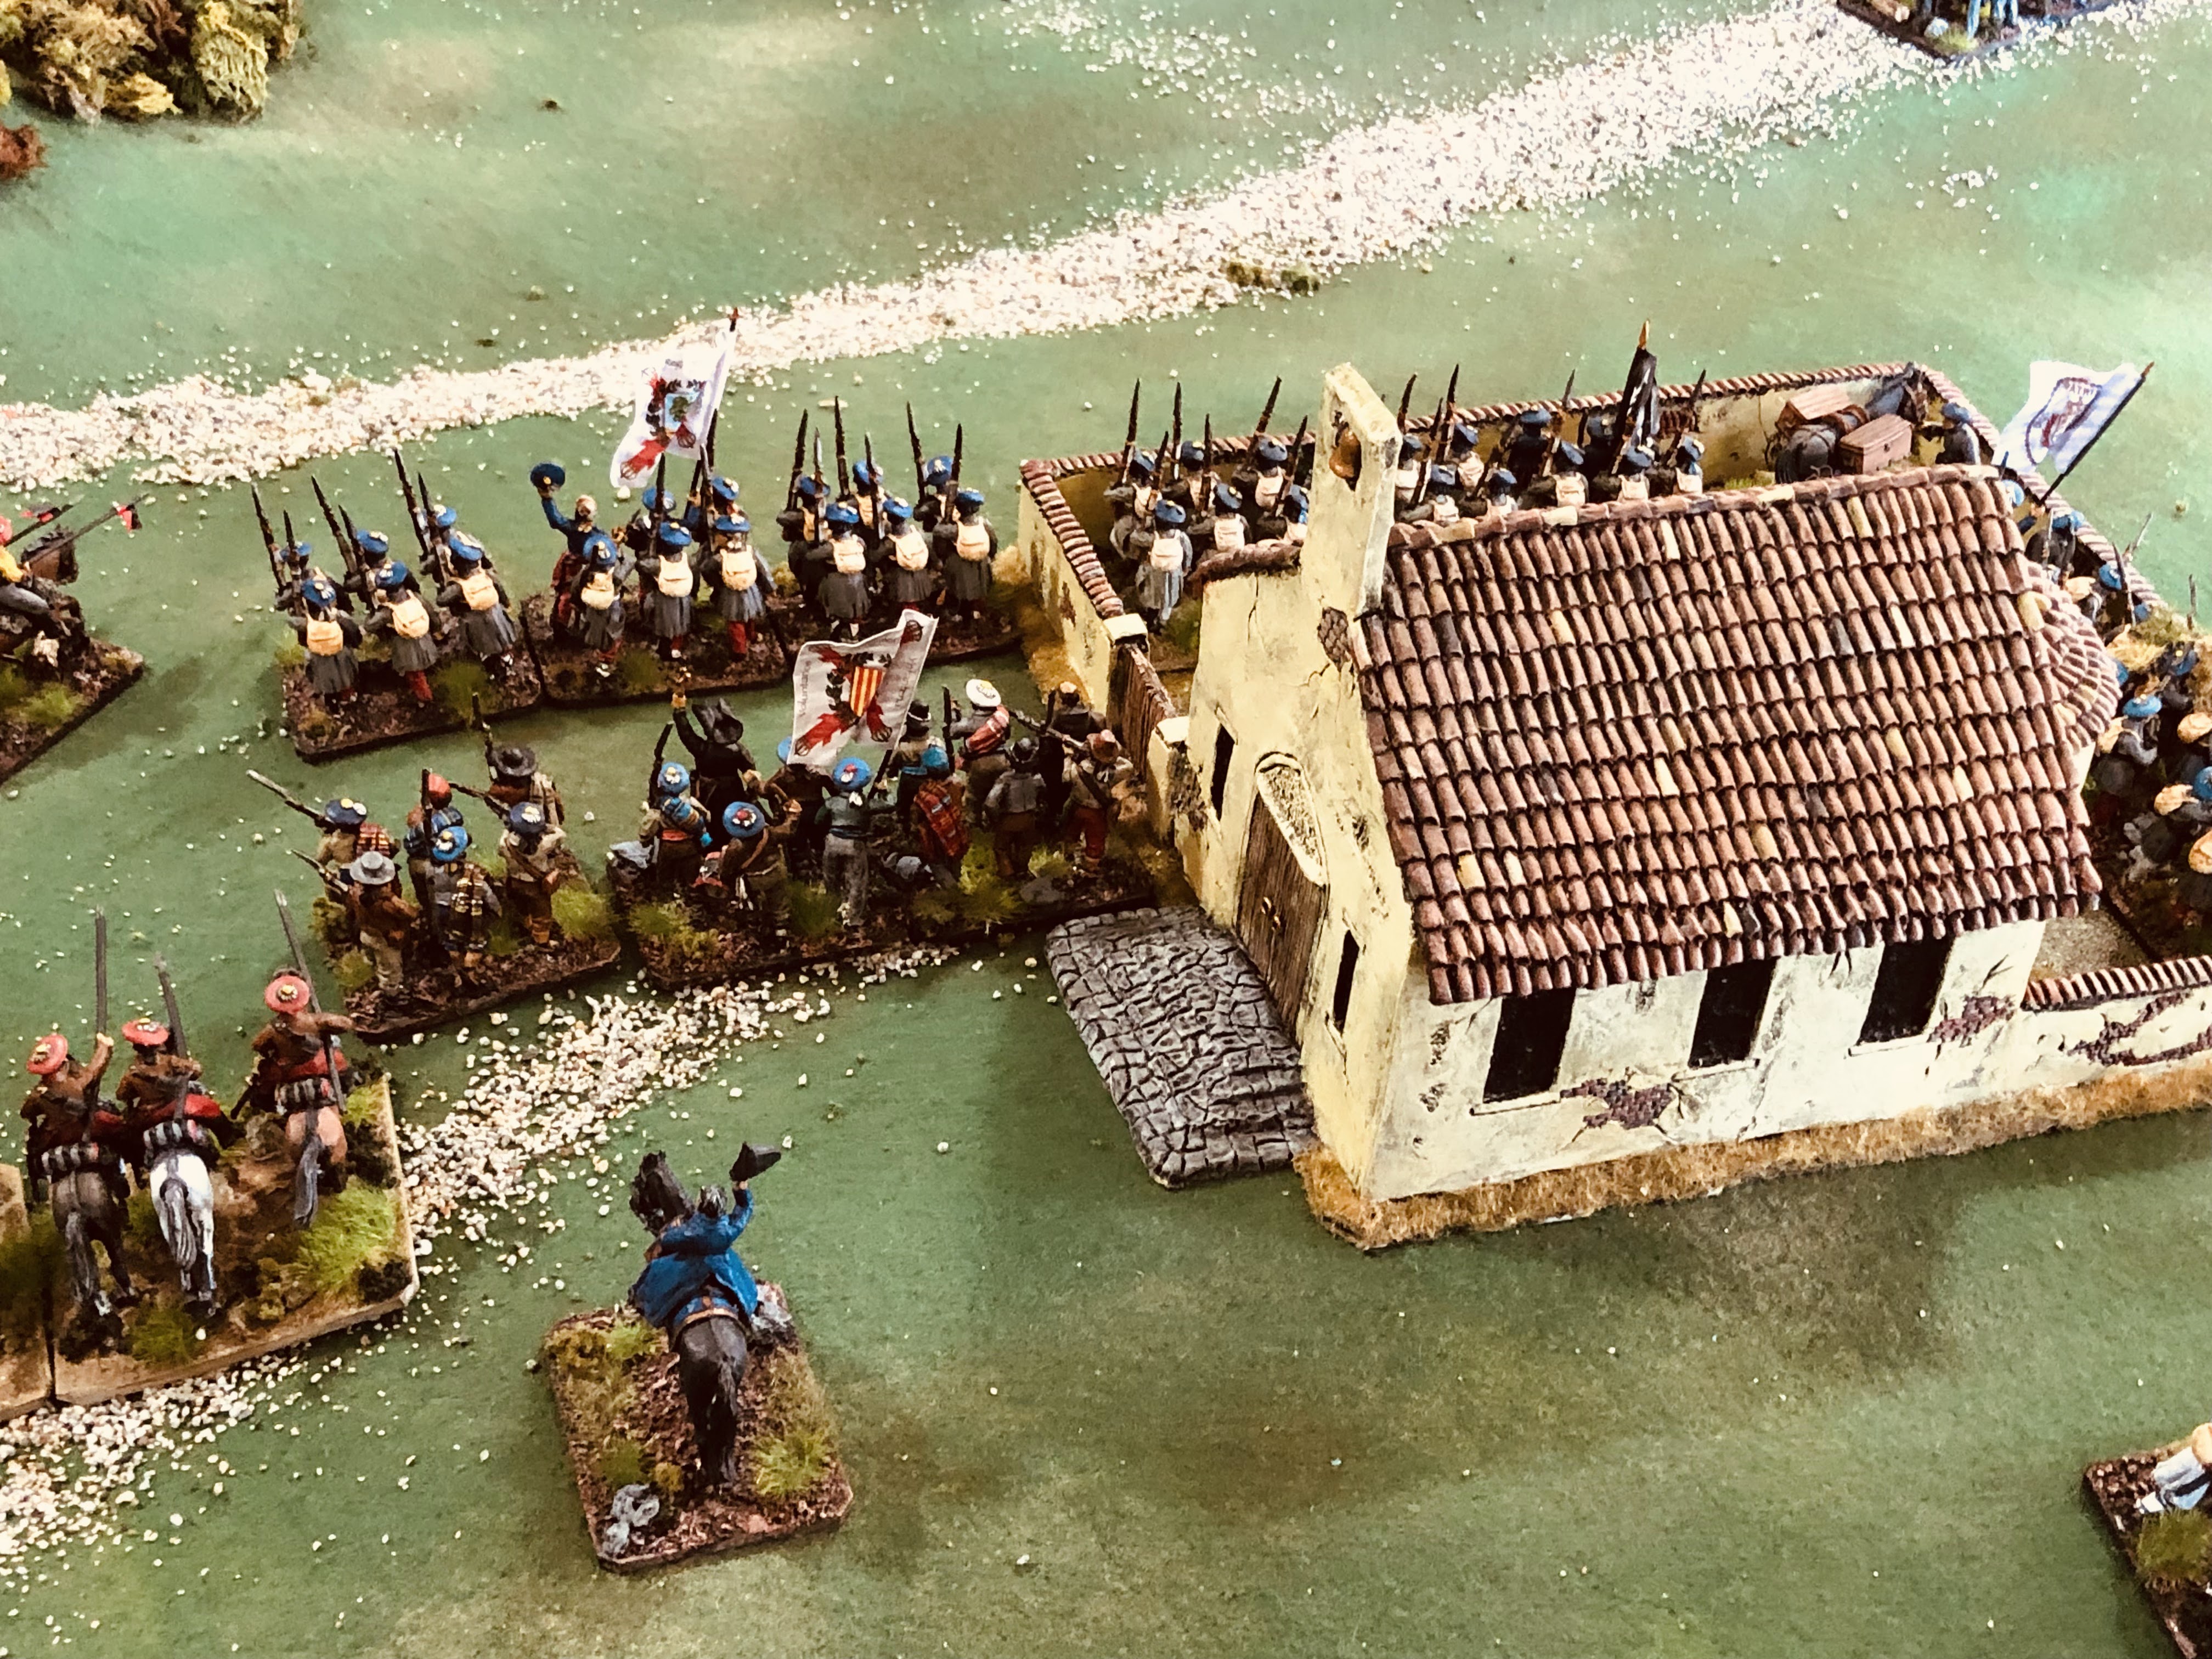
In front of the Abbey things began to heat up as both sides in this sector began to advance.
.HEIC)
.HEIC)
The FFL cavalry charged...and were repulsed
.HEIC)
In the center and on the Carlist right the battle intensified in open field where the infantry could deploy en-masse.
.HEIC)
.HEIC)
.HEIC)
.HEIC)
.HEIC)
.HEIC)
.HEIC)
The Carlists, with a number of priests in their ranks fought valiantly.

.HEIC)

But the Isabellino troops managed to form up into more stable lines and they piled on the pressure.
.HEIC)
.HEIC)
.heic)

.heic)


The townspeople were just happy none of the troops entered the town.

In front of the Abbey the FFL cavalry charged again and were driven back again.
.heic)
The FFL had been knocked around badly, but still held. When the BAL came through the ridge and deployed, the Carlists were on the back foot.


The Isabellino command was happy as they watched the Carlists begin to crumble.

The final positions...victory to the Isabellino forces
.HEIC)
An a few random 'spare' images
.HEIC)
.HEIC)


Many of the images here are provided by John L.
Nice....I will expand on the glorious contributions of the BAL later this evening, but suffice to say here, it was an excellent game, Mark
ReplyDeleteIt was a good game. I actually took very few pictures at your end of the table. Thankfully JL had taken some.
DeleteSuperb looking game, your First Carlist War collection is really great and a source of inspiration to me, cracking post!
ReplyDeleteThanks Donnie. We play that period so rarely that I always forget how great this collection is.
DeleteA great conclusion and I really like the idea of linking the Sunday game to a midweek one. Were the players who were unable to attend on Wednesday able to slot right into the action without any difficulty?
ReplyDeleteIt was interesting for me to set up the deployment and arrivals. That said, the reinforcements still came down to three new blokes turning up at a point on the table and fighting four blokes on the other side. However, it has given me some ideas as to how to make the initial game more influential.
DeleteDah-Am. That's quite a spectacle. 😁
ReplyDeleteThanks Stew...it rather pretty isn't it?
DeleteThat's a smashing looking battle Mark! Must have been fun trying to corral so many players?
ReplyDeleteIt can be a challenge, Dai. I went home very tired!
DeleteSplendid looking game! Lovely collection, the Spanish always have such great flags and the Abbey is perfect and a victory in Spain for the forces of enlightenment, how unusual!
ReplyDeleteBest Iain
Thanks Iain. It is great era to play, wonderfully colourful.
DeleteGreat AAR Mark.
ReplyDeleteThanks Brian
DeleteA splendid end after the earlier action:)! Lots of lovely images to enjoy too. a period I was not aware of until the first edition Black Powder rulebook that had a scenario in it from this War.
ReplyDeleteMy first introduction was an article in Wargames Illustrated about the BAL and I was hooked!! it is a great range of figures and a wide variety of troop types and uniforms.
DeleteAmazing collection, they look great. And as always your AARs are such enjoyable reads with all that eye candy too.
ReplyDeleteThanks Joseph. It's always nice to play an era we haven't played for a while. It's like greeting old friends when they come out of their trays.
DeleteA splendid colourful game Mark…
ReplyDeleteIt’s always nice to see your Carlist Wars collection out on the table.
All the best. Aly
Thanks Aly...many old friends came out of storage...
Delete