When I looked at the plans for Fort Erie the gate stood in the middle of two substantial stone barracks between two bastions. I didn’t want to go to the extent of building the barracks so I have had to employ some artistic license. My Fort Erie is going to have only a passing resemblance to reality.
This also needs to be a quick build so I opted to use foamboard as the material of choice. Luckily I have a bunch of this that I have scavenged from various redundant promotional boards created by the internal communications team at work – I am sure you all of you in corporate life know these teams...the people with no budget, but thankfully their wasteful use of this material can be very useful to a resourceful wargamer.
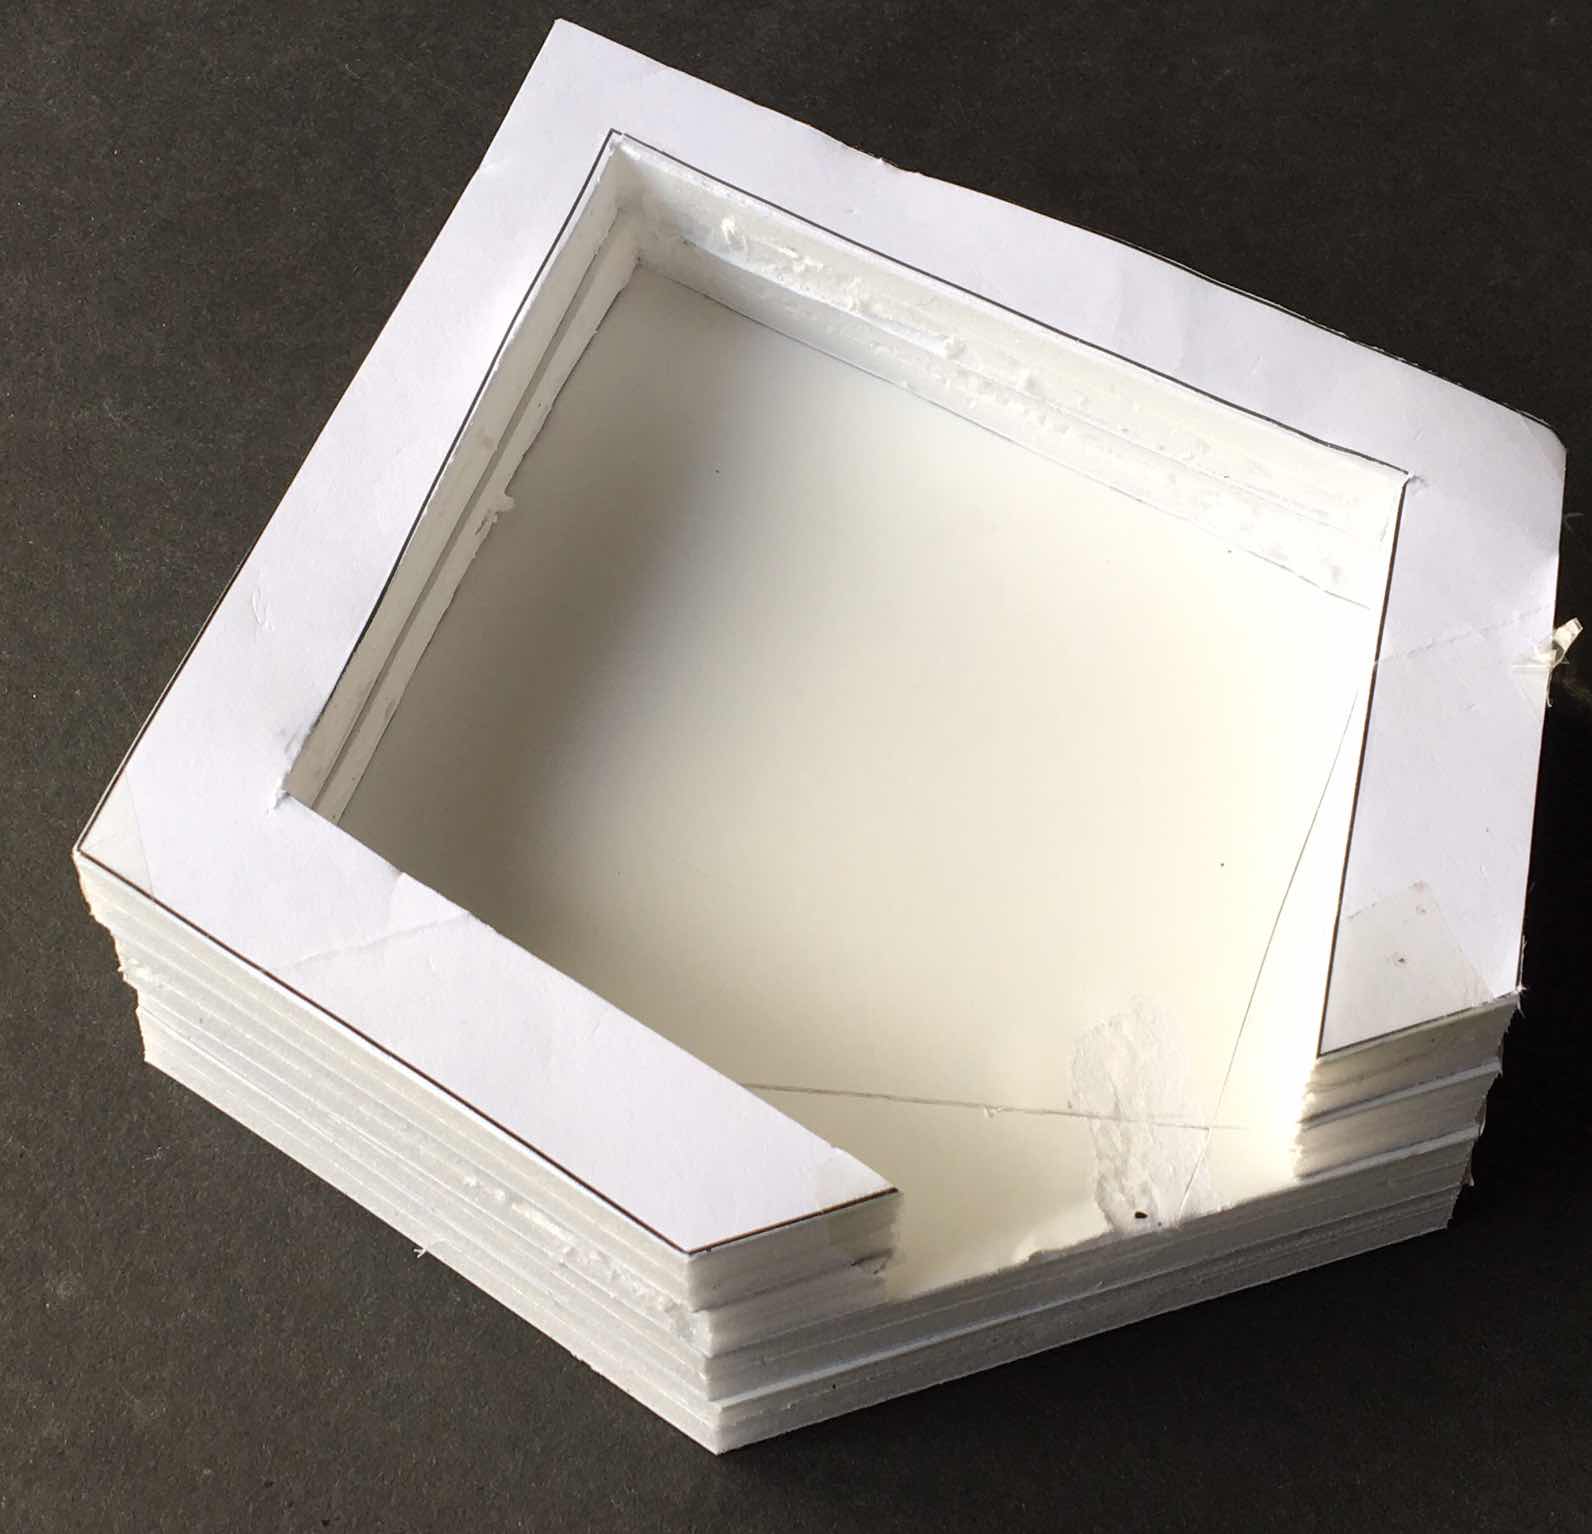
Since the bastion needs to be of a height more than man-height I chose to use some 10mm board that I had on hand and decided to use four pieces laminated together. I quickly sketched the outline of an elongated pentagon on the PC and printed it out. The size was 160mm on each axis. I then taped the printout to the board and cut out two solid pieces for the base and two hollow pieces for the walls.
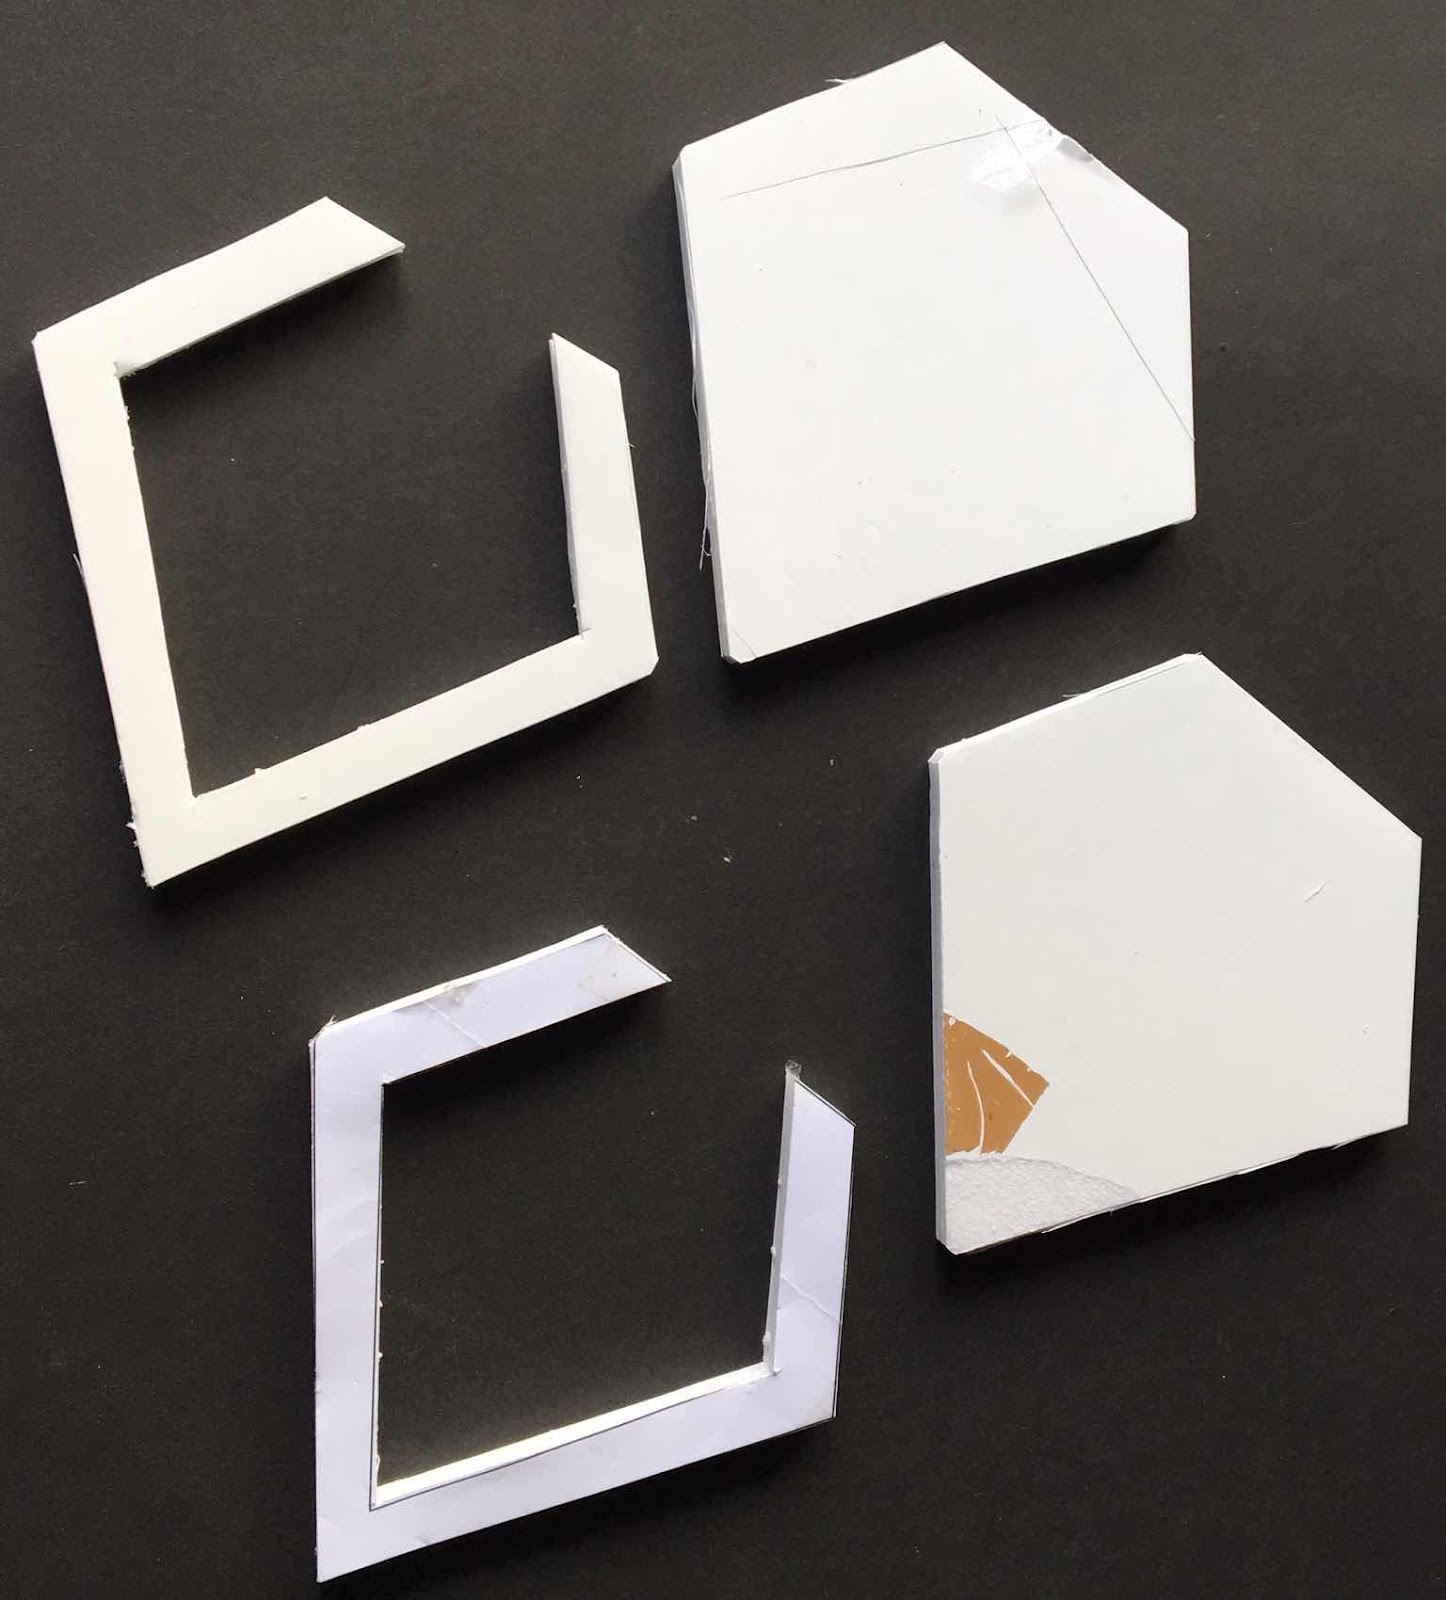
The various pieces were then glued together with PVA and when the glue was dry I sanded the outer sides to even out the irregularities of the cut.
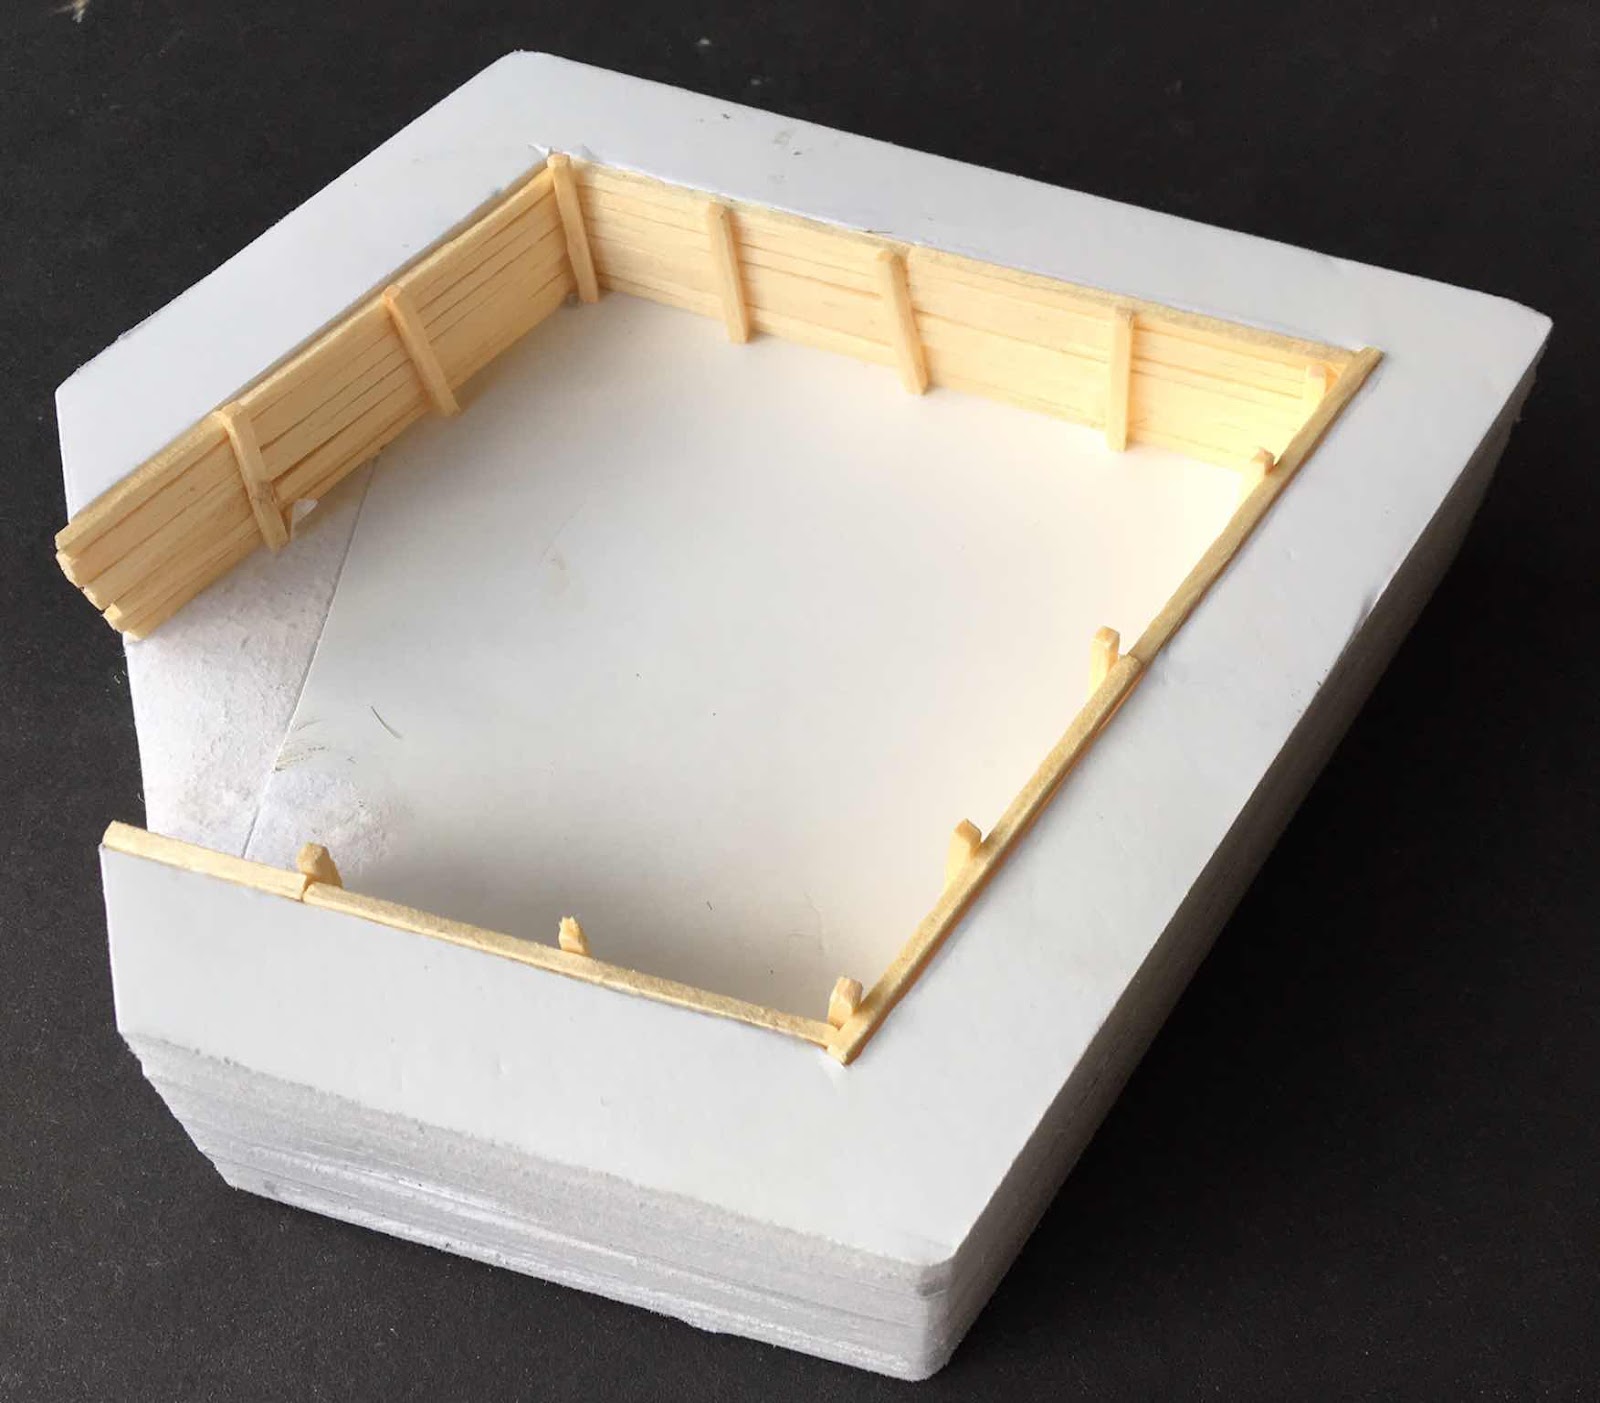
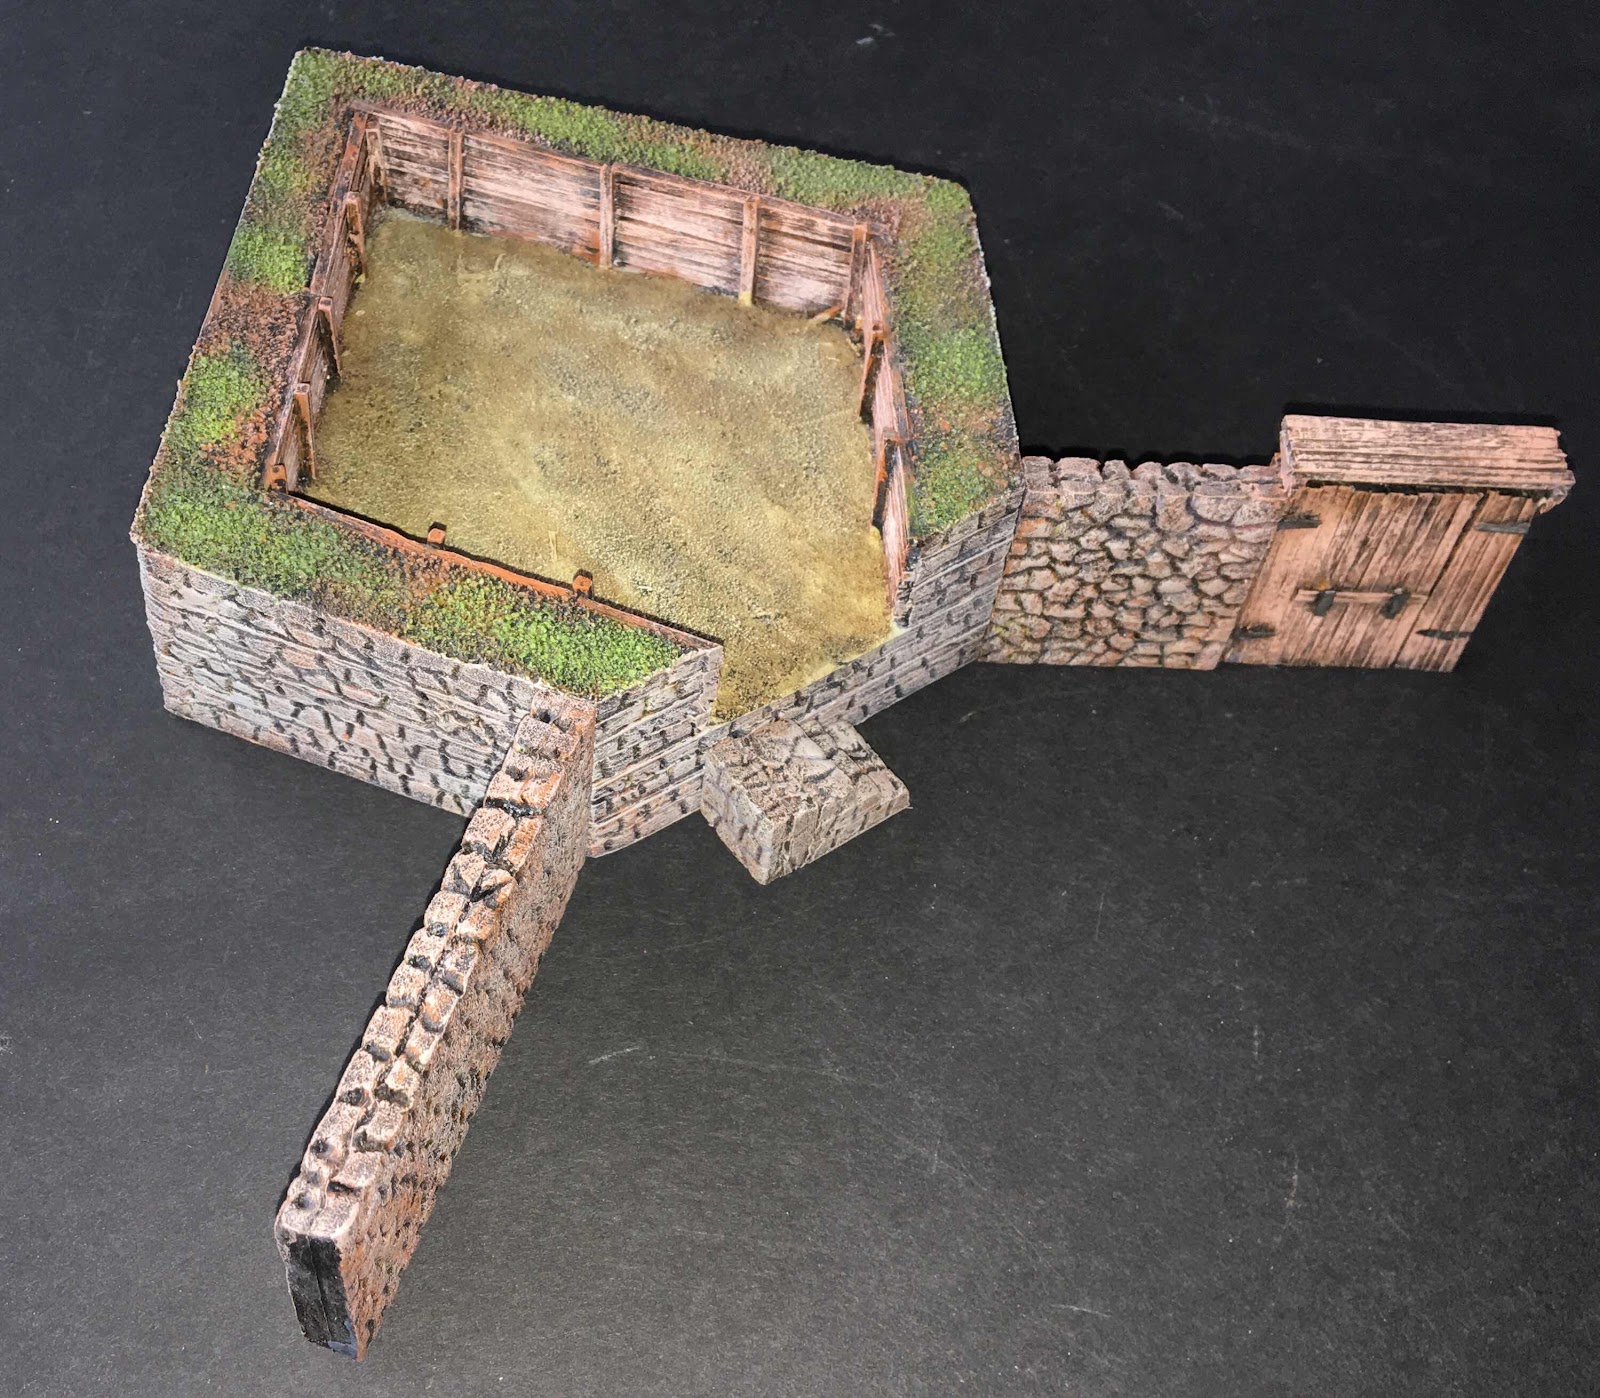
I like to have a variety of textures on my models so I decided that the interior of the bastion would be braced by timber. This is probably not correct, but it will have great texture and at any rate Fort Erie was in poor repair in 1814 by all accounts so this could well represent some sort of repair. To construct this timbered effect I used my old standard – matchsticks.
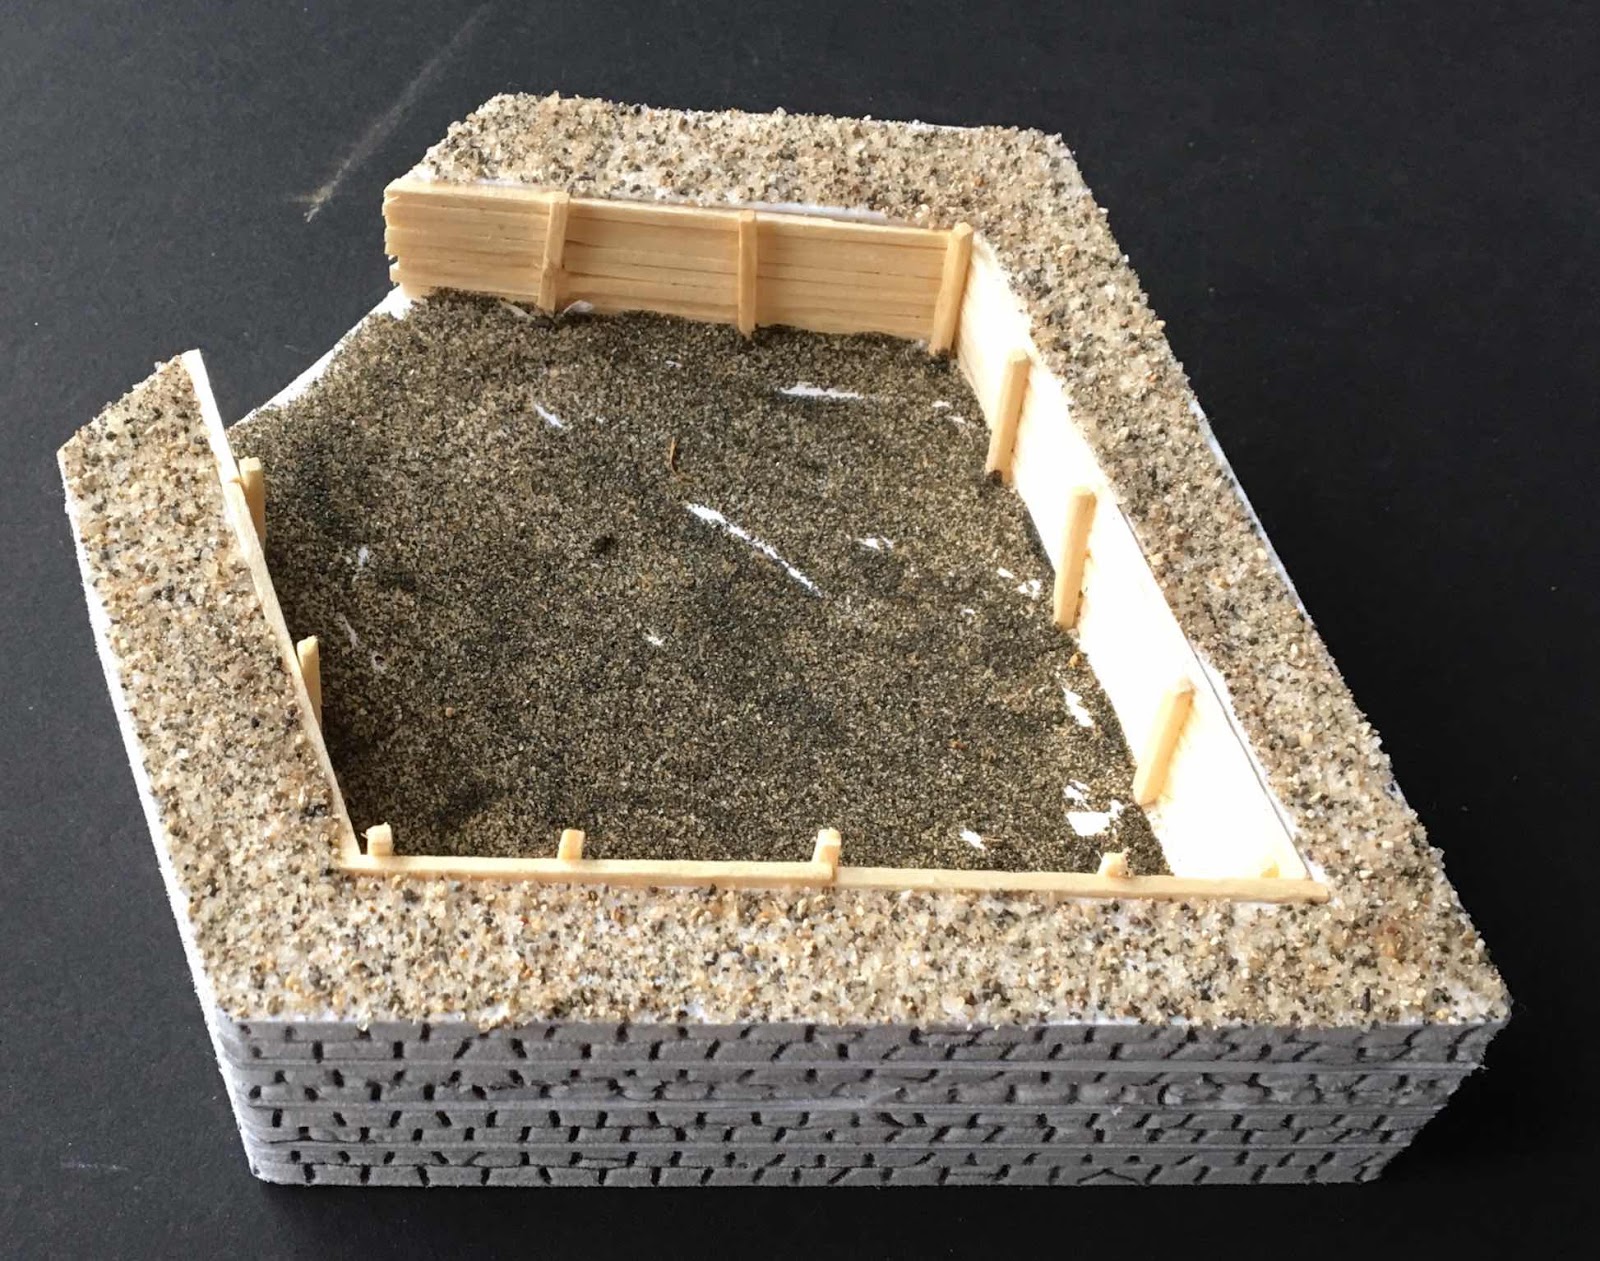
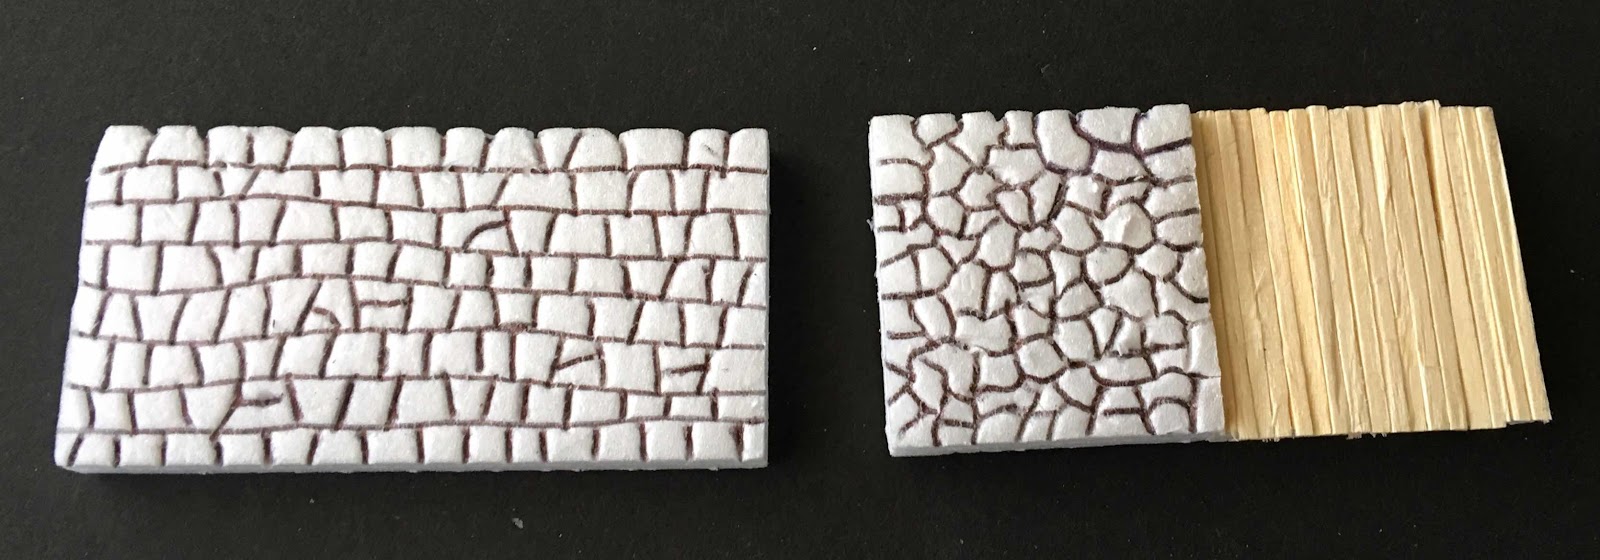
Once all the glue was set I went about marking up the stonework of the outer walls. This was a relatively simple task of drawing the “stone blocks” with a ballpoint pen, pressing hard enough to make an impression between 0.5 and 1 mm deep in the foam.

In modern images of the fort, the tops of the bastion wall are grassed, so my assumption is that they were filled with rubble and earth, some of which would be grassed in 1814 and some would not. So to gain some texture on the top I glued some coarse sand. On the interior I glued some fine sand to give the base a bit of texture and cover up any cut marks on the foam board.
At the same time I made two wall pieces that will extend either side of the piece. I removed the cardboard surface from the foamboard and sketched the stonework into the surface. At the same time I made the gate from matchsticks.
The various pieces were then painted – undercoated in black first then presented in various tones of grey/brown and washed with a thin coat of Aly’s Brown Liquid. The internal area of the bastion was given a suitable dusty floor look and the tops of the walls were made earth with some grassed areas. The whole surface was then coated with a brushed on matte varnish to seal the paint and provide a bit more rigidity to the foam.

The next thing to build was the ditch and the drawbridge. This was a simply a layer of 5mm foam board under the bastion and walls and then two pieces of 5mm for the outer mound, all fixed to a base of 4.75mm MDF.

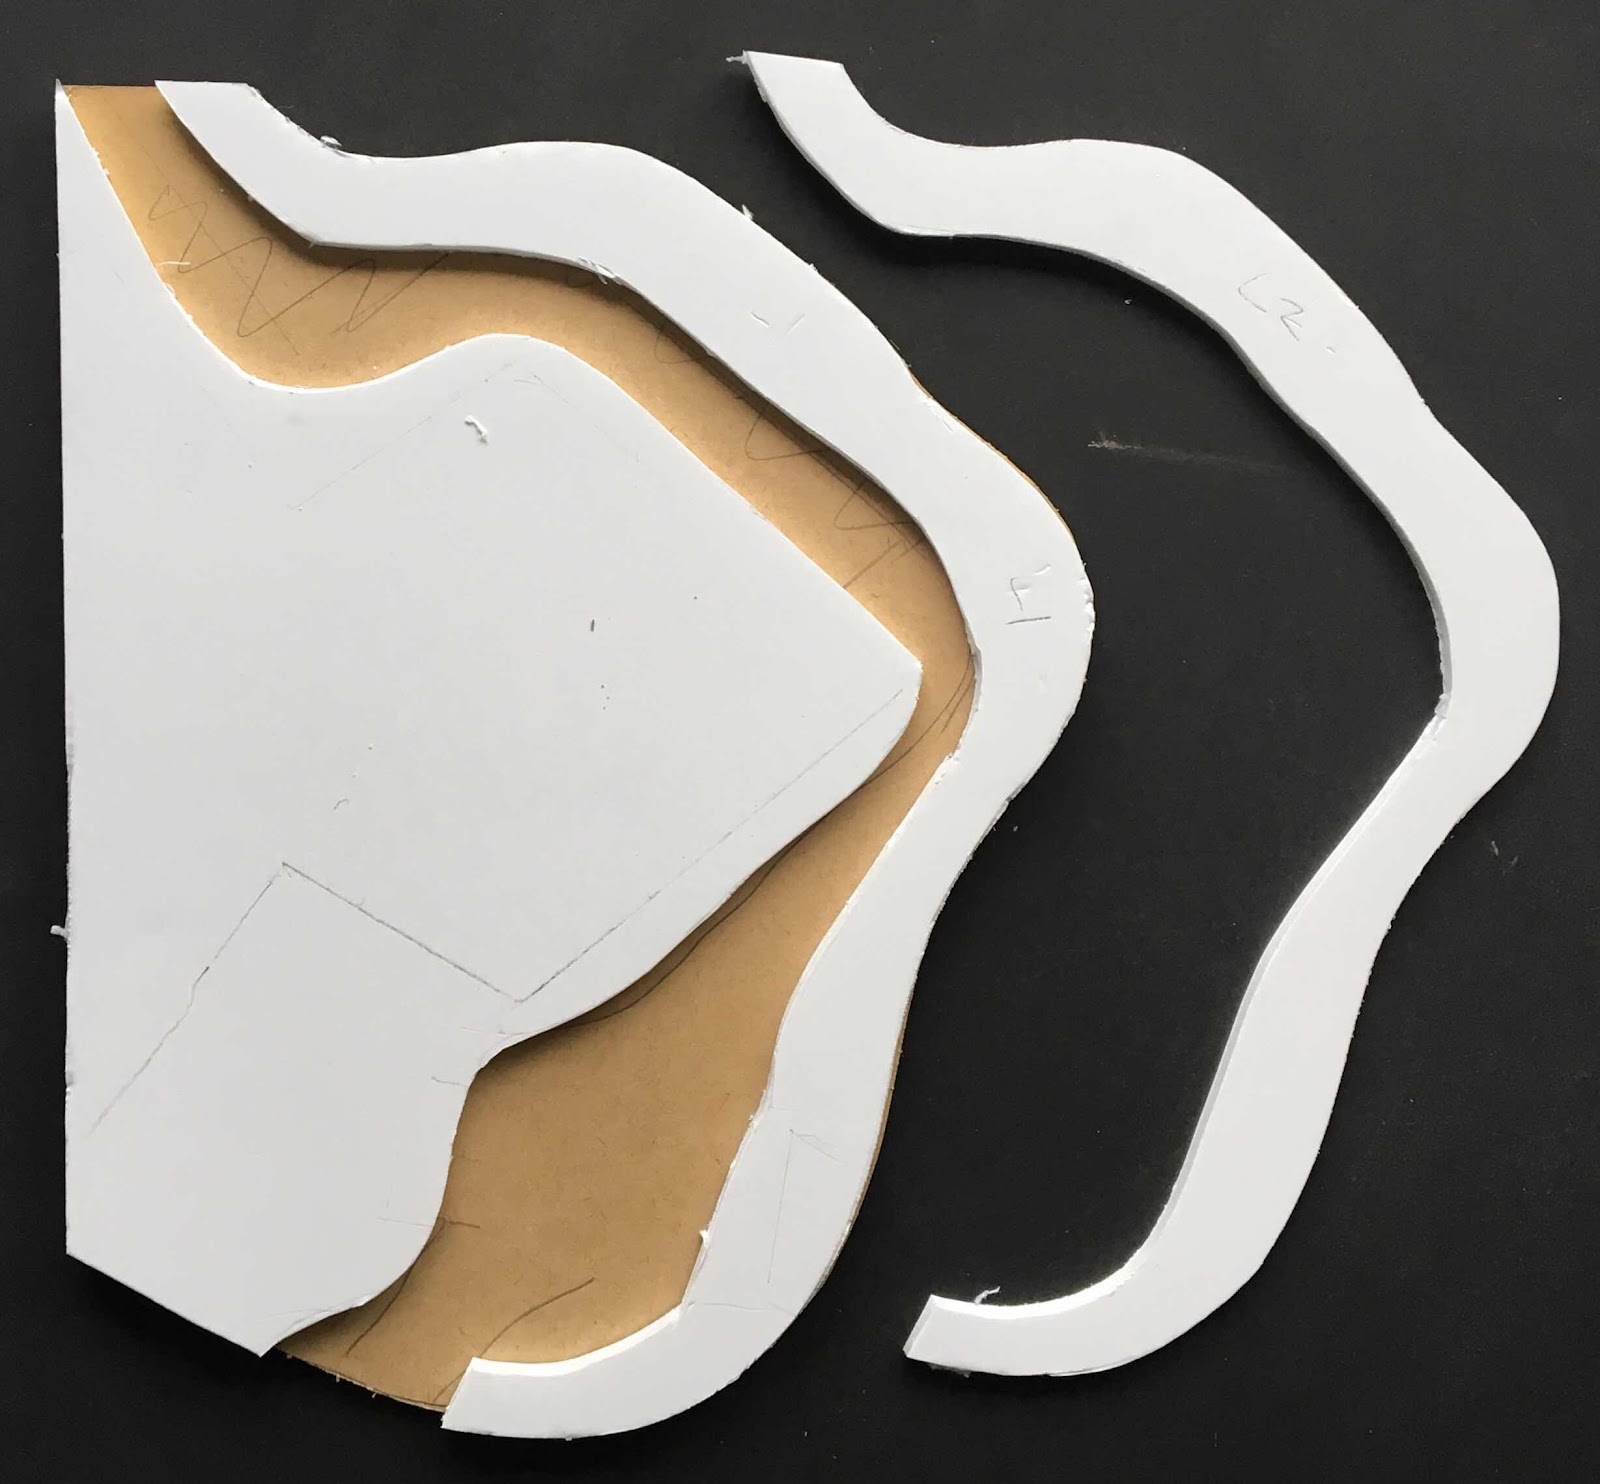
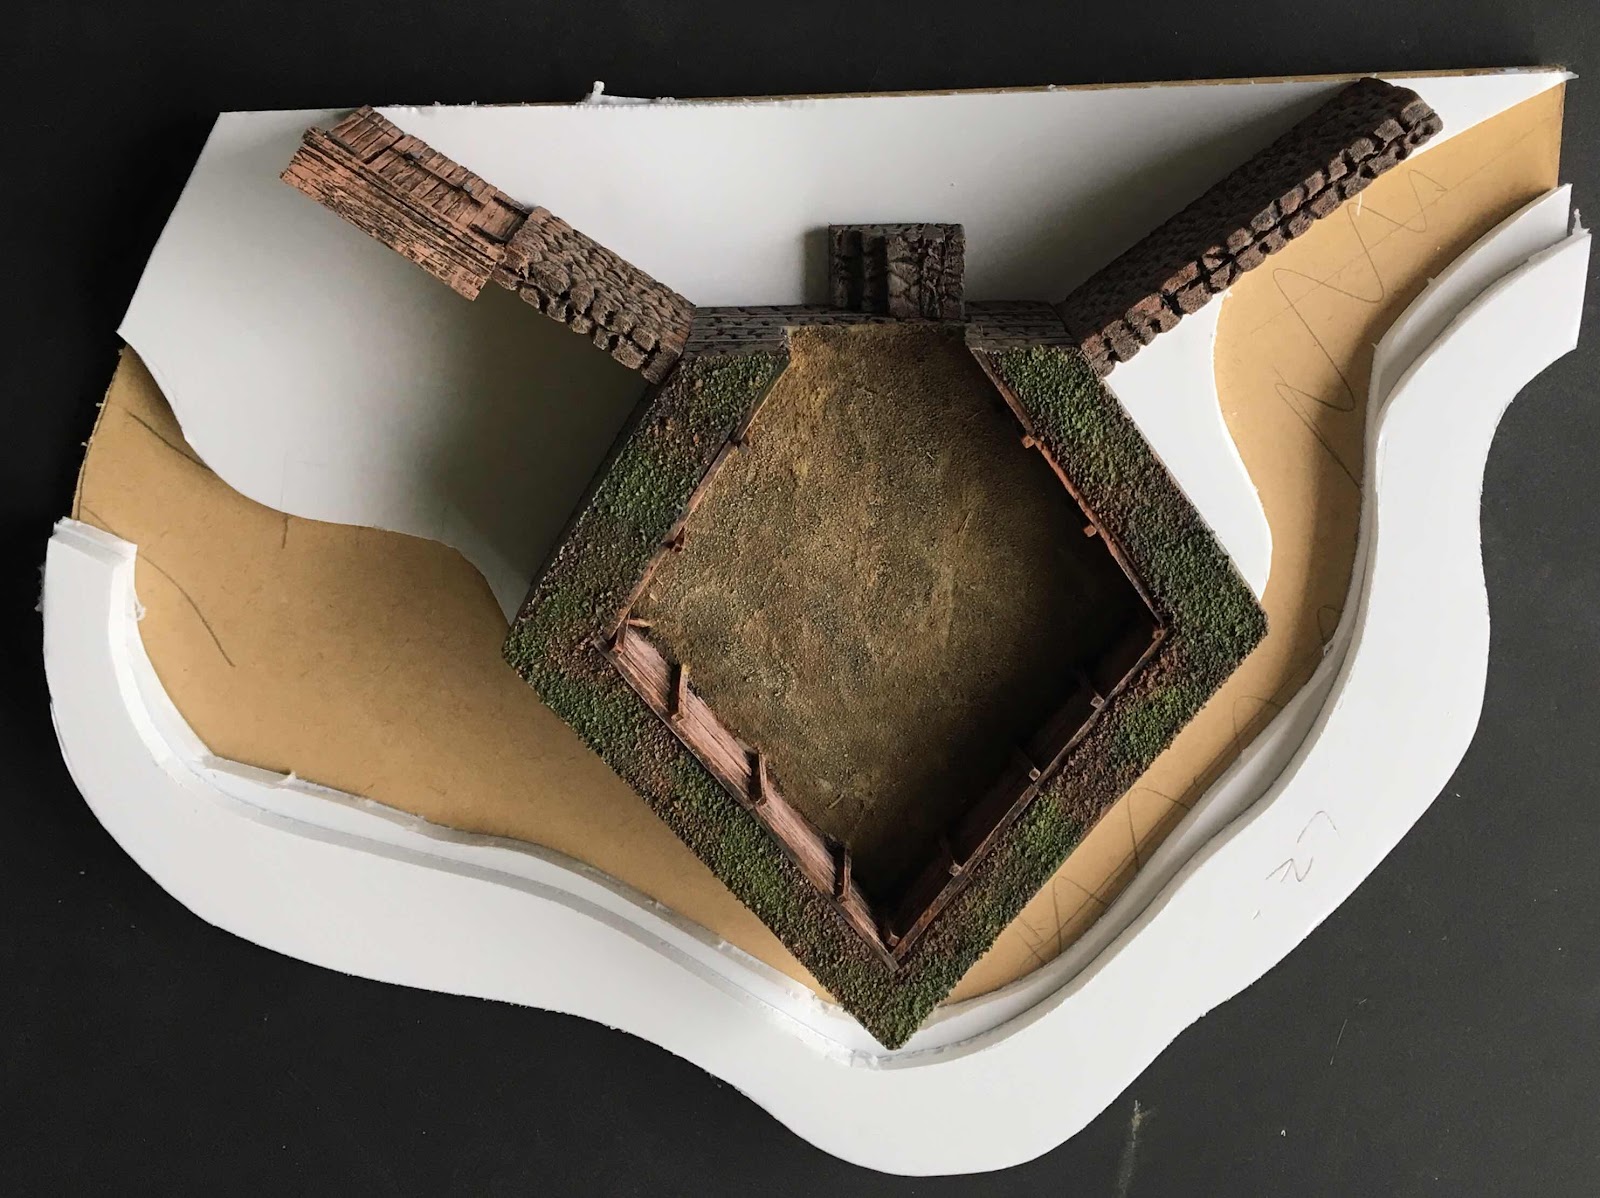
For simplicity the surface was covered with coarse sand drybrushed various tones of brown, green yellow and white over black to create the earth and grass effect.


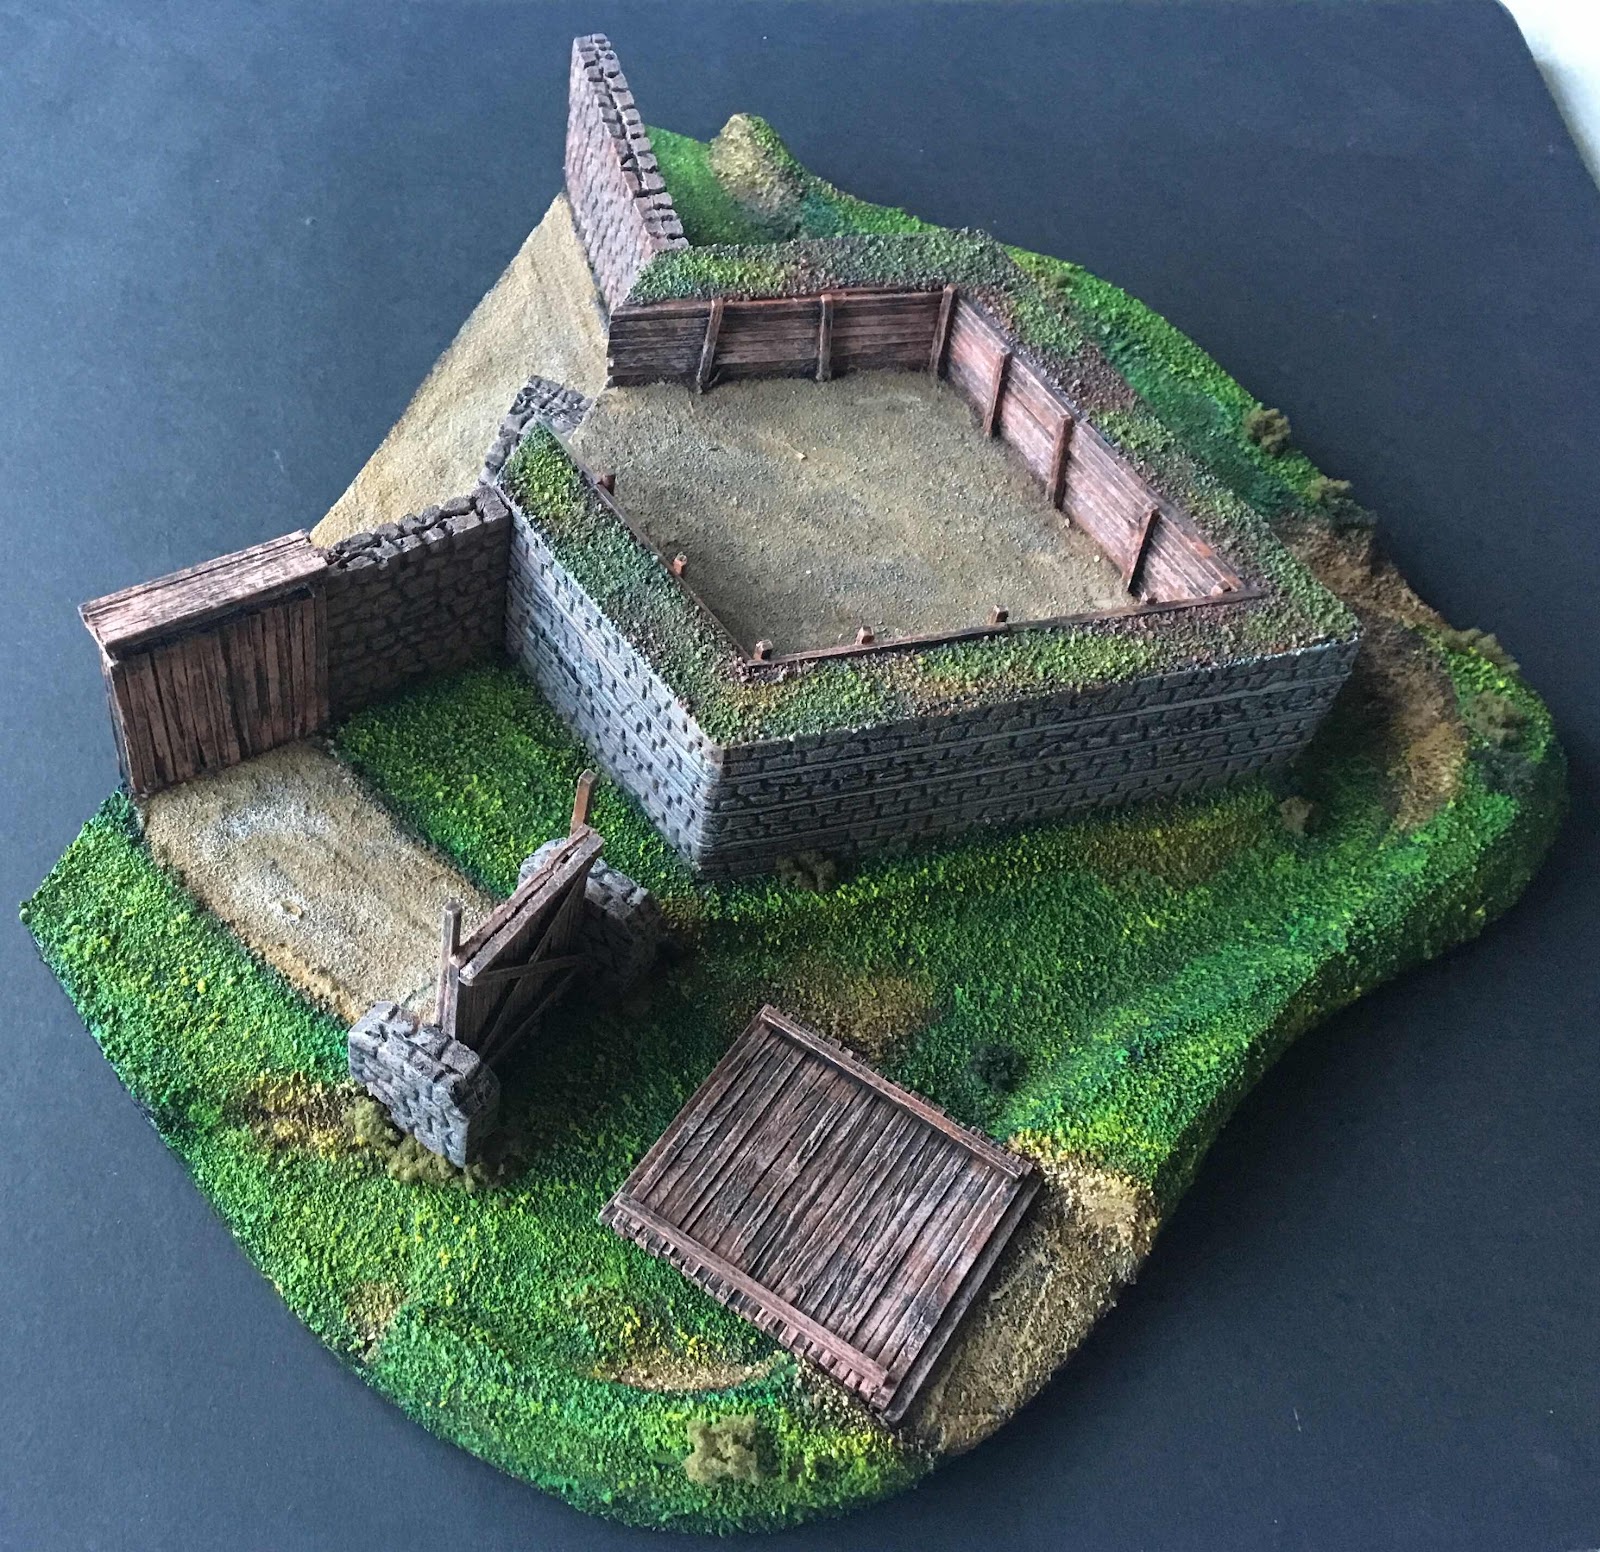


The stone supports around the base of the drawbridge are again foamboard etched and painted and all of the timber work is matchsticks.
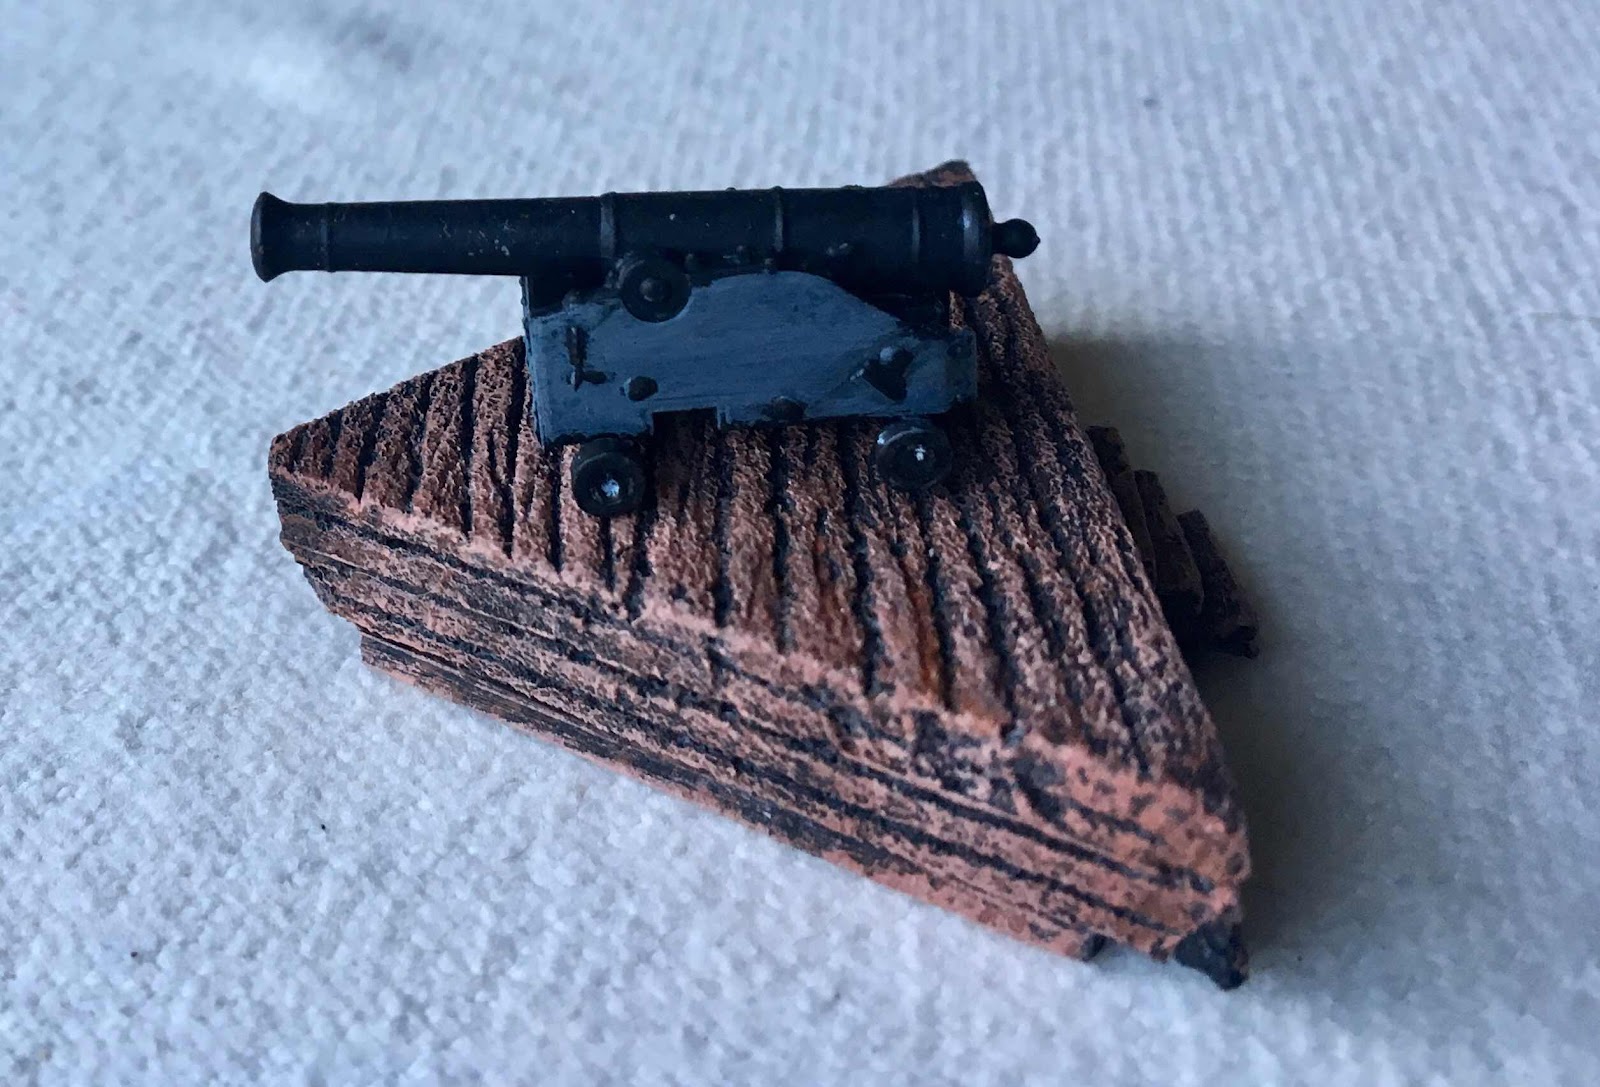
The final item was to build a platform on which a gun, made from barrels left over from the earlier project with the Victrix British artillery set, will sit. Once again 10mm foamboard was used for the platform.

And there it is ready for play in a few weeks time.
As always Mark your ability to create such an outstanding piece of terrain from such simple materials is truly awe inspiring - is going to look great at Tarawera in a few weeks!
ReplyDeleteOf course you may not find it so awe inspiring if you have to attack it! I got a bit terrified last week, with 35 days to go, when I realised that I needed to finish that piece plus a few others. So the brakes have gone on the figure painting for a week or so while I get these things done.
DeleteExcellent model Mark, very inspiring.
ReplyDeleteThanks Stuart. In a way I wish I could make a bigger model, but it would dominate the game.
DeleteThis is really cool! As Keith says, this is inspiring stuff.
ReplyDeleteThanks Jonathan. Now that it is completed I can see things that could be improved, but isn' that always the way?
DeleteBloody fantastic Mark. And I can guarantee I'll be copying!
ReplyDeleteThanks Nathan. For quick builds like this the foamcore board is great stuff. I wish I could find a source in NZ for the blue foam that is commonly used by modellers overseas (it would save me the task of removing the cardboard layer), but alas I haven't found one yet. And besides I still have two full 2400x1200 sheets of 6mm foamcore that I managed to scavange from the dumpster.
DeleteSplendid work. As much as I always enjoy your figure painting these terrain pieces are marvellous, probably not just that they are done to the highest standard but because they are so unique and cannot be found anywhere else.
ReplyDeleteThanks Lawrence. I wanted something to dress up one end of the table! My only hope now is that the piece actually sees action...I have prepared scenarios before where there are spectacular pieces and no one goes near them. I guess this just prove the old adage that no battle goes to plan after the first shot...or in this case roll of the dice.
DeleteBrilliant and a great addition to your collection.
ReplyDeleteCheers
Stu
Thank you Stu.
DeleteImpressive scractch building Mark!
ReplyDeleteThanks Mark. I am rather keen to see it on the table and in the thick of it...but that still has to wait for a few weeks yet.
DeleteLovely bit of scratch building!I also end up taking a layer of cardboard off of foamboard as like you I can source foamboard for free. The painting and basing are also excellent!
ReplyDeleteBest Iain
I have found that not all the foamboard is equal. On some types the card comes off easily while others it has to be cut away. Still since my stock is free I suppose I shouldn't look the gift horse in the mouth!
Delete