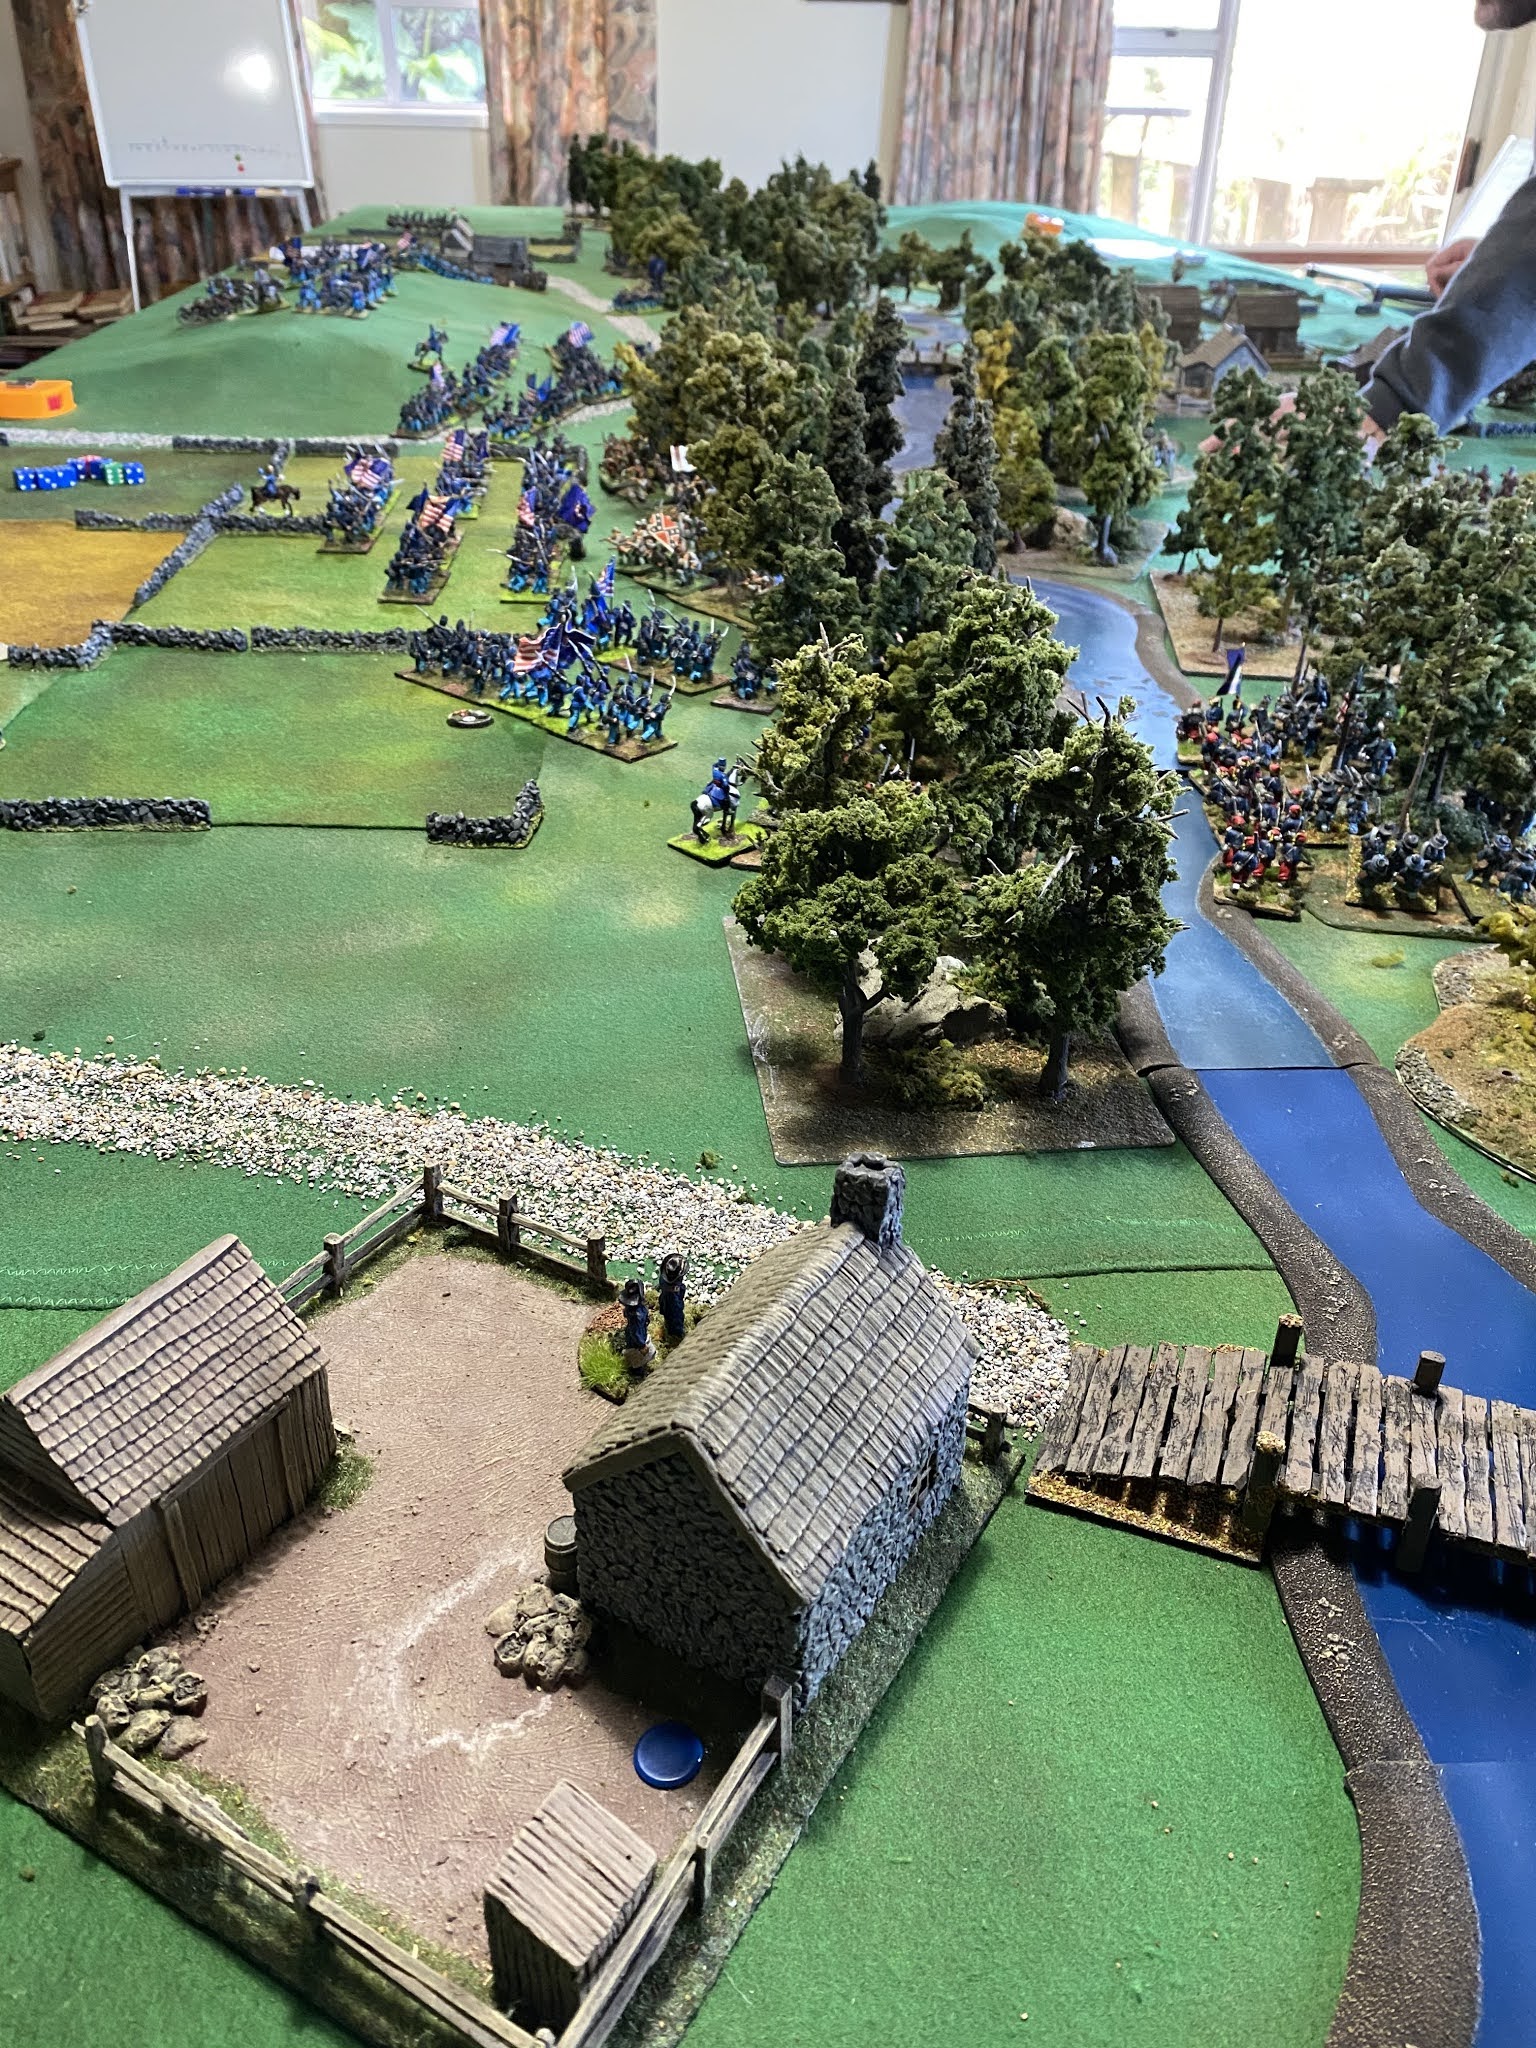
Yesterday we played another game associated to that campaign that assumes that after the action of Alexandria a British rearguard allowed the Navy to extract the army, which was taken to Malta where it was reequipped before joining an Ottoman force on the northern tributary of the Nile at Damietta. The united Anglo-Ottoman force advanced on Cairo. Our game takes place around an oasis on that advance that both sides need to control. The oasis was located in the dead centre of the table with undulating ground around the edges.
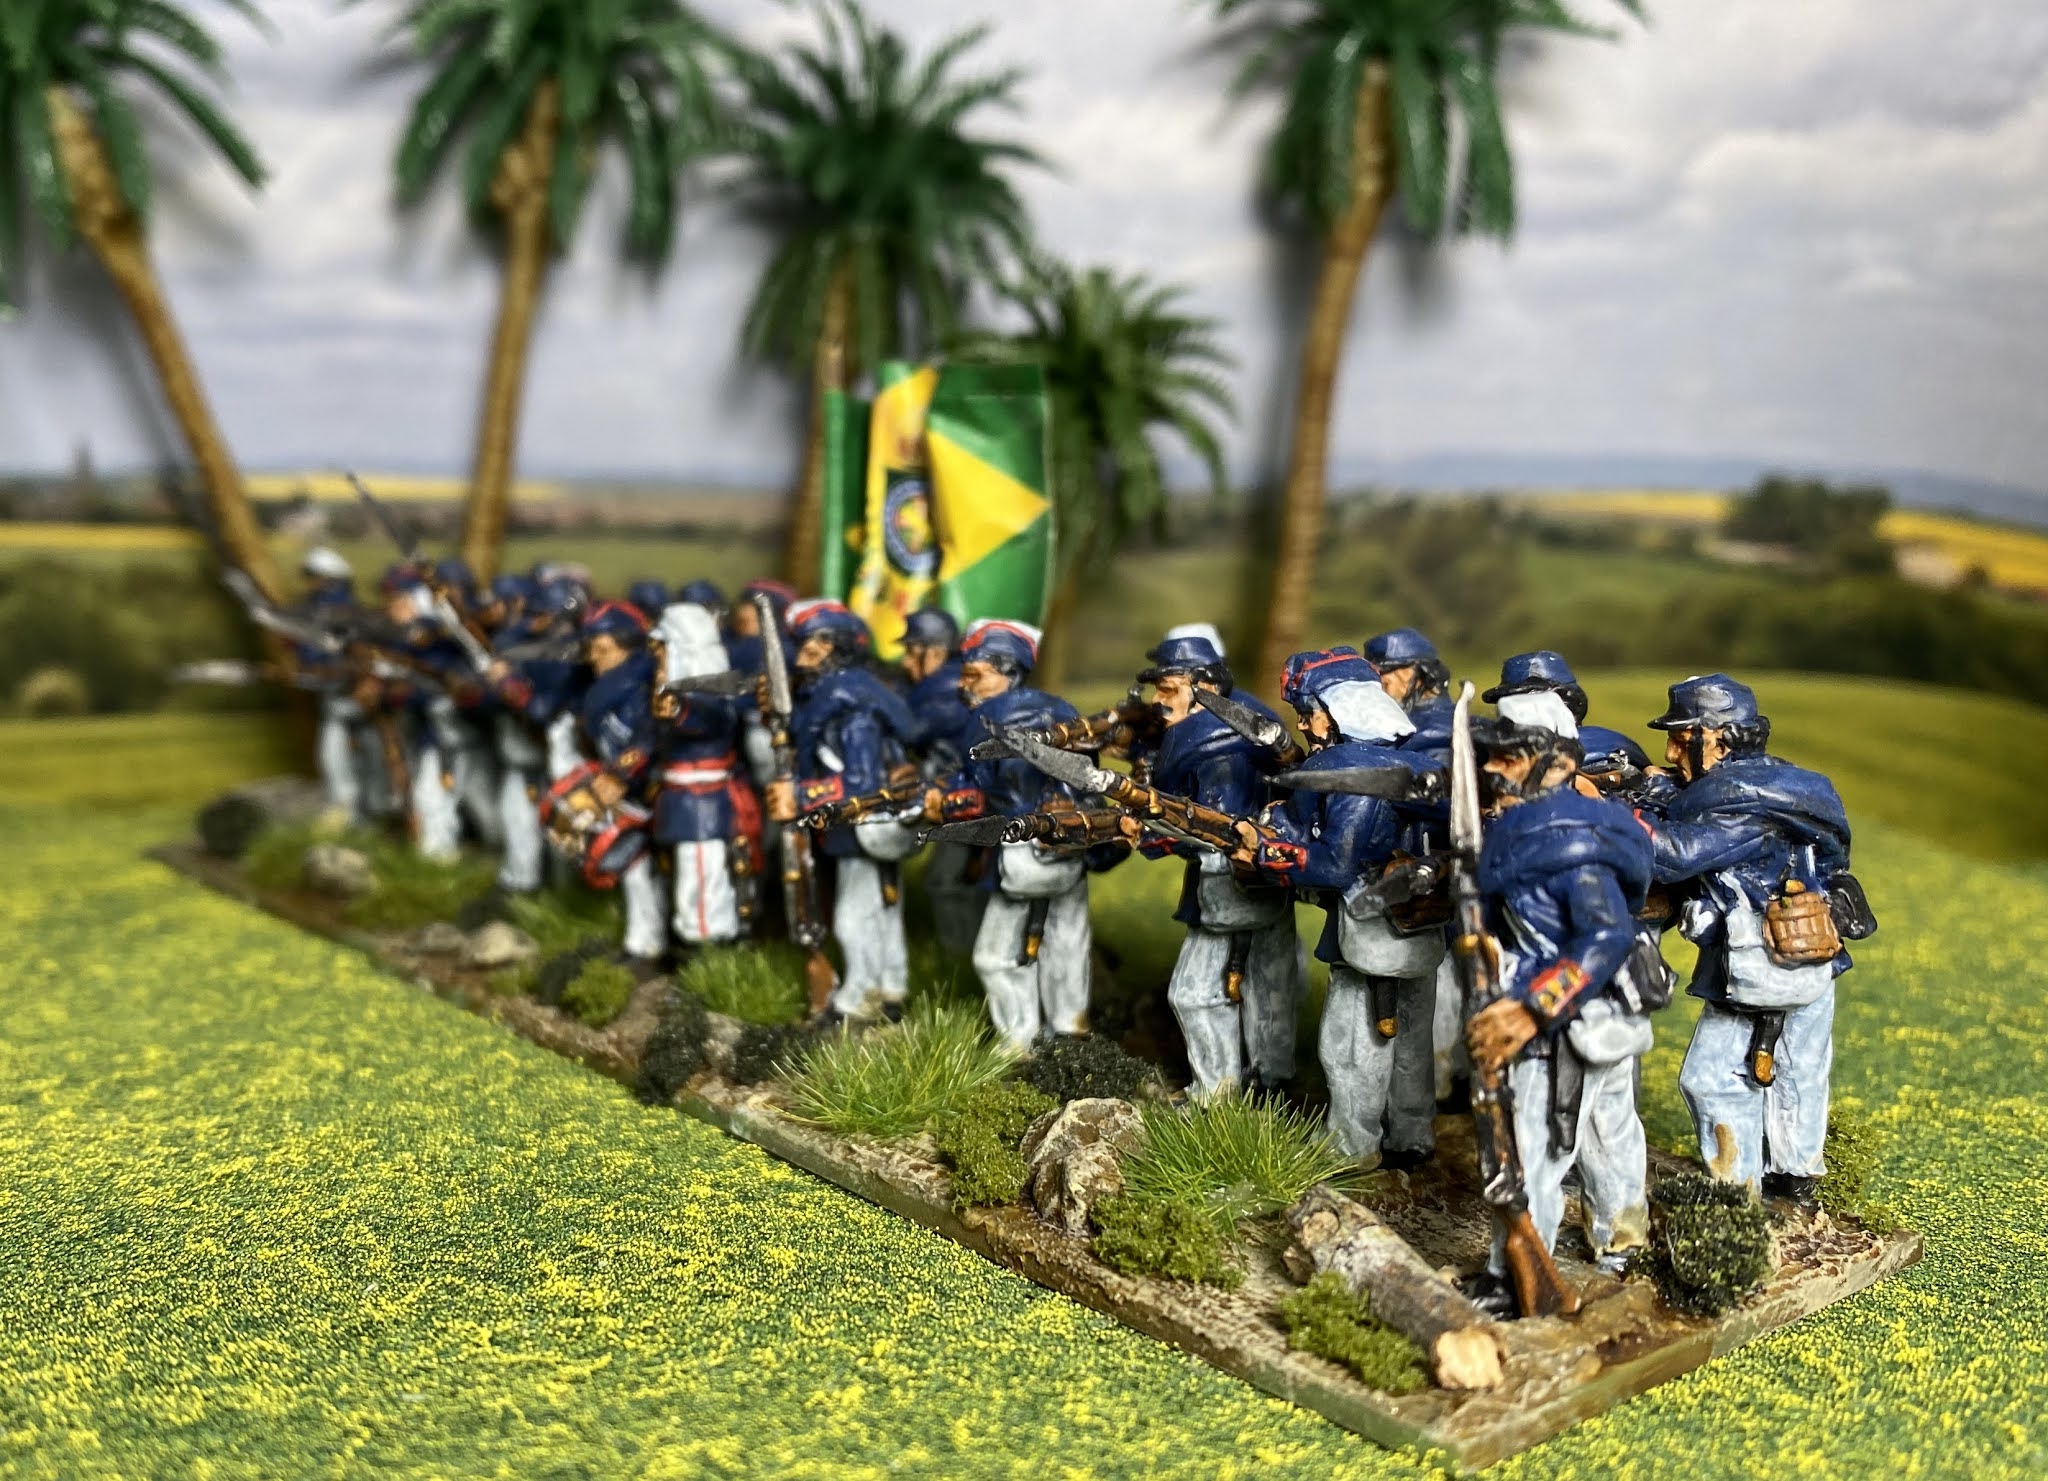
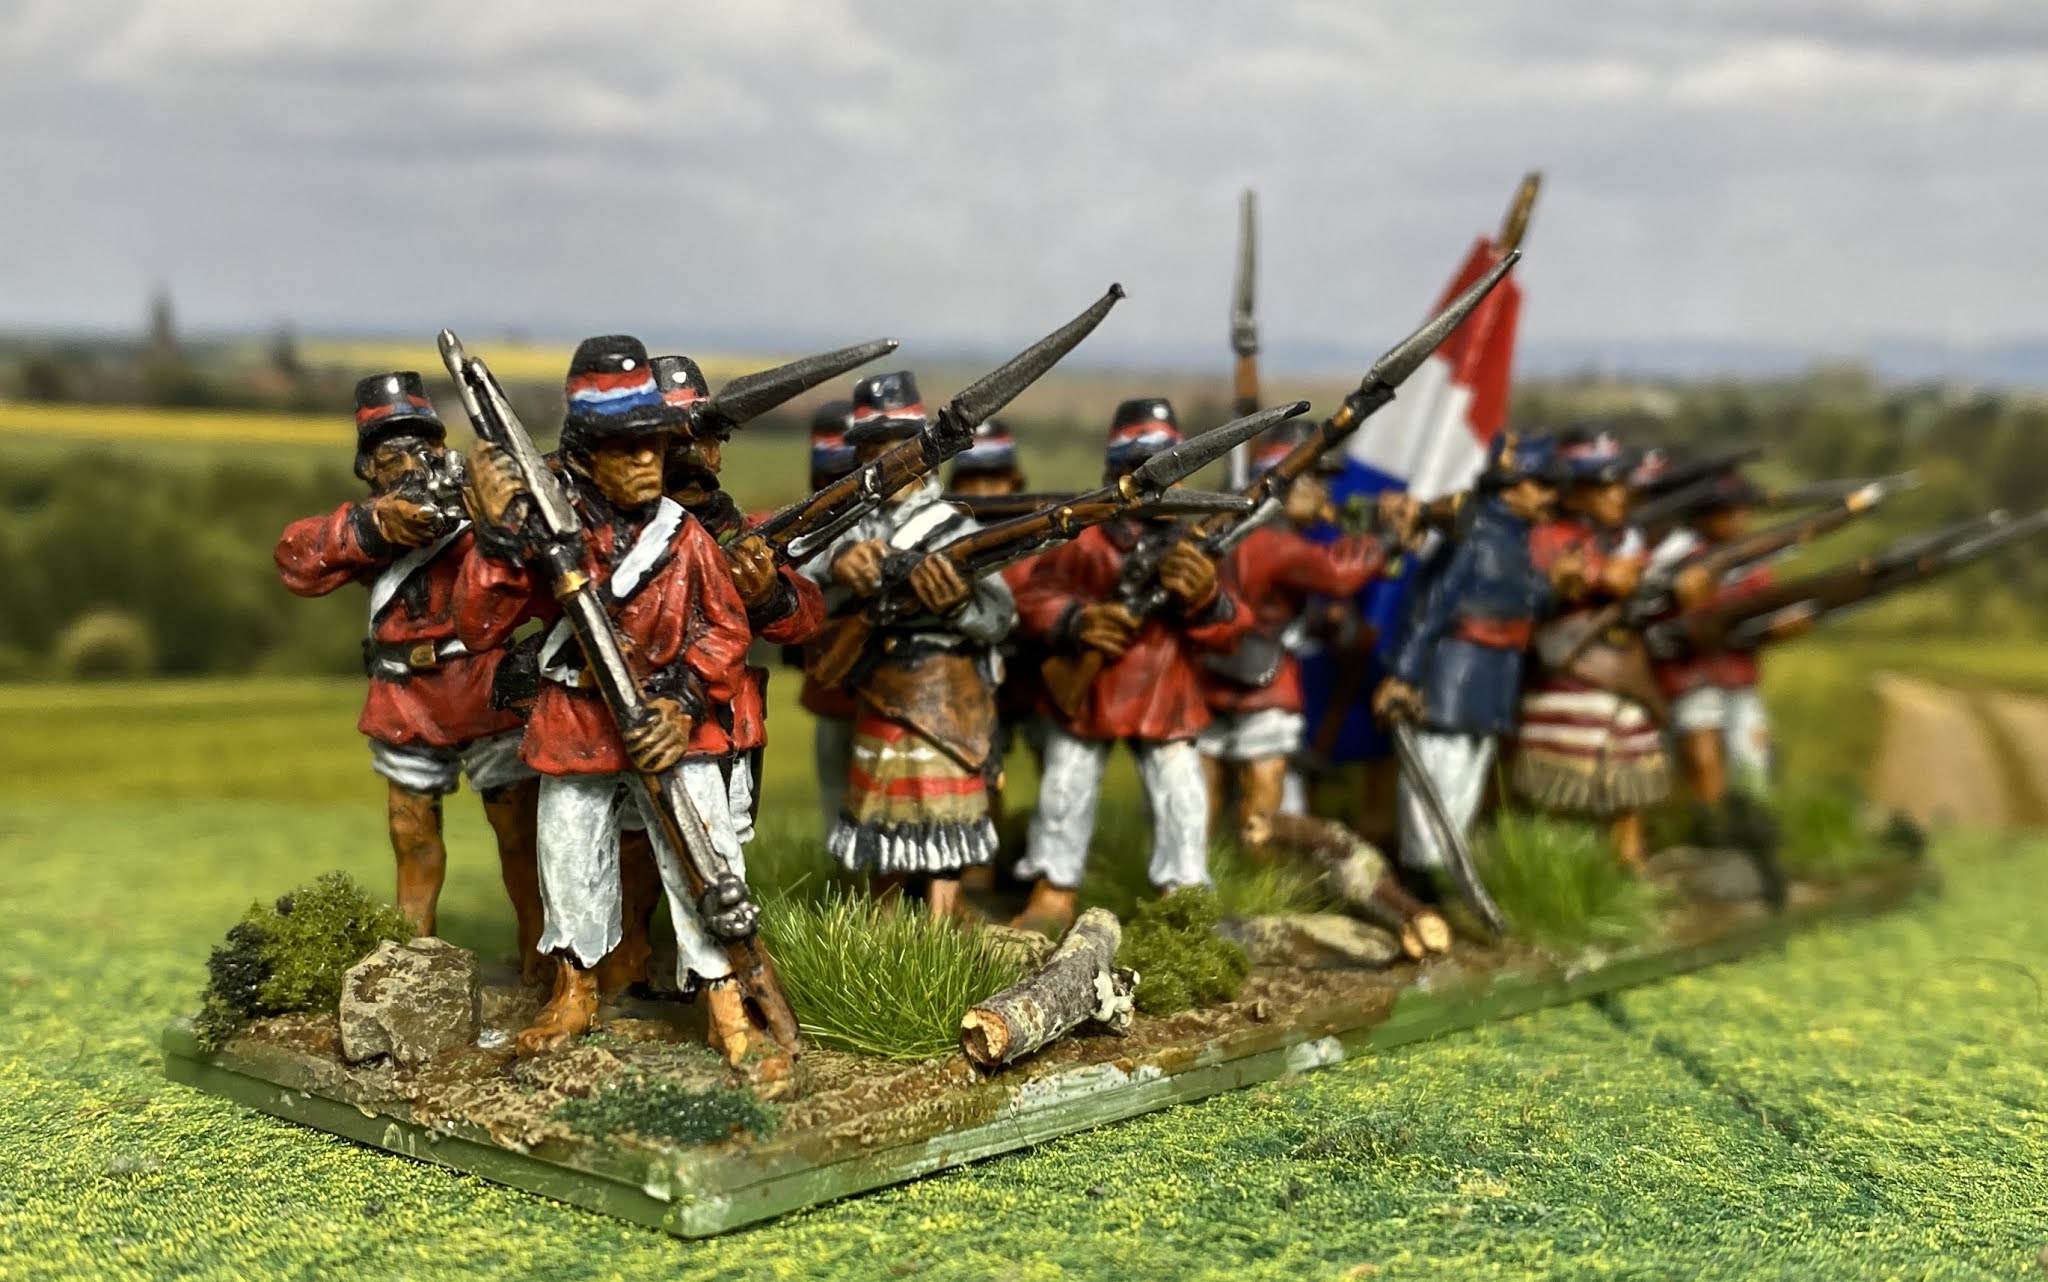
The French army contained a total of 18 battalions, the dromedary regiment, four cavalry regiments (2 dragoons, 1 hussars, 1 Chasseurs á cheval), 2 horse batteries, two field batteries and a light battery. The Anglo-Ottomans had 14 British battalions, two small units of dismounted dragoons, one unit of Hompesch Hussars, six small artillery batteries, five units of Mamelukes, one unit of Janissaries, one of Nazim-i Cedid infantry, three units of Ottoman infantry. Deployment was free with each side able to deploy across the full width of their side of the table, 300mm in from the edge.
The British deployed with the Ottoman command on the left, Extending beyond the oasis. In the centre, directly opposite the oasis was a small mixed brigade of two battalions, the dismounted dragoons, the Hompesch Hussars and two 12lb guns. Extending to the right was a brigade of seven battalions and two guns, and finally on the extreme right was a abrigade of five battalions and two guns.
By coincidence the French deployment mirrored the Anglo-Ottoman deployment. Their cavalry, supported by the field batteries were on the left, opposite the Ottoman force. Two demi-brigades were posted opposite the oasis. The dromedary regiment, supported by a horse battery, moved to occupy the oasis. Two more groupd each of two demi-brigades extended to the left of the oasis.
The British extreme left that faced my two demi-brigades (below)
In the centre the French quickly occupied the oasis
While the British formed a menacing line to the right of the oasis.
The action started on the British left, where the Mameluke cavalry attempted to take on the French cavalry, but the French troopers proved the better.
The action then moved to the Ottoman infantry, supported by some British infantry and dismounted light dragoons, who engaged the French infantry, and again came off the worst.
With the Ottoman advance stalled, the French artillery proceeded to blow their formations apart and soon drove them from the field. Action then moved to the other side of the oasis, where a strong British force dealt to a couple of demi-brigades in short order.
At the same time action developed on my front, on the French extreme left, with my two demi-brigades stepping off in fine order.
Despite taking a pounding from the British guns, I managed to arrange three battalions to converge their fire on a single British battalion and score nine hits! And he saves EIGHT!!!
Things are looking grim for me when the British attacked, but against all odds one of my battalions turned the tide and threw them back. But both of us were largely fought out and stood back and the action moved back to the centre
The French cavalry, the artillery and the largely intact brigade around the oasis swung to face the last intact British brigade.
Outgunned and with the French troopers circling the last of the British began to crumble.
Here we ended an excellent day’s wargame.