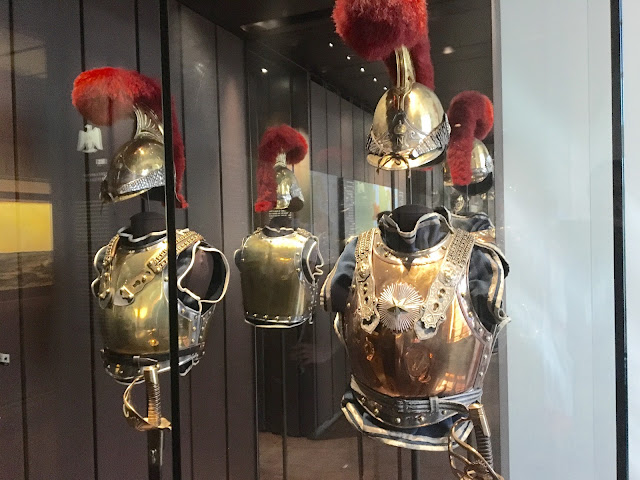
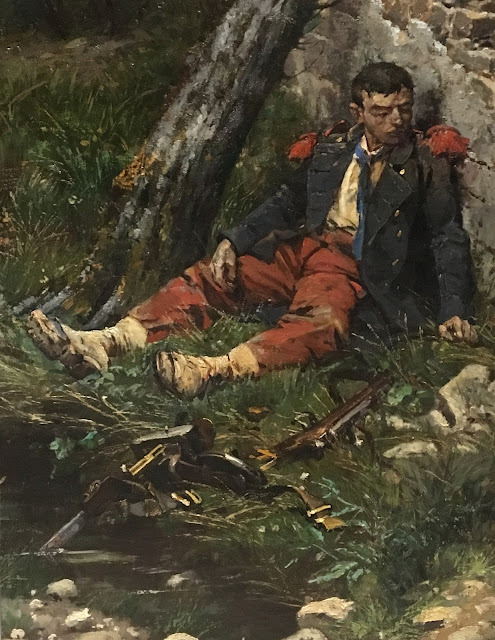
Today we played a large Austro-Prussian War game.
The scenario was that an Austrian infantry corps, supported by a heavy cavalry division is in advance of the retreating Austrian army when it encounters a Prussian force trying to intercept the retreat. The initial Prussian force is only a reinforced infantry division supported by a cavalry division, but another brigade will arrive during the game.
The orders of battle are:
Austrian
First Infantry Corps
1st Brigade (6 line infantry battalions, a jäger battalion, a field battery and a squadron of hussars)
2nd Brigade (6 line infantry battalions, a jäger battalion, a field battery and a squadron of hussars)
3rd Brigade (6 line infantry battalions, a jäger battalion, a field battery and a squadron of hussars)
4th Brigade (6 line infantry battalions, a jäger battalion, a field battery and a squadron of hussars)
5th Brigade (6 line infantry battalions, a jäger battalion, a field battery and a squadron of hussars)
Corps Artillery (6 field batteries)
Heavy Cavalry Division
1st Brigade (2 cuirassier regiments and a horse battery)
2nd Brigade (2 dragoon regiments and a horse battery)
Prussian
Infantry Division
1st Brigade (6 line infantry battalions)
2nd Brigade (6 line infantry battalions)
Divisional Artillery (3 Krupp batteries)
Infantry Division
1st Brigade (6 line infantry battalions)
2nd Brigade (3 line infantry battalions, 2 landwehr battalions, 1 jäger battalion)
Divisional Artillery (3 Krupp batteries)
Reserve Artillery (2 12lb smoothbore and 4 Krupp batteries)
Cavalry Division
1st Brigade (2 Dragoon regiments)
2nd Brigade (1 uhlan and 1 cuirassier regiment, 1 horse battery)
In summary the Austrians can count 35 battalions to the Prussians 24. Each side has four cavalry regiments and 13 batteries.
As the game commences a heavy mist blankets the battlefield. The fog will lift and when it lifts is determined by rolling 1xd6 at the beginning of each turn. When the cumulative score of these die rolls equals 18 the fog lifts. Visibility is limited to 400mm on the table until the score reaches 12 when the distance extends to 600mm.
Until forces come in sight of each other they appear on the table as a paper counter, each of which represents three battalions, a cavalry brigade or reserve artillery. The Austrians have six dummy counters, the Prussians two. When opposing counters come within visibility range of each other they must be declared as real or dummy. If both are real the units are placed on the table. If a real counter discovers a dummy, the real counter is left in play while the dummy is removed.
All counters must be deployed on the table at the beginning of the game and will move at a standard rate of 200mm regardless of the troop type until they are ruled visible, when they revert to normal movement rates.
The Prussian reinforcements of six battalions and three batteries will arrive on the central road by rolling a score of 4+ on turn six, a 3+ on turn seven or will arrive automatically on turn eight.
How the Game Ran
Both sides deployed their counters simultaneously. The Austrians deployed three infantry brigades on their left and two on the right with the cavalry and reserve artillery in the centre. The Prussians put two brigades on their right, the artillery in the centre and an infantry brigade and the cavalry division on the left.
The Austrians advanced boldly in the mist, but the mist was clearing quickly. By turn three the "mist score" exceeded 12 and large parts of the armies became visible. The Prussian artillery roared into action, but inflicted few casualties.
Next turn the mist cleared completely. The Prussian infNtry on the right moved forward and engaged the Austrian regimental masses in a fire fight. On the opposite flank fhe Prussian dragoons charged into the Austrian infantry. One Austrian battalion as destroyed, but the other was only pushed back, while the dragoons were a spent force.

On the opposite flank the Prussuian attempt to disrupt the Austrian advance failed and three regimental masses charged forward. Despite horrendeous casualties the Austrians hit the Prussians, smashing one battalion and pushing another two back.

But the Austrians had taken such dreadful losses that their whole front line was stalled in front of a Prussian gun mass. The Prussians scrambled to reconstruct their right flank, repelling a half hearted attack by a squadron of Austrian hussars.


The Prussians managed to hold off the Austrian regimental masses, destroyng one completely. To try to gain some time the Austrian cuirassiers came forward.

The cuirassiers were easily repelled, but as they fell back the Austrian jagers burst out of the wood into the flank of a Prussian battalion. Suddenly the Prussian infantry on the left was in an awkward position, while a fresh Austrian regimental mass forced a gap by routing another Prussian battalion.

The two wings of the Prussian force were being forced apart. The end was inevitable on the left and it was not long coming - brigade morale collapsed and the Prussian infantry brigade disolved.
Fortunately the Prussian reinforcements arrived and in the face of them, and the massed Prussian guns, the Austrians halted.

On the extreme left the Prussian cavalry continied to tie down half an Austrian brigade, charging twice and forcing the Austrians back, but the could not break them.
On the Prussian right the Austrians finally managed to get their second line into position and their artillery forced the Prussian guns to abandon the ridge.

But numbers began to tell. Soon another Prussian brigade's morale failed and they were compelled to fall back with the remainder of the command. A short fire fight on the Prussian right brought the game to an end - the Prussians inflicted heavy casualties, but they had taken such a beating in earlier combats that their morale soon failed and they dispersed.
Only the reinforcements and the artillery remain in the line. Having inflicted very heavy losses on the Austrians (of the 35 Austrian battalions 20 were shaken or seriously distrupted), the Prussians decided to quit the field.
We got a clear result in just under four hours - an unusually short time for us.