Making the mountain pieces was a considerable effort, but it was only the start of the story of the terrain for the Imjin War game. There was also a need for a large number of bamboo groves pieces, paddy fields, more than a dozen houses and a fortress.
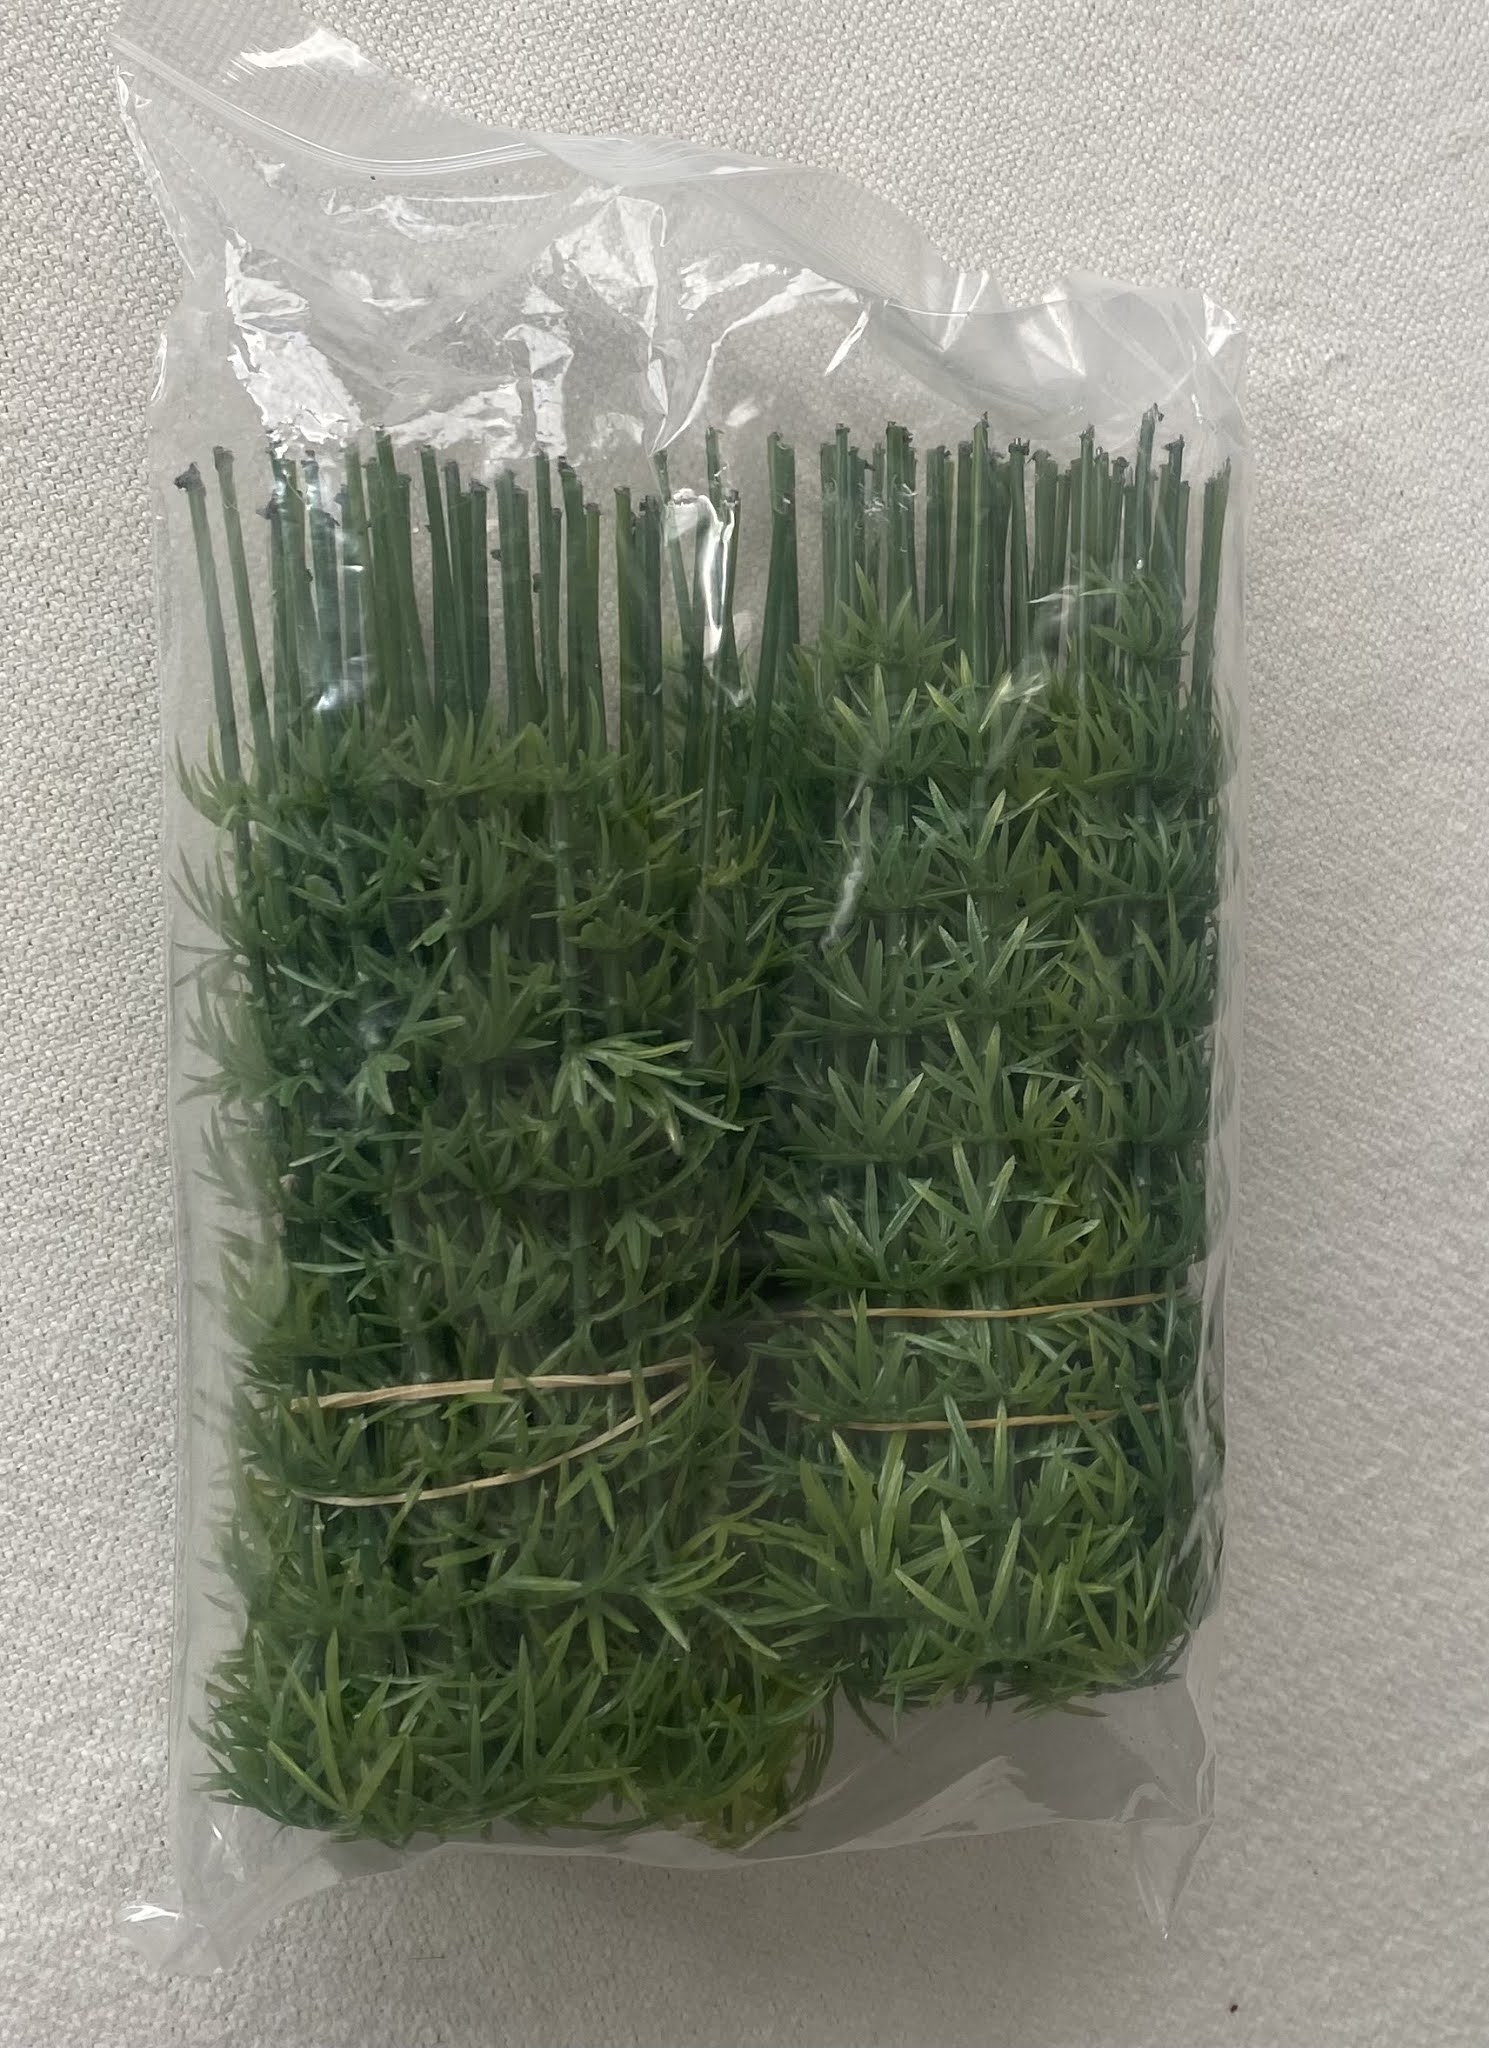
The first thing I attacked was the bamboo groves. These I wanted to be built in small blocks - maybe 100mm x 60mm - that can be put together in various combinations. I had decided to use some commercially available model bamboo that I saw on WISH for a few dollars for 100 pieces. Each piece is 150mm long so it can be cut into different lengths to suit. I ordered a pack and three weeks later it arrived.
 Quite
Quite

At the same time I was working on the fortress.
From the descriptions in the books I have read on the Imjin War (and the best, by the way, is Samuel Hawley’s “The Imjin War”) Korean fortifications were not like castles as we know them, rather they were fortified towns. The whole town would be surrounded by a series of walls and towers designed to keep out marauders. The walls themselves were not particularly high and the garrisons were never sufficient to man the entire wall so the fortresses so they were relatively easily stormed by a determined enemy. Fortunately a number of the fortresses are in place today, although largely reconstructed and their websites were a good source of reference.
Although the fortress would have significance in this game, I didn’t want to go down the track of building a hugely detailed structure that would have limited future use. So I chose to use a simple construction method. Rather than a sculpted stone wall I chose to use a printed stone face glued to foam board and then mounting that on an MDF base, with the firing step being made from a piece of polystyrene. I couldn’t find an appropriate patterned paper at the local model railway supplier so I created my own from a photograph I had taken of a schist stone wall I had taken on one of our visits to Central Otago and then processing it through PhotoShop and a couple of other specialist drawing applications.
I decided that the wall height would be 45mm high with the firing step being 25mm. The walls would be made in sections and I would use rare earth magnets again to hold them in place. The fortress would extend 500mm into the table and have a width of 500mm. As such there would be two 200mm sections on each side, two 95mm square towers (one on each of the corners) then two 130mm sections and a 140mm gate section.
The first thing to do was cut the bases. As usual I used 3mm thick MDF The end pieces that would hold the magnet were cut using template so that the edges would match. I used a piece of 12mm squared timber to provide strength to the corner.


Once the basic form was made I cut the foamboard and glued on the stone paper.

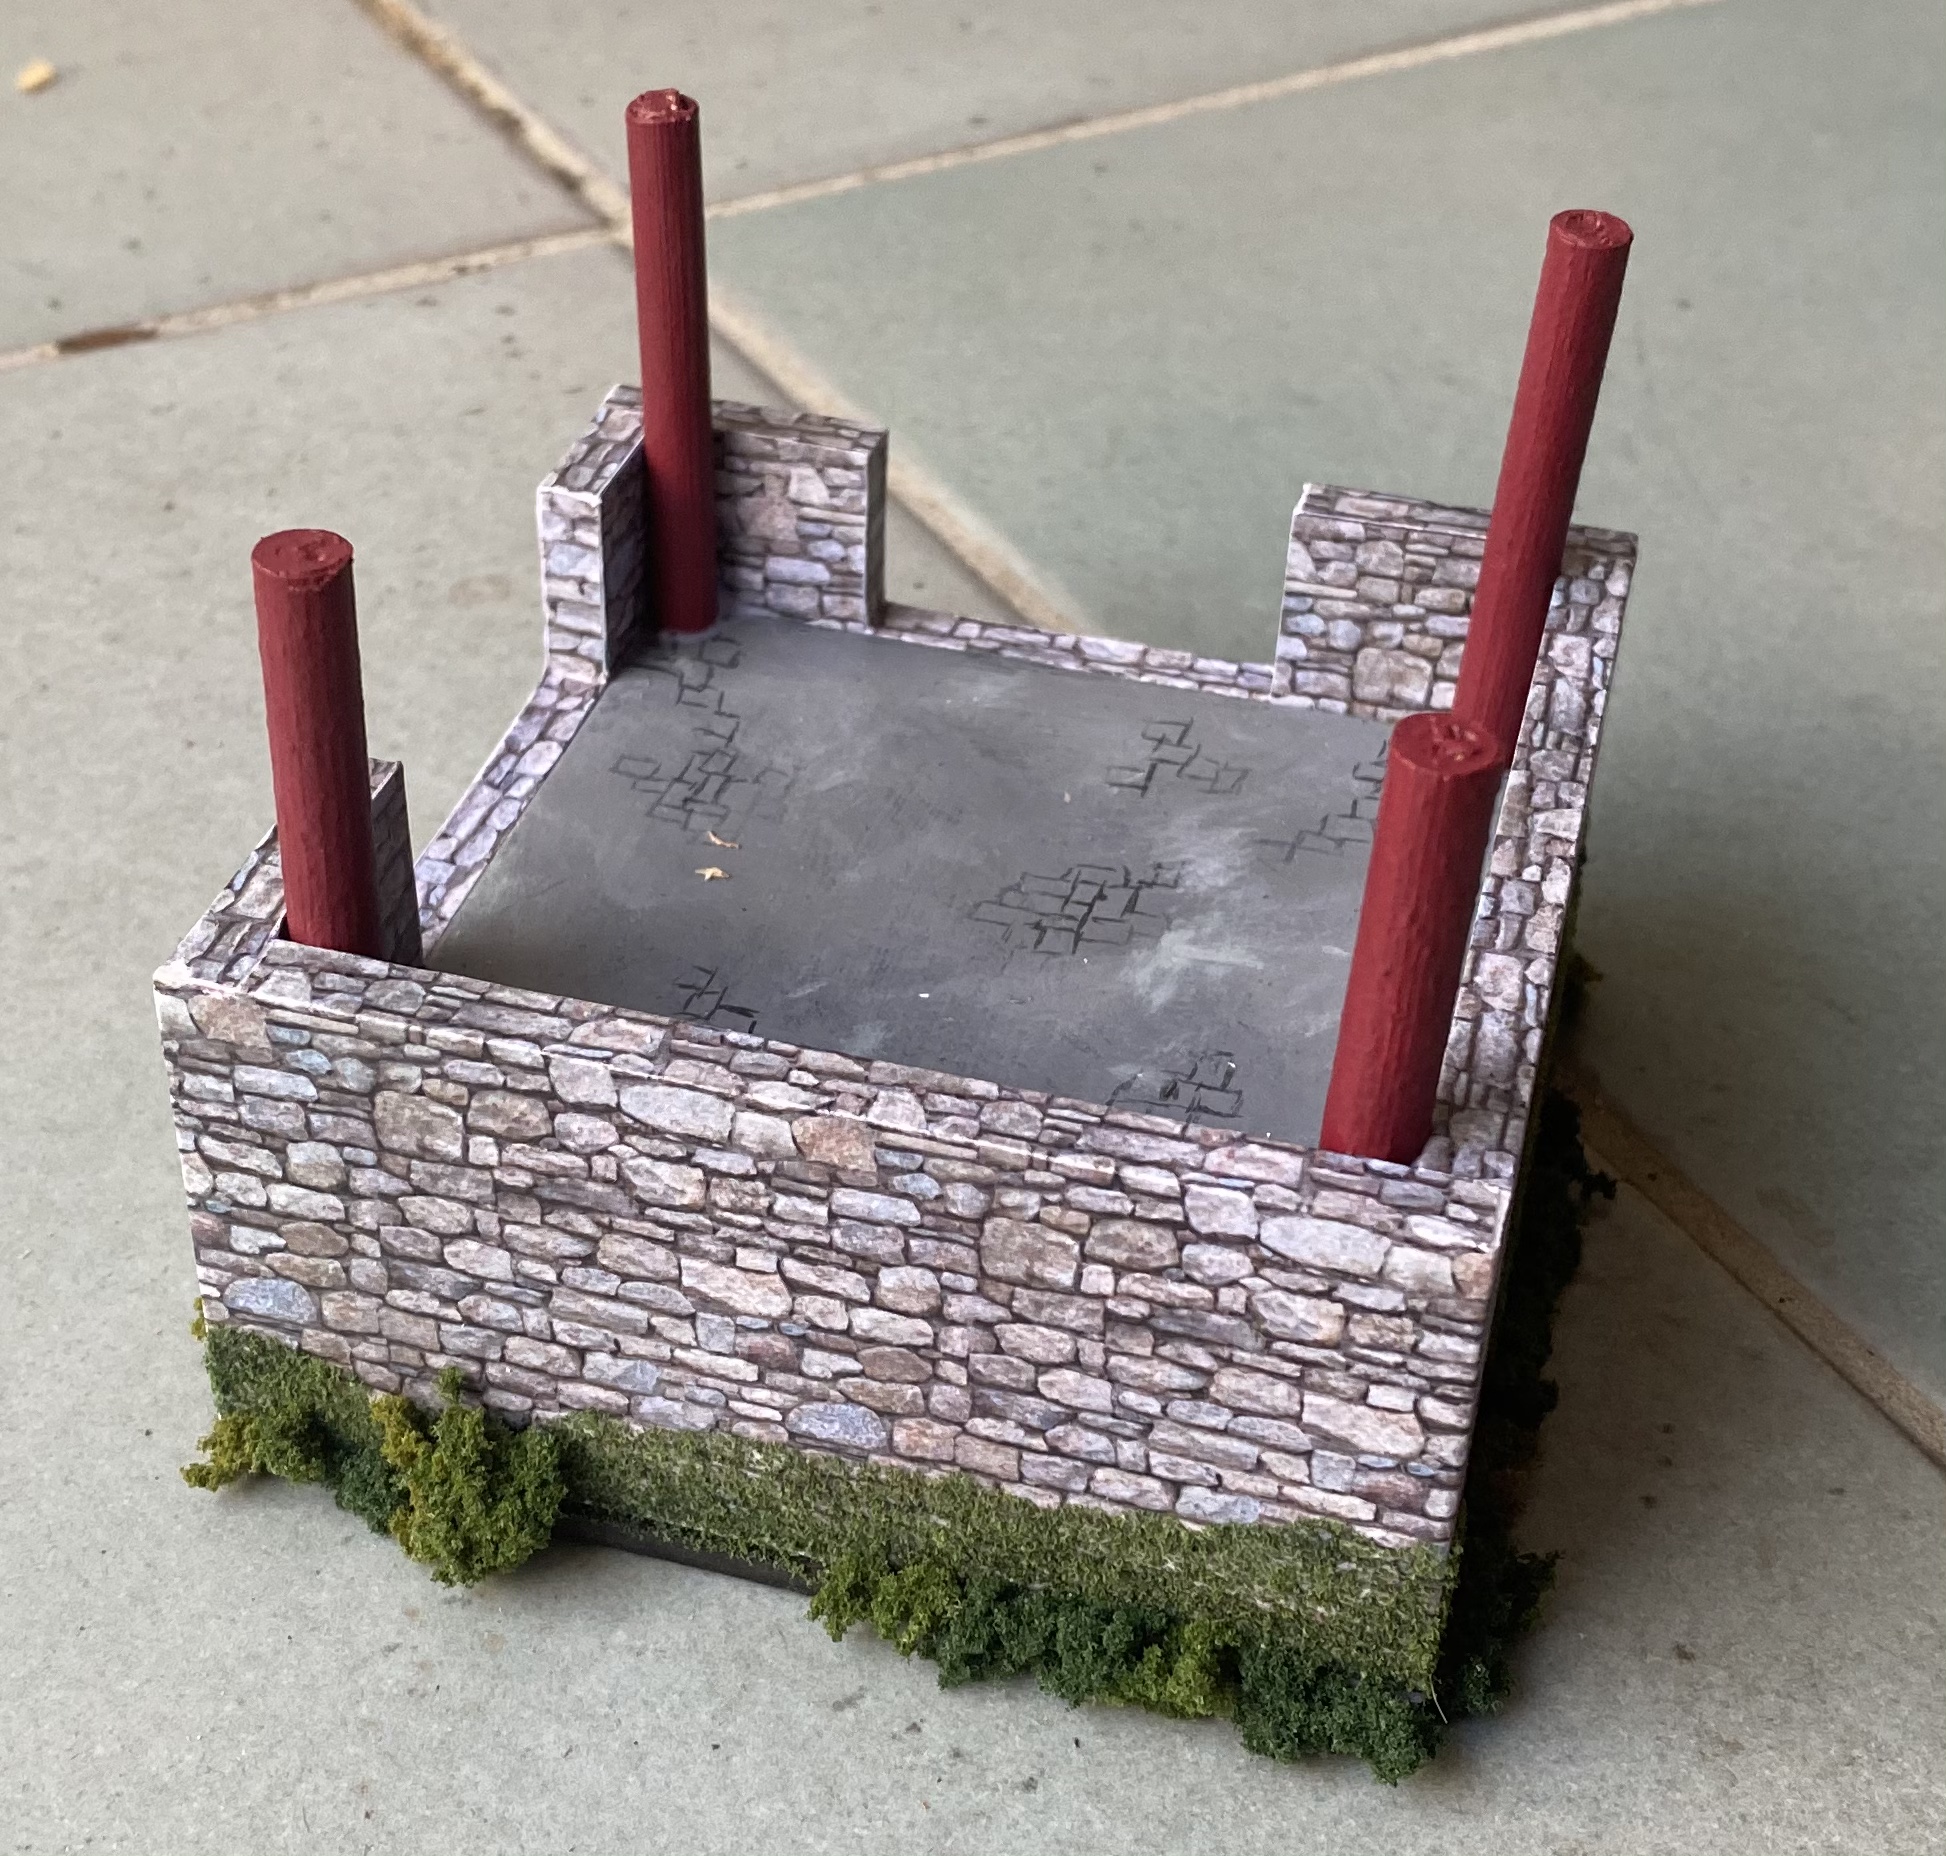
The more complex task was cutting the polystyrene and making it fit tight into the MDF form. When that was done the surface was textured and painted.


The towers and gate were a little more complex, but the same method of construction was used. Below is the tower, with and without the removable roof.

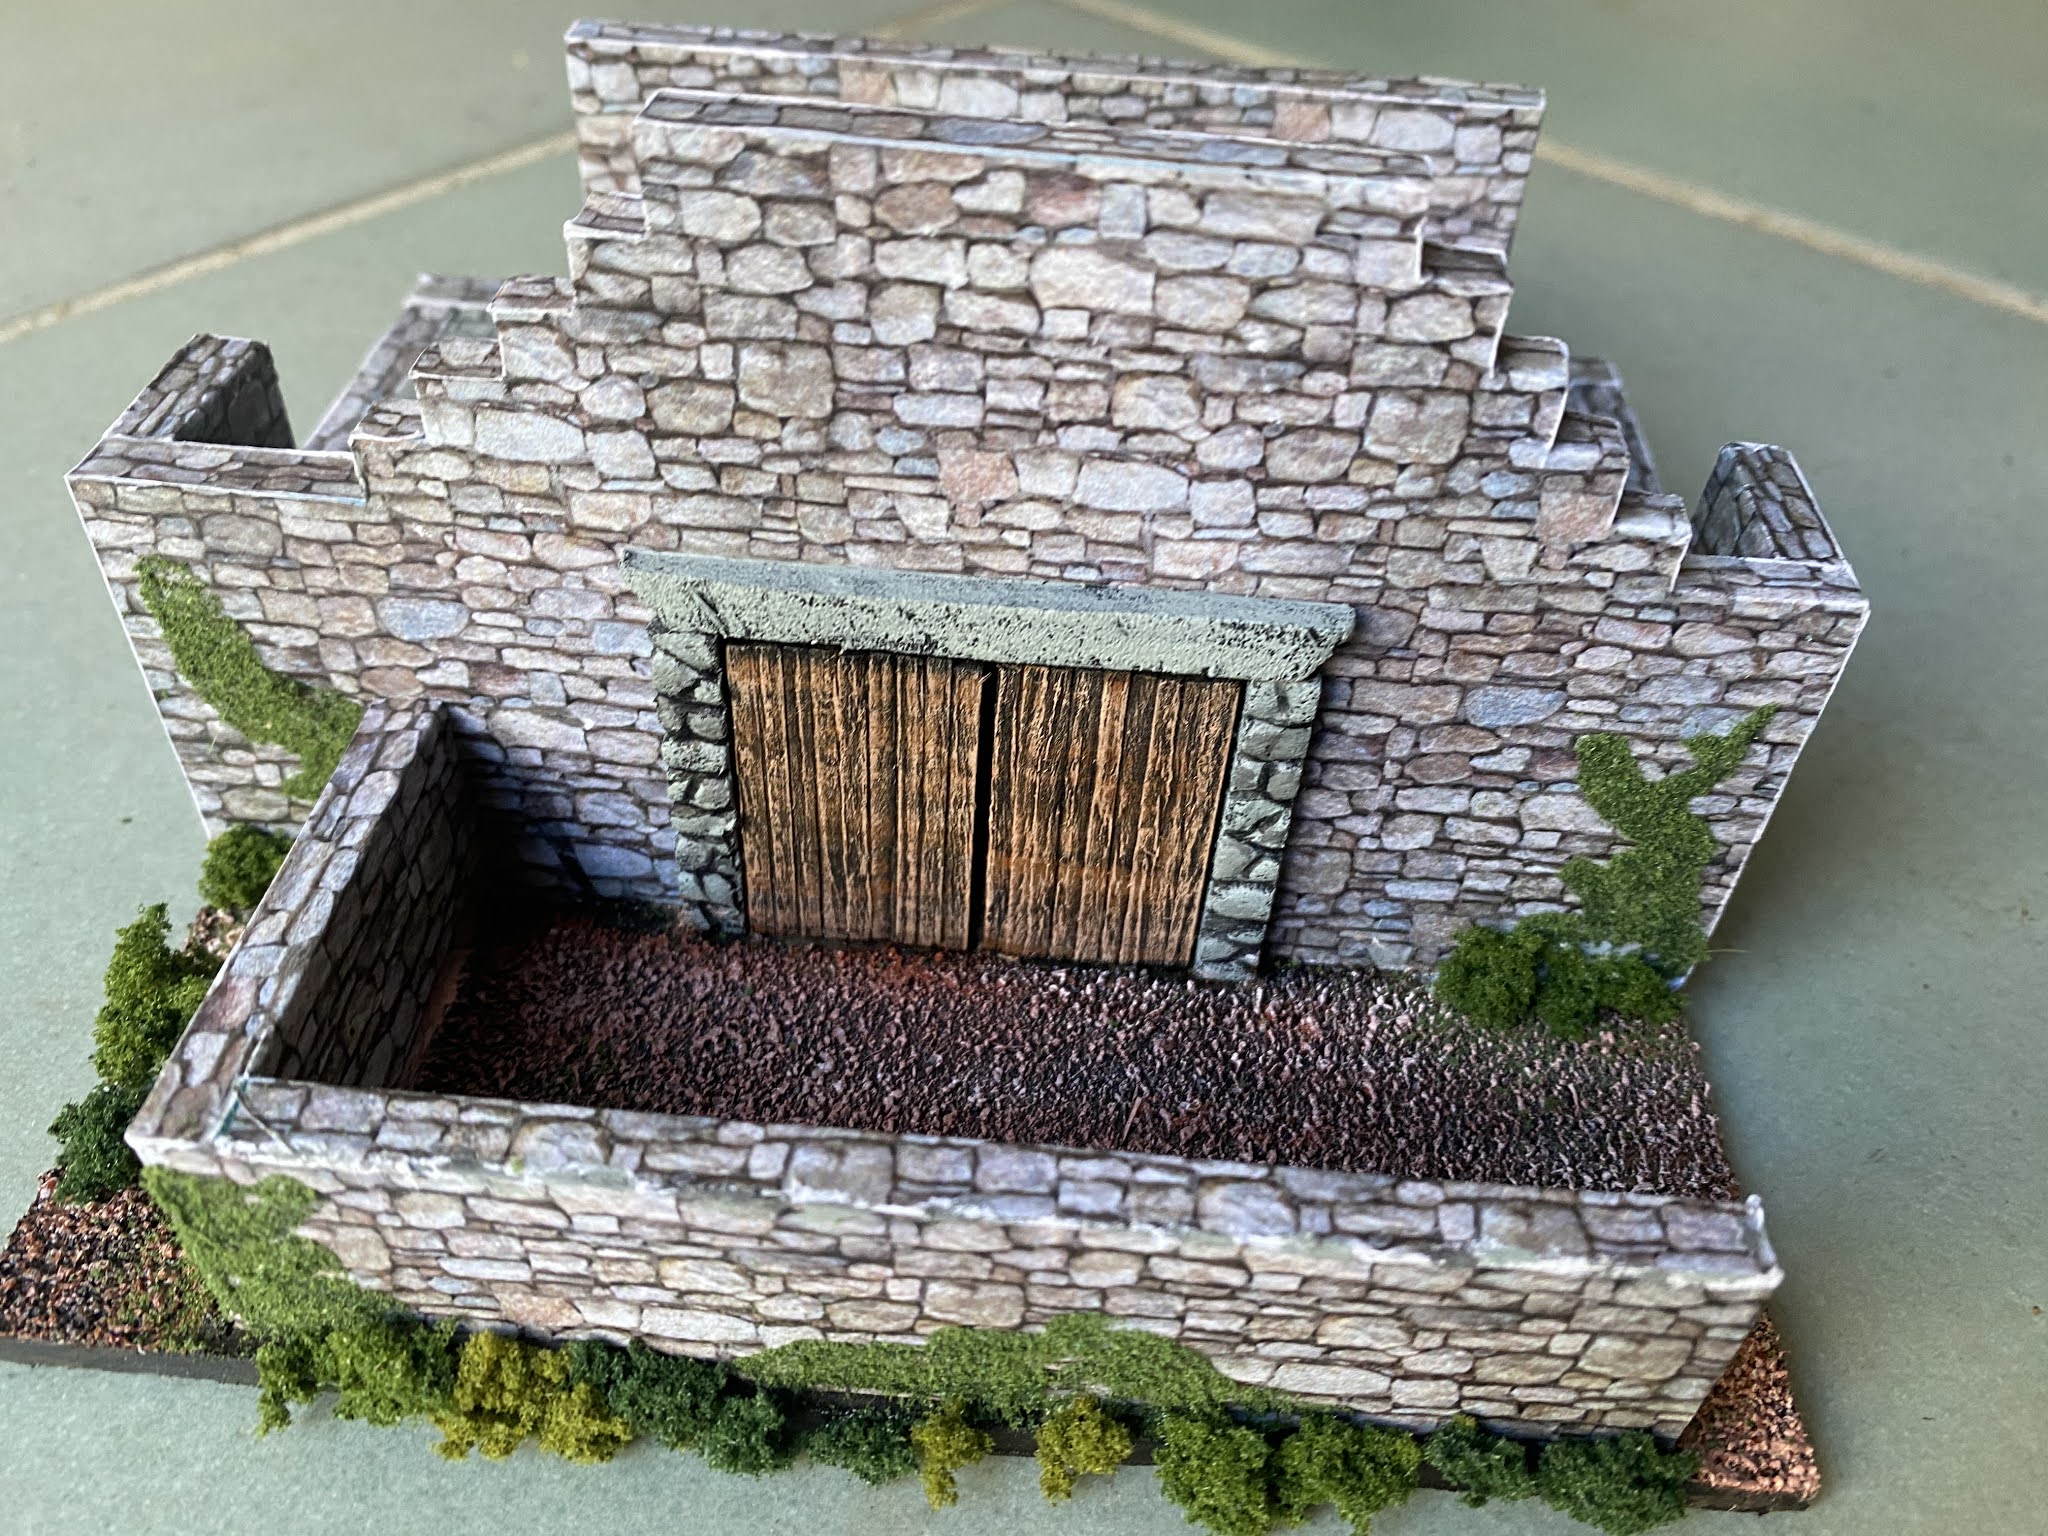
Here then is the finished item with a temple from an earlier Russo-Japanese game in the centre.


Next were the village and farm houses. A quick search of the internet for “traditional Korean houses” turned up a series of images like these:


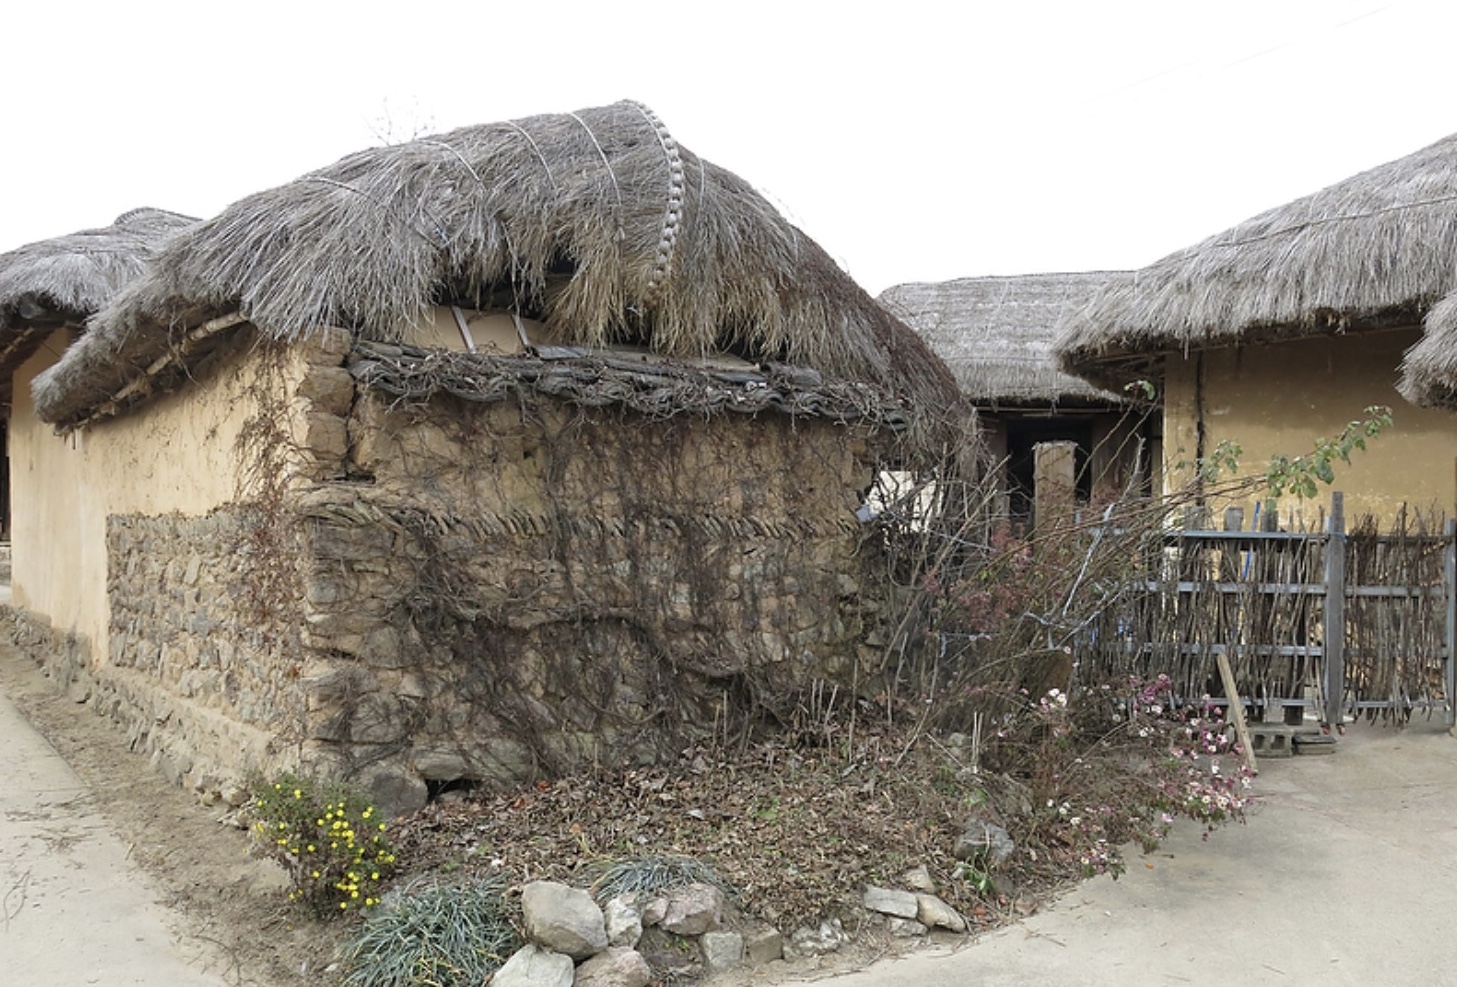
My interpretation of these were very quickly made from foamboard, brick paper, a few bits of twig from the garden and matchsticks. The thatch effect on the roofs was created with carved foamboard and coarse sand.


One of the objectives of the game was to secure the rice harvest. This players did by taking control of the race carts laden with rice bales. For each one captured they gained victory points. There were to be ten such carts scattered around the table. For these I first made a green stuff master of a rice bale, from which I made a couple of BlueStuff press moulds, into which I pressed some air dry clay.
Before too long I had 50 bales that I then glued together into stacks of five.

The carts themselves were just a matchstick frame glued together with superglue. Then I added a couple of small wheels and undercoated then in black.

The carts and bales were then quickly painted and in no time ten carts were completed.

The final pieces that were needed were the paddy fields. I had some made for that earlier Russo-Japanese War game and I used the same technique, laminating 3mm MDF, to build the remaining pieces that I needed. The cut outs from the top layer of the laminate were used for the bases of the bamboo groves.


Wow, superb looking scenery
ReplyDeleteThanks Neil.
DeleteAn amazing amount of effort Mark, but well worth it. Will you be able to pull these out on a regular basis, and do you have other scenarios in mind?
ReplyDeleteThese will see action with the Samurai and in the Russo-Japanese War. So yes they will get lots of use.
DeleteThanks Mark, this is really helpful 👍 If I had known you planned to do these posts, I could have saved myself the effort of all the extra pix I took of the scenery, with the idea of using them for "inspiration " (ie copying all your ideas!)
ReplyDeleteThis, and the previous post, has been sitting in draft since I made the items two of three years ago. Copy away, I have copied from many sources!
DeleteLots of excellent scratch building of terrain and ideas.
ReplyDeleteThank you Peter.
DeleteExcellent info on how you went about making all of this Mark:).
ReplyDeleteThanks Steve. As you would have seen, I kept the construction as simple as possible.
DeleteGreat home made terrain! Very impressed. Your hobby skills are obviously not confined to painting minis.
ReplyDeleteI think I derive more enjoyment from making terrain than painting figures!
DeleteGreat walk through of the steps to make these lovely terrain items. I do LOVE terrain posts like this. 😀
ReplyDeleteI like making scenery...the problem is it takes up so much space.
ReplyDeleteSplendid terrain making Mark….
ReplyDeleteNice work with the brick/stone effect paper… A very versatile material indeed.
All the best. Aly
I was tempted to make the whole fort using epoxy putty, but I resisted the temptation and was pleased I did in the end as it would have taken ten times longer to make and there is a limited use for these pieces.
Delete