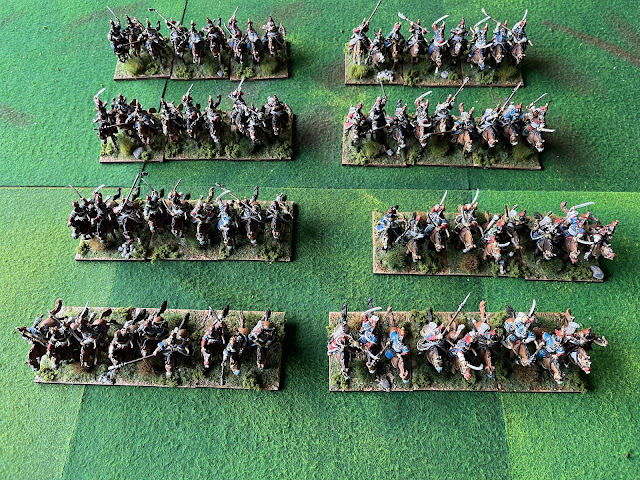
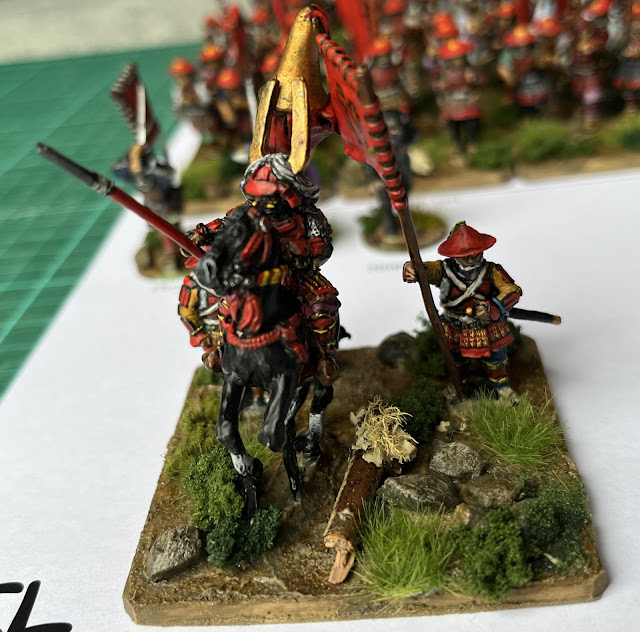
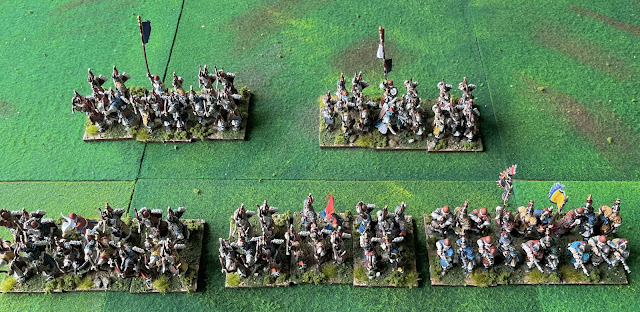
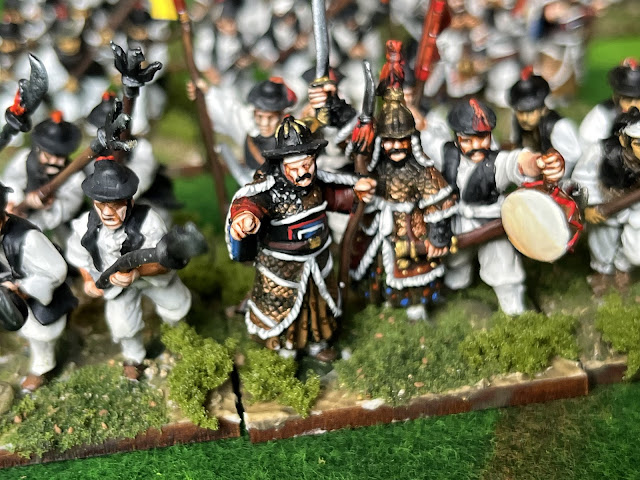
Some four and a half years ago a friend was looking around for a new army to collect and asked "what about the Perry Miniatures Samurai/Korean ranges?" I was cold the idea, but the seed was planted and in 2019 when I began looking for ideas for a game at our annual Tarawera Week I warmed to it. We decided to do this as a secret game for the 2021 event - revealing the details only on the night before the game - and we began to collect the armies. I focused on the Japanese and he on the Koreans - for good reason…his wife is Korean and would have been skinned alive had he collected any Japanese units.
Having built the armies and a huge amount of terrain (the details of which will be described in future posts), the arrival of that bloody virus and its associated lockdowns together with the unavailability of our host saw the 2021, 2022, 2023 and 2024 Tarawera events cancelled. Those beautiful armies and all that terrain sat in boxes in our respective garages. Now it is time to let them see the light of day and the plan is to run the game at our regular venue, with one or two differences on 30 June.
 |
Brief Historical Overview Supporting the Scenario
With the start of the Onin War in 1467 Japan entered what is known as the Sengoku or 'Waring States' period that saw almost constant civil war in Japan throughout the 15th and 16th Centuries, but by 1590 the Diamyo Toyotomi Hideyoshi had succeeded in unifying Japan. Believing in a yet greater destiny he sought to expand Japanese influence in Asia by conquering the weakened Ming dynasty in China and then extending down through Vietnam, Cambodia, Burma and Siam and on to India. In May 1592, with an army of approximately 158,000 troops, he launched the first of two invasions of the Korean peninsula. By this route he sought passage into China.In desperation the Koreans sent envoys to Beijing to ask the Emperor to send an army to drive out the Japanese. The Emperor assured the Koreans that an army would be sent, but he was facing multiple revolts within the Empire that needed to be dealt with first. The Koreans would just have to wait.
Finding that the Korean King Sonjo had fled the day before Konishi occupied the undefended city. Kato arrived at the capital the next day and the Third and Fourth Contingents the day after. Meanwhile, other Contingents had landed at Pusan, while the Ninth Contingent kept in reserve on the island of Iki.
Having advanced almost half the length of the Korean peninsula, nearly 350 kilometers, in eighteen days the Japanese rested in Seoul for two weeks. When they set off again they inflicted a huge defeat on the Koreans at the Imjin River and the Koreans retreated to Pyongyang. The Japanese divided again with Konishi and Kuroda pursing the Koreans towards Pyongyang while Kato swung East and attacked Hamgyong Province.
By mid-July Konishi was opposite Pyongyang where he again defeated the Koreans, who promptly abandoned the city and retreated with the King to Uija on the Yalu River, the natural border between China and Korea. On 20 July Konishi entered Pyongyang securing over 100,000 tons of military supplies and grain.
With nearly all of the Korean regular troops withdrawn to the north, various guerrilla groups began to form to protect the provinces from the ravages of the Japanese. As they grew larger and bolder these groups began to attack isolated garrisons and as August slipped by the fortified city of Chongju became the centre of their attention.
A location of strategic importance on the main transportation artery running north–south up the middle of the Korean Peninsula, Chongju also served as the economic center for the entire central region and housed a large government granary. The city had been taken on June 4 by Kuroda and after securing this prize he left behind a small unit to hold the city until reinforcements arrived. In due course a force of 7,200 men under Hachisuka Iemasa of the fifth contingent arrived to relieve the garrison Kuroda had left and then settled down to an uneventful wait. It soon proved too uneventful for Hachisuka Iemasa who left for Seoul in late-August leaving his subordinates to deal with the ever-increasing guerrilla activity.
On 6 September the guerrilla leader Cho Hon, supported by a force of monk-soldiers, attacked the place and drove off the Japanese garrison, which retreated to Daejon to the south. With this strategically placed city back in their hands, the Koreans had effectively severed the main Japanese supply line.
When Hachisuka Iemasa heard that the place has fallen he was furious and ordered his five subordinates to retake the it before his return or Hari Kari would be required. Since the rice harvest was well under way he gave specific orders to secure as much of the supply as possible. The destruction of the Temple of Infinite Harmony - a source of religious inspiration in the area - is also desirable.
It is in those last three paragraphs that I have deviated from the historical narrative and where the game begins.
The Japanese Players Briefing
You are one of Hachisuka Iemasa’s clan leaders ordered to Chongju and retake the place and secure the rice harvest. No quarter is to be given. Special honours will bestowed on any leader whose clan destroys the Temple of Infinite Harmony.
There are five commands, all eight units strong, but each with a slightly different troop mix. Before the game begins you will draw straws with the other Japanese players and the longest straw had first choice of the commands, the next longest will then choose his command, and so on.
Next you will play a short game to determine where and when you arrive on the table. It is a simple snakes and ladders game where each player begins at the START point and then moves by one of the coloured routes by rolling 1xD6 and moving the number of hexes as indicated by the die score, obeying any Miss a Turn, Go Back or Go Forward instructions. You may change the coloured track by using the grey hexes but may only travel in the direction indicated by the red arrow, the exception being the lower grey track between orange and yellow that can be traversed in either direction.
Kuroda Nagamasa
- 1 unit Mounted Samurai
- 1 unit Foot Samurai
- 2 units Ashigaru Arquebus
- 2 units Ashigaru Yari
- 2 units Ashigaru Naganata
- 1 Ninja
- 1 unit Mounted Samurai
- 2 small units Foot Samurai
- 1 unit Ashigaru Arquebus
- 1 unit Ashigaru Bow
- 1 units Ashigaru Yari,
- 2 units Ashigaru Naginata
- 1 Ninja
- 2 small units Mounted Samurai
- 2 small units Foot Samurai
- 1 unit Ashigaru Arquebus
- 2 units Ashigaru Yari
- 1 unit Ashigaru Naginata
- 1Ninja
- 2 units Foot Samurai
- 1 unit Ashigaru Arquebus
- 2 units Ashigaru Bow
- 3 units Ashigaru Yari
- 1 Ninja
- 2 units Foot Samurai
- 3 unit Ashigaru Arquebus
- 1 unit Ashigaru Bow
- 2 units Ashigaru Yari
- 1 Ninja
- 1 small unit of Foot Samurai
- Standard cavalry unit 9 figures (3 stands)
- Standard infantry unit 18 figures (3 stands)
- Small cavalry unit 6 figures (2 stands)
- Small infantry unit 12 figures (2 stands)
- Tiny cavalry unit 3 figures (1 stand)
- Tiny infantry unit 6 figures (1 stand)
There will be a prize for winning.
The Japanese Army
Samurai
Either mounted or on foot the Samurai are highly skilled and motivated. Man-to-man they are arguably the best warriors in Asia. Only a small number of Samurai were mounted in Korea. They hold the advantage in hand to hand combat, even better if they are led into battle by their clan leader or one of their heroes. They are variously armed with katana, yari, or naginata, but fight as mixed arm troops
- Samurai have a unique fighting factor of +2 against all .
- Can count an additional +2 factor above the normal modifier in any combat if joined by their clan leader
- Can count an additional factor of +1 or +2 above the normal modifier in any combat if joined by one of their clan heroes
- Can rally back to a “1” status if joined by their clan leader or “2” if joined by an inspirational hero
The basic foot soldier of the Japanese armies, they come in four types of units:
Arquebusiers - The arquebus was the key to the success of the Samurai armies in Korea. Although slow to load it had greater range and hitting power than bows. To represent the slower loading time a 'fired' marker is placed beside any unit that fires. That marker can hbe removed by the unit not firing for a turn, but if they do fire while a marker is placed the score to hit is 5+ instead of the usual 3+. If in good order and no 'fired' counter is in play, and hits from closing fire are rerolled and a 6 doubles the hit. Any troops in the open hit by arquebus fire will save on a 5+ instead of the usual 4+.
Naganata Men - Naginata armed troops can get a +2 factor in combat
Ninjas - Skilled fighters Ninjas can be used to in two ways:
- As assassins to try to take out your opponent’s leader…but beware if the attempt is traced back…
- As spies to try to find any secret passages into the fortress.
Ninjas within 50mm of a Clan leader can attempt to assassinate him by rolling 1xD6:
- a blatant attempt will kill on 5 or 6 and wound on a 2,3,4
- a sneaky attempt will kill on a 6 and wound on a 5.
- If it was a blatant attempt a 3+ means that it can be traced back to the Ninja owner and the owner will lose 2 honour points
- If it was a sneaky attempt a 5+ means that it can be traced back to the Ninja owner and the owner will lose 2 honour points
The Korean Army
Cavalry
The Korean cavalry were the best troops in their army. They are variously armed with swords, flails and Sam Hyul Chong - a three barreled rocket launcher. To represent their effectiveness:
- All can shoot in closing fire - charging troops will shoot a 5+ to hit, otherwise it is a 3+ to hit
The bulk of the Korean infantry. There are two types:
Heavy Armoured Spearmen
These makes up the bulk of the Korean infantry they fight with sword, bow spear and shield
- If they use bows they will hit on a 5+
- They cannot engage in closing fire
- No other specific rule differences apply
- With better bows than the Japanese, they will hit on a 3+
- They can engage in closing fire
Garrison troops of the of the fortifications. They are a mixed unit with two stands of spearmen and one of archers. They can shoot as a standard unit, but will shoot at a +5 to hit. Can engage in closing fire.
- +2 in combat
- Archers hit on a 3+
- Capable of ambushes. They get a +5 in combat if ambushing
- In the event if a drawn combat they can break off the combat and retreat to cover and if unseen can disappear back into forests to ambush elsewhere
- They get a -1 if fighting in the open beyond the first round of an ambush
Two types of Korean artillery exist:
Hwa Go - a multi-barrelled artillery piece
- Normally hit on a 3+. To represent the slower loading time a 'fired' marker is placed beside any unit that fires. That marker can be removed by the unit not firing for a turn, but if they do fire while a marker is placed the score to hit is 5+ instead of the usual 3+. All hits are rerolled and a 6 doubles the hit.
- Normally hit on a 3+. To represent the slower loading time a 'fired' marker is placed beside any unit that fires. That marker can be removed by the unit not firing for a turn, but if they do fire while a marker is placed the score to hit is 5+ instead of the usual 3+. All hits are rerolled and a 5 doubles and a 6 triples the hit.
Clan Leaders and Heroes
Each player commences the game with a clan leader and two hero figures, all are samurai, They can assist players in four possible ways.
1: They can add dice to the dice pool in a combat:
- Clan leaders add +2 to any unit fighting plus an additional +2 if the unit is samurai
- Heroes add the personal rating to any fighting unit (personal ratings are determined at the first time they are used by rolling 1xD6 - a score of 1=0, 2,3,4,5=1, 6=2).
- You cannot combine heroes and leaders to get additional dice - only one leader or hero per unit.
3: They can help units to recover from permanent loss of order:
- If a unit with a clan leader attached scores a “rally result” in their activation it can rally back to a “1’”status after their next activation
- If a unit with a hero attached scores a “rally result” in their activation it can rally back to a “2” status after their next activation.
If killed heroes and leaders do not return, but their clan can fight on and amass honour points. A hero can take over from a clan leader if the latter is killed.
Guerrillas and Monk Soldiers can spring ambushes from any building, bamboo grove, wood or treeline that is not currently occupied.
Any units within ambush areas cannot be identified until troops come within 100mm of the area.
When an ambush is sprung, the attacking unit has a special combat factor of +5 in the first turn of combat.
There is the detail for the Japanese players. Since much of what they will encounter is unknown to them that is all I will not describe here until the day of conflict.
And now some more pictures of toys. This time it is the Koreans.
Disclaimer: I did not purchase or paint any of those figures. My only part in the creation of the Korean force was to finish off the basing and add the standards.
 |
| The Cavalry |
 |
| The Artillery |
 |
| The Heavy Infantry |
 |
| The Monk Soldiers |
 |
| The Guerillas |
 |
| The regular armoured missile troops |
 |
| The Garrison Spearmen |
 |
| Garrison bowmen |


I have been looking forward to the advent of these for the past three years and they certainly have not disappointed. Spectacular stuff. The Koreans look great but the work on your samurai is superb. This is going to make for a great event in June.
ReplyDeleteYes it has been an age since I skied you for those army lists. I am very pleased with the way the Samurai came out.
DeleteThe Japanes collection looks superb Mark...really looking g forward to 30 June and seeing how the game goes!
ReplyDeleteIt's been a long time since I did these...they were ready by June 2021 for the aborted Tarawera of that year.
DeleteThat is certainly a lot of information. This post could double as a magazine article.
ReplyDeleteSorry your big plans got delayed by the world. I hope that the game day will be very satisfying. 😀
Ha ha...and to think that I edited the content of the player briefs down!....mind you, there are a lot of pictures in this post!
DeleteThat is quite the treat. Lovely troops, especially the Japanese. The background idea is neat, the presentation first rate.
ReplyDeleteLooking forward to the game report.
Thanks Joe. Certainly hope it runs well...there has been a lot of planning in this.
DeleteLovely toys Mark…
ReplyDeleteIt looks like this is going to be a cracking game…
All the best. Aly
Thanks Aly. It certainly should name for a good day out...
Delete