Pages

Thursday, 31 March 2022

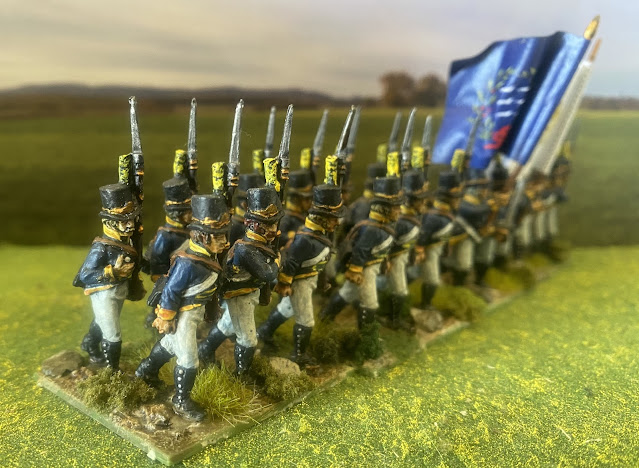
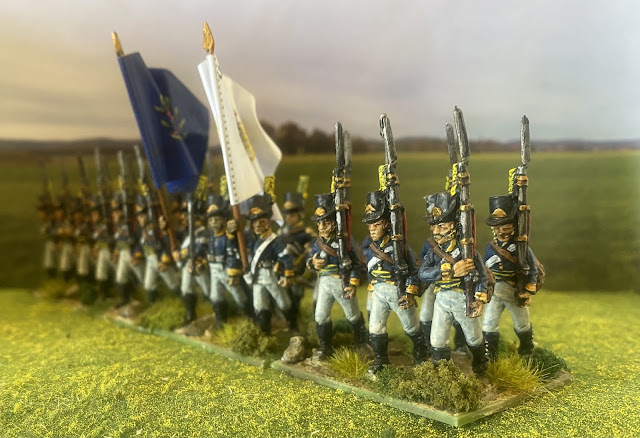
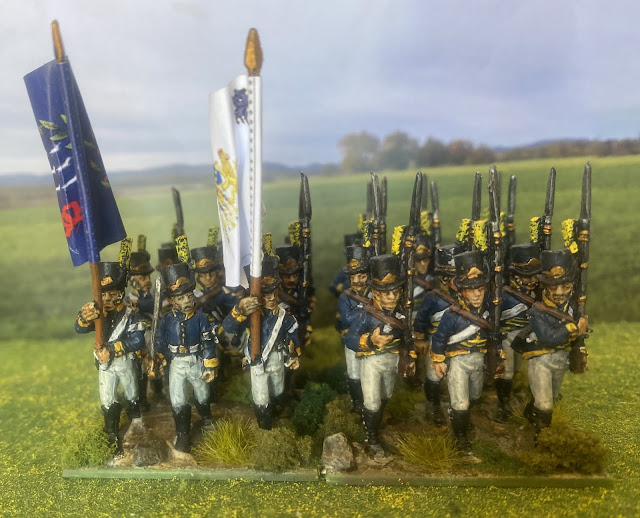
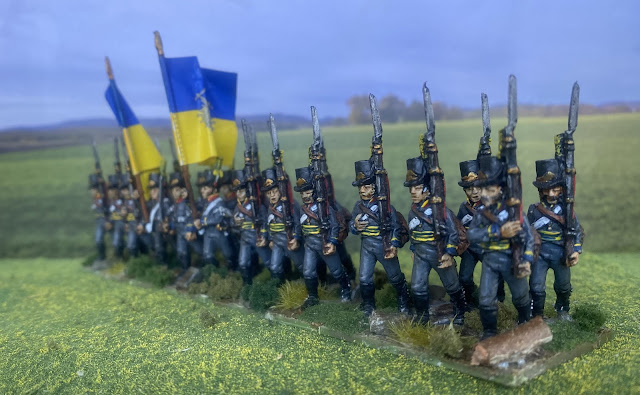
Österbottens Infanteri Regemente

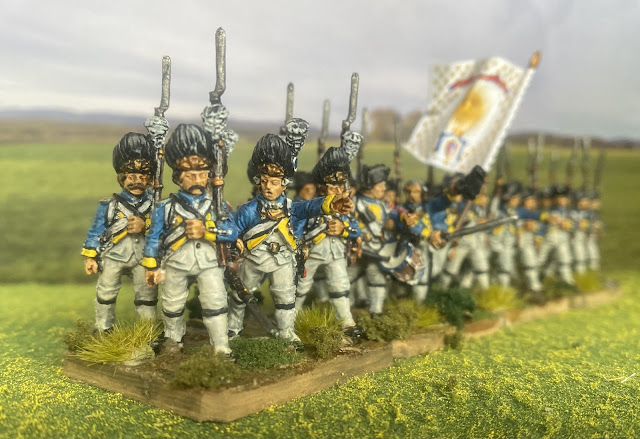
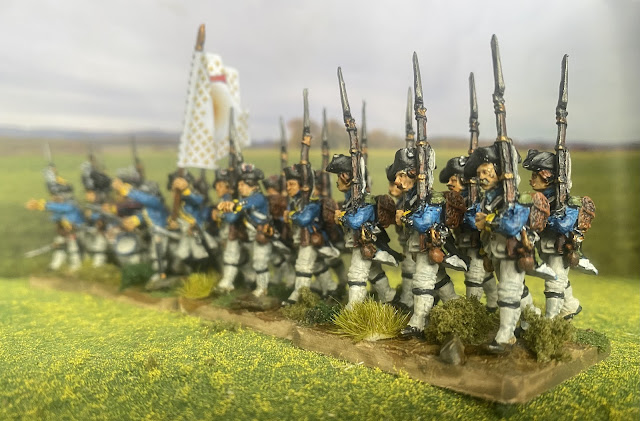
Formed in 1634 from the Finnish province of Ostrobothnia, Österbottens regiment came into the war with Russia in 1807 with a long and proud history. It fought at the Battle of Leipzig in the Thirty Years' War and the Battle of Lund in 1676 in Charles XI's Danish War. In 1699, the regiment was posted to Riga to form a garrison unit. In the Great Northern War the the first battalion was divided and merged with other units, fighting at Lensa and Poltava, before surrendering at Perevolotjna on July 1, 1709. The second battalion that remained in Riga and surrendered at he conclusion of the siege of the city, in July 1710. 

Reformed it was assigned to army in Finland and continued to fight in Estonia.  In 1718 the regiment participated in Charles XII's second Norwegian campaign. Later it was engaged in the Hattars' Russian War of 1741–1743. It was engaged again in the Pomeranian War in 1789 and in Gustav III's Russian War at the Battle of Parkumäki. 

In the Finnish War it fought, among other actions, at the Oravais and Kalix on March 23, 1809. It was disbanded at the conclusion of the war.

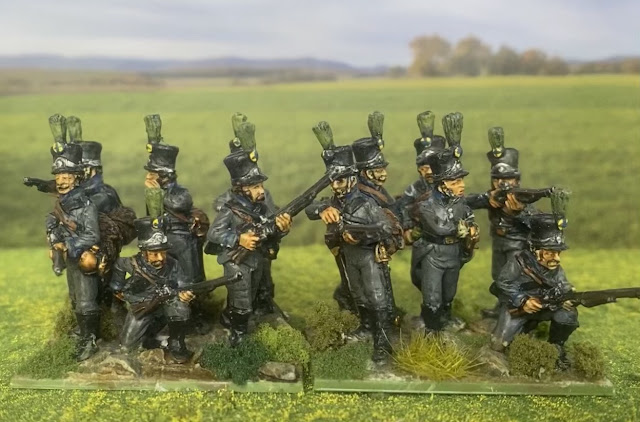
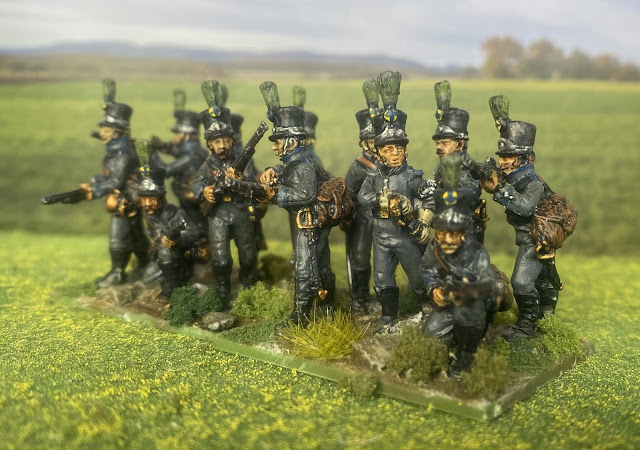
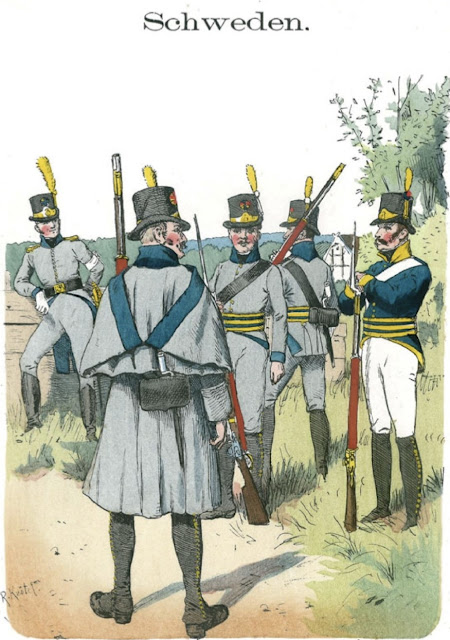
Unlike the other Finnish regiments Österbottens still wore the pre-1807 blue coat instead of the grey coat, although there are conflicting references around the actual colour worn, and those blue coats may have had coloured lapels. Since the figures don’t have  lapels I have chosen to do them with the single breasted cost  and white trousers after the figure in the right of the Knötel illustration below.


I like the result.  


Monday, 28 March 2022

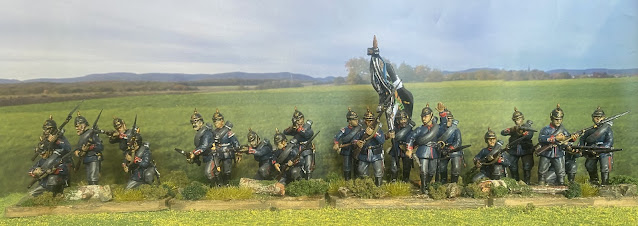
6th Westphalian Infantry Regiment No 55

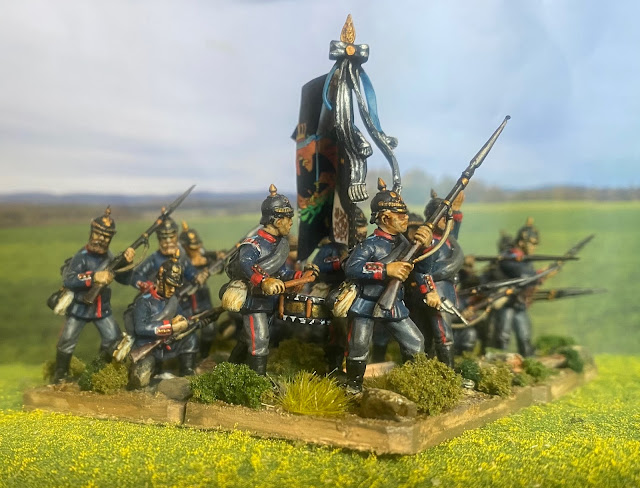
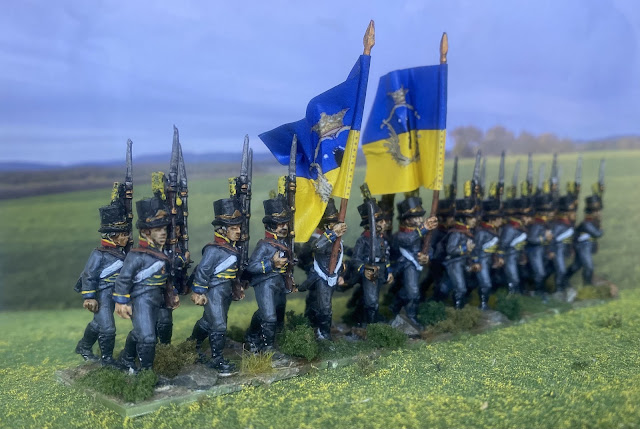
This week sees the completion of the First Battalion 6th Westphalian Infantry Regiment No 55 for the Prussians in the Franco-Prussian War army.

Created under von Roon’s reforms  it started life in May 1860 as the 15th Infantry Regiment, formed around the active personnel of the 15th Landwehr Regiment and  the Lippe-Detmold Battalion. Garrisoned in Eastern Westphalia it was incorporated into the VII corps, based in Münster. Despite its short tenure of service, by the time the Franco-Prussian War began the regiment had considerable experience under its belt.


It first saw action in the Danish War of 1864 where in its first action the First Battalion was involved in the assault at Düppel on 18 April, successfully carrying the works in front of them. Shortly afterwards the First and Second Battalions were involved in the amphibious assault on Alsen, where the Second was the first unit ashore. For their part in the campaign the First and Second Battalions were awarded the Düppel and Alsen streamers to be carried with he battalion colours.

Two years later the regiment was in the thick of it again during the Austrian-Prussian war. Initially it was assigned to the occupation of Hanover after the surrender of the Hanoverian army, but was soon called forward to join the Army of the Main in the campaign in Western Germany. It fought at Dermbach, and again at Kissingen where it played a pivotal role in the street fighting that secured the town and forced the withdrawal of the Bavarians. At Aschaffenburg, four days later, the Regiment stormed the gates of the city and then rounded up some 600 prisoners. Following further heavy action at Tauberischofsheim (where all of the officers of the Fusilier battalion were counted among the casualties) the regiment was also involved in skirmishes at Uettingen and Gershsheim. By the end of August, with the War’s conclusion, it returned to its garrison.

As a part of 13th Division, VII Corps the regiment went to war again in 1870, fighting at Spicheren, where it decisively turned the flank of the French east of Forbach (and by chance captured the works recently abandoned by its opposite - the French 55th Regiment). It fought again at Colombey where is suffered losses of 21 officers and 525 men. It was slightly engaged at Gravelotte and participated in the Siege of Metz. After the surrender of that place the regiment was assigned to XIV corps that fought against Garibaldi in the Rhône Valley,  before fighting in the engagements of Villersexel and Lisaine  that forced Bourbaki’s French Army of the East across the Swiss border and into internment. It then remained in France as part of the Army of Occupation.

In 1889 the Kaiser Wilhelm II renamed the regiment Graf Bülow von Dennewitz, 6th Westphalian, (no 55)  in honour of General Friedrich Wilhelm von Bülow of the Wars of Liberation fame.

In the Great War the regiment was engaged entirely on the Western Front fighting at Verdun, the Somme, the Aisne, Ancre, Avre and Hamel. By late-1917 the regiment was reduced to a single battalion and was disbanded in December 1918


Saturday, 19 March 2022

Savolaks Jagare Regemente…and more

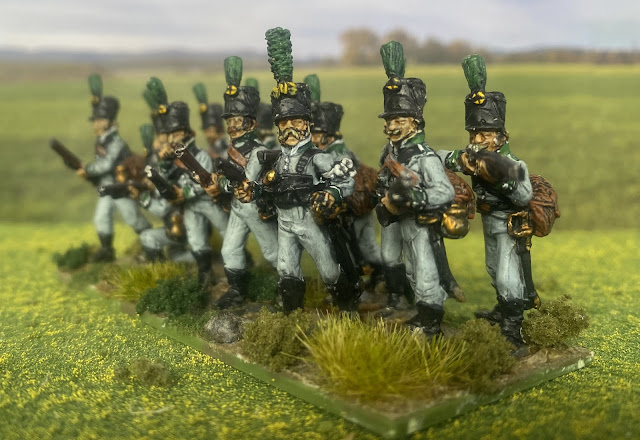
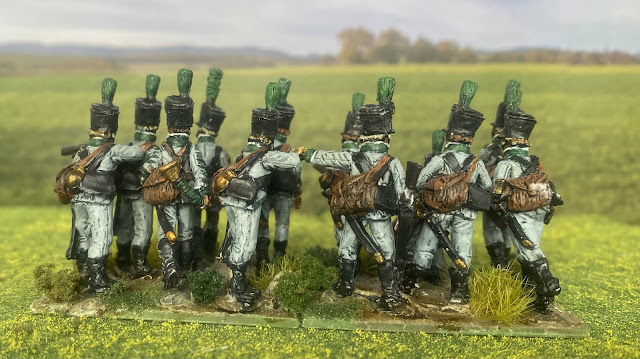
Recruited in 1770 from the Savolaks region, a large area of marshy wilderness around the Kallvesi Lake that  ends the Russian frontier sharply to the east, the Savolaks Jägers were unusual in the Swedish Army. While organised as a formal unit they did not operate as a garrison regiment and were exempt from the allotment system. Instead in peacetime these men were farmers who lived their days farming and fishing, but taking part in mandatory military exercises for several weeks a year. They were crack shots and sworn enemies of the Russians. In the war of 1807-09 they were constantly engaged and developed a solid reputation. 

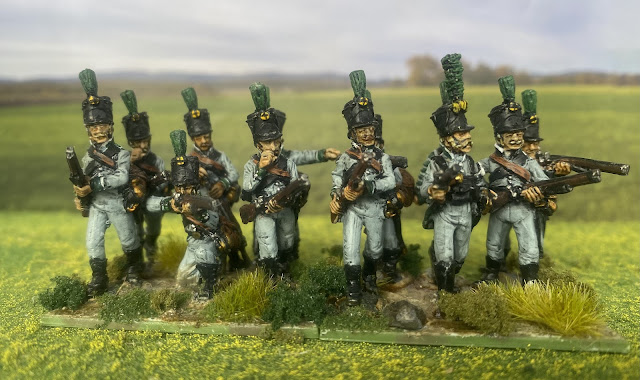
By all accounts the regiment comprised of eight companies, nominally in two battalions. While I have found one reference that has the battalions fighting together as complete battalions, two other orders of battle mention four units of two companies each and in others refer to only a single company. So I have decided to make four units each of two stands (representing two companies) but allowing four stands to form as a complete battalion. Here is the first of those units.


The uniform is a little more exciting than the previously presented Nylands Jägers in that they have a lighter grey uniform with green facings, piped white.


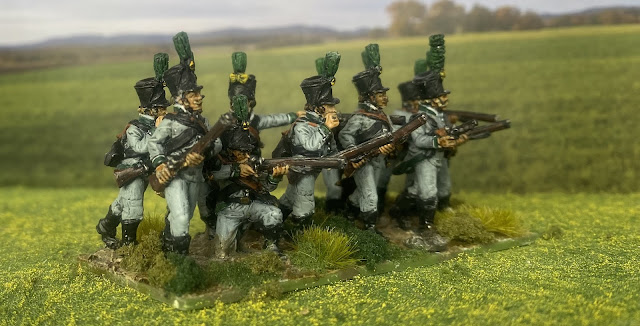
Speaking of the  Nylands Jägers, here is the second unit of that regiment that has been sitting on the basing tray for more than a week.


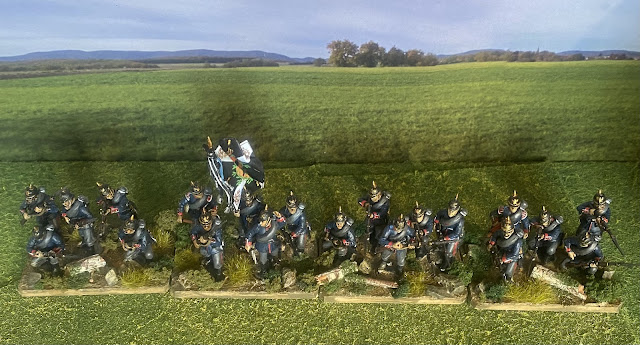
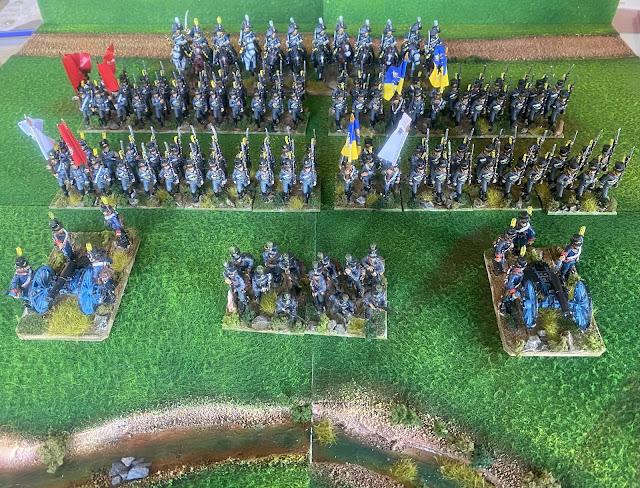
Also fresh of the basing tray is the Prussian Second Battalion, 15th Regiment for the Franco-Prussian War.


Monday, 14 March 2022

Second Battalion, Björneborgs Regiment

As tempted as I was to place a tennis racquet in the hand of the officer, I resisted. So the battalion commander is boldly leading this second battalion of the Björneborgs Regiment with sword in hand.


This unit completes the First Brigade of the Finnish army, without the commanders (which have not been released yet).


The first unit of the Second Brigade is completed and more to follow.

Friday, 11 March 2022

Planning for Paraguayan War Games Using Snakes and Ladders Campaign Systems

With the Great Paraguayan War project nearing completion thoughts are turning to how to game this war, when gaming starts again. I’m not one for refights of actual battles, preferring to create a scenario that has a basis in history. I have also been known to base a scenario on an actual battle from a different historical period. For the first games for this war I want to run a sort of campaign.

Wargames campaigns have always had a fascination for me. Perhaps it is because the Donald Featherstone book “Wargames Campaigns” was one of the first wargames books I owned (and I still flick trough it nostalgically today - nearly 50 years after I got it). I have designed numerous campaign systems - hex based, square based, area based and across a multitude of eras. A number of these have been presented here on these pages. Some have been full campaigns and some just a series of linked games - in this latter category the one that comes readily to mind is the French in Egypt series played back in late-2018 and early-2019. Yet oddly for all of this I have played very few and those I have played in have fizzled out, but that hasn’t curbed my enthusiasm for them and recently I have latched onto the concept of Snakes and Ladders systems. 


Now the idea is far from new and a number of wargame sites have featured articles on it in recent times (Steven’s BalaganA Grab Bag of GamesGrid Based Games to mention three that come to mind immediately) and I have used the idea independently in the past as a tool for determining arrivals on the table. While the system does not provide the ability to manoeuvre freely it does provide potential for variance of force and attrition. 

So what is my twist on the concept? Well all I wanted was to create a mechanism for a series of linked games. I wanted rash actions in one game to have repercussions in another. In my version of the game the armies involved are divided into commands:

Paraguayan force

  • First Brigade - three infantry battalions, two cavalry regiments
  • Second Brigade - three infantry battalions, one battery
  • Third Brigade - two infantry battalions, two cavalry regiments, one battery
  • Fourth Brigade - two infantry battalions, one cavalry regiment, one battery
  • A fortified position
Allied Forces

  • First Brazilian Infantry Brigade - five infantry battalions, one battery
  • Second Brazilian Infantry Brigade - four infantry battalions, two batteries
  • Brazilian Cavalry Brigade - two cavalry regiments
  • First Argentine Infantry Division - two infantry brigades (2 battalions each), one battery 
  • Second Argentine Infantry Division - two infantry brigades (2 battalions each)
  • Argentine Cavalry Brigade - two cavalry regiments
  • Uruguayan Brigade - three infantry battalions, one battery
  • Naval support 

Both sides play the Snakes and Ladders game alternately (each side rolls 1xD6 to determine who goes first) by rolling 1xD6 and moving through the grid according to the score and and directions indicated in the squares.

The game board has five possible battles: one small action in which the players will get to use two  brigades (only one of which can be Brazilian on the Allied side); one moderate sized action in which they get to use three commands (one each of Brazilian, Argentine and Uruguayan), one of which must be a command that has been fought in a previous action (if one had has been fought); two large actions in which they get to use four commands (one each of Brazilian, Argentine and Uruguayan, plus one other) and one of which must be a command that has been fought in a previous action (if one had has been fought); and the final action is all in, in which all troops fight. The campaign is won or lost on the final game.

Battles are deemed one of three types: encounter, battle in position or battle in a prepared position. When a battle box is entered during play 1xD6 determines the type of action and in a battle in position of or a battle in a prepared position the player who enters the square is said to be the attacker and the other the defender. The player entering the square also rolls 1xD10 (re-rolling any 10s) using the score to determine the table plans as numbered below. These maps provide a broad outline for the table where dark green areas are impenetrable jungle, light green are smaller more open areas of timber or palms, the large black box with a cross is a mission, groups of three black blocks are villages, broad blue blocks are rivers,  narrow blue line streams and then swamp areas. All rivers are fordable to infantry and cavalry as major obstacles, and impassable to artillery. Streams are fordable by all troops. Swamps are impassable to all troops.


Deployment options are defined by the type of action. In all cases both sides roll 1xD6 and the higher score then picks the side they will deploy on. The deployment areas are:

  • Encounter battle: 300 mm in from the edge and 600 mm away from the ends.
  • Battle in position: Defender deploys first in an area up one third of the way into the table but 600mm clear of the ends. The attacker will move into the table at any point along his table edge.
  • Battle in a Prepared Position: Defender deploys first in an area up to half their force up to half way in the centre third of the table, while the remaining force must be no further than 300mm in from the table edge and clear of the table ends by 600mm. If the Paraguayans are the defenders they can deploy their fortification unit and up to 1000mm of connecting trenches anywhere within their deployment area. If the allies are the defenders they may deploy up to 600mm of temporary fortifications (abatis, chevaux de frise, or similar obstructions). The attacker will move into the table at any point along his table edge.

Naval Support

In maps 1 and 5 the allies can use their Naval Support option. Naval support is always assumed to be on the river section marked with the red dot on the map. Naval Support is assumed to be off table and counts as two heavy batteries with all ranges measured from the corner point of the table. Note that this may well be behind a Paraguayan deployment position.

Off table reserve and flanking movements. 

Attacking forces are permitted to deploy up to half of their force off table either as a flanking march or a reserve. All off table troops have to dice to come onto the table requiring a 5 or 6 on their first attempt, and a 4,5 or 6 on any subsequent attempt. They can have up to three attempts to come onto the table and troops that fail to arrive after three attempts, are ruled lost and will not arrive. 


Off table reserves can attempt to come onto the table from the beginning of the second turn. The player does not have to declare where the reserves are coming on until their first attempt to dice for it.


Flanking marches can attempt to come onto the table from the beginning of turn three if attempting to arrive short of the halfway point, or turn four of attempting to arrive beyond the halfway mark. A player bring on a flanking force does not have to declare where he moving to until he makes the first attempt to arrive.

Attrition and reinforcements

Each time there is a battle and a unit takes losses, the losses are carried forward by a simple mechanism . In my rules units take losses in six steps. Losses of 1,2 or 3 do not affect order, but by accumulating 4 and 5 casualties order begins to break down and they are ruled disrupted, and when six casualties are accumulated the unit is shaken and very fragile. So my simple attrition mechanism is that any unit that takes losses of 4 or more in a battle reduces one unit size, so that large units become standard, standard become  small and small  become tiny. Tiny units remain tiny.

On the playing board are two special events:

  • Reinforced! - when a player lands in this square he has received reinforcements and can bring one of his brigades (selected by the opposing player) back up to full strength.
  • Desertion! - when a player lands on this square one of his brigades (selected by the opposing player) suffers from desertion and all of the units in the brigade drop one strength level to a minimum of ‘tiny’.

I envisage this system also being used for American Civil War and Napoleonic campaigns.


    Sunday, 6 March 2022

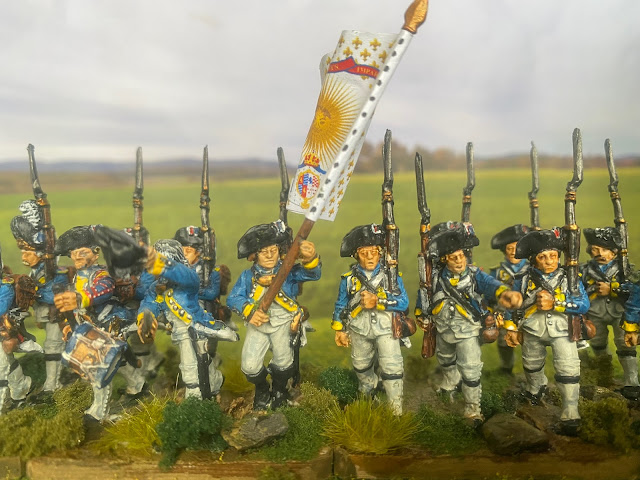
    Régiment de Royal Deux-Ponts

    This is the third of what will be six battalions in this French AWI collection.


    Formed in 1757 by Duke Christian IV of Pfalz-Zweibrucken as a result of the Duke’s indebtedness to Louis XV of France Régiment de Royal Deux-Ponts remained in French service throughout its 240 year existence despite its home territory, the "two bridges" area (Deux-Ponts/Zweibruken), ping-ponging between the French and Germany over the years.

    It’s first action was in the Seven Years War where it fought under Soubise at Rossbach, then later at Sandershausen, Lutterberg, Frankfurt, Minden, Corbach and Vellinghausen. After the war it was first posted to Thionville, then to it’s home region of Zwiebrücken.

    The Regiment was chosen by Rochambeau to take to America in the American Revolution because of the hard fighting reputation in established in the Seven Years War. That reputation was greatly enhanced by its service at Yorktown where facing the Hessians they were involved in the storming of Redoubt 9 the loss of which led to the British surrender, losing 46 killed and 68 wounded. For their part in the victory Washington presented them with one of the captured guns and the regiment presented captured British colours to the King.

    In 1790, after the Revolution it lost its royal designation and became the 99e régiment d’infanterie de Ligne and ceased recruiting Germans. It was heavily involved in the Revolutionary War and fought at Marengo, Wagram and Borodino.


    Under the Second Empire it served in Algeria, Italy in 1859, Mexico, and in the Franco-Prussian War, notably at Froeschwiller and Sedan. 

    It later fought with distinction in the Great War, particularly in the Second Battle of Champagne and at Verdun. It went on to fight in the Second World War and was employed after the war in Algeria and then Bosnia. In 1997, after 240 years in service, the regiment was disbanded as a part of the downsizing of l’armée de terre.

    In Rochambeau‘s army in America, it wore the distinctive blue costs of the German regiments and carried the wonderfully ornate standards below: the Colonel’s colour (drapeau blanc) on the left (with the motto “outnumbered but not overpowered”) and the drapeau d’ordonnance on the right.


    Completed before this unit, but left dawdling in the basing department is the 1st Battalion, 15th Regiment for the Franco-Prussian army.